Falling for Nature

Shot of the Month – January 2018

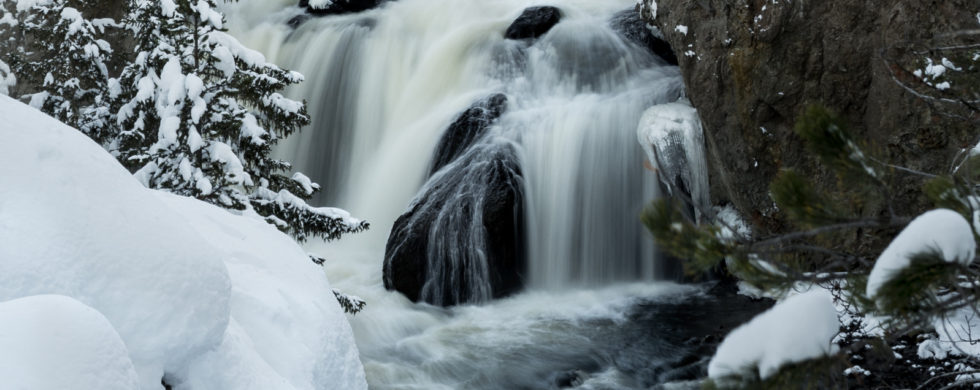
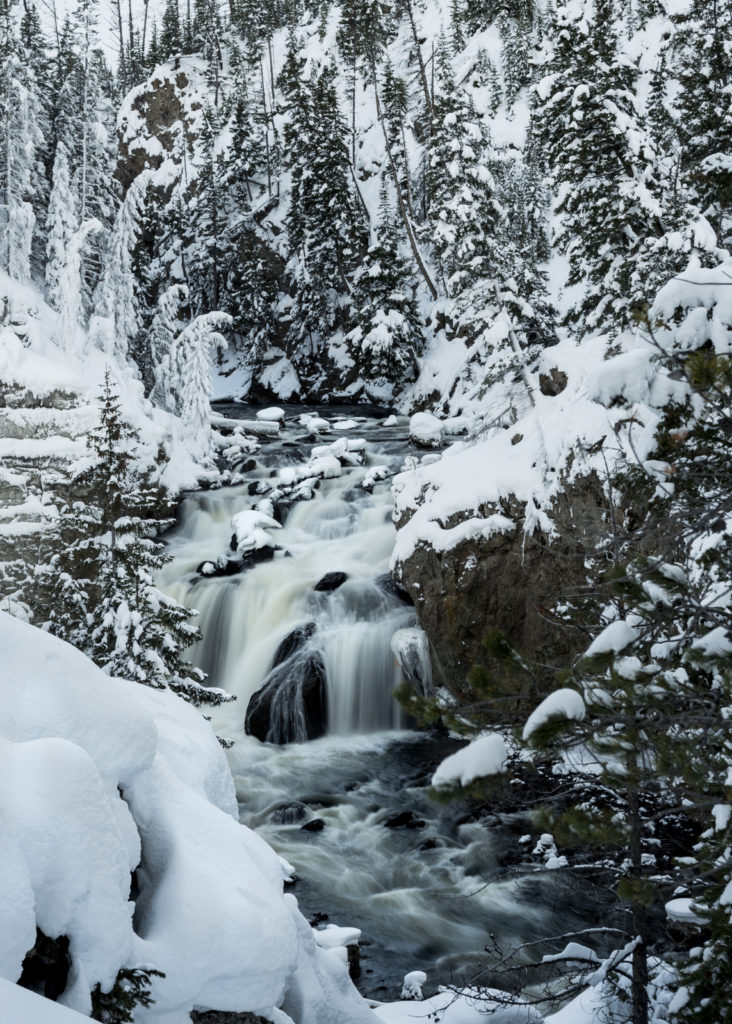
Waterfall, Yellowstone NP (6064)

Yellowstone National Park

Regardless of the country, people seem drawn to explore, visit, and photograph the natural beauty of waterfalls.  How big a draw are waterfalls?  Well, over 12 million people travel to see Niagara falls each year along the US-Canada border!   That’s just one waterfall out of thousands across the planet.

The dramatic settings and wild beauty of waterfalls are the visual equivalent of catnip for photographers and they hit the trails in droves to take images of falls, big and small, throughout the year.  Capturing a compelling image of a waterfall can be a fairly technical, tricky affair — one can’t really just walk up to the water’s edge and snap a picture and expect to get something special.

A few tips for those of you inclined to try your hand at shooting the shoots:

Primary Task:  Achieve A Slow Shutter Speed   (Confused by shutter speed?  Check out this great article)

When we look at a waterfall our eyes transform the falling water into a lovely silky cascade.  In order to create this effect in a camera we need to use a slow shutter speed.  This means that we want to keep the shutter open for a “long” time.  This means, probably a shutter speed of 1/4th of a second.  Or 1/3rd of second.  1/2 a second.  Perhaps one whole second.  You may even want to keep the shutter open for several seconds to make a dramatic looking image.  There is no “ideal” speed.  You need to experiment with different shutter speeds and find the look that you like best.

High Shutter Speed = The shutter is opens for a short duration (e.g. 1/1000 of a second or less)

Slow Shutter Speed = The shutter is open for a long duration (e.g. 1/2 of a second or more)

The challenge is that during the day, if there is a lot of light available, your camera will not allow you to access those slow shutter speeds as the images will come out overexposed.  How do we get there?

Use a Low ISO

Set your ISO to its lowest setting to help keep the shutter speed down.

Use a low Aperture Setting (Great article on understanding Aperture)

Stop your aperture down to f/11 or f/16 or smaller to reduce the amount of light that reaches your camera sensor — this will help create longer shutter speeds and will maximize the depth of field of your shot.

Avoid the Sun

The best time to photograph waterfalls is when it is cloudy – this will make it easier to achieve those long shutter speeds.  And shoot at sunrise or sunset when there is less light in the sky.  If the sun is out in full force, it might be best to go photograph something else.

Use a Tripod

With slow shutter speeds a tripod is essential to avoid motion blur.  No hand holding your camera for a great waterfall shot.

Use  Neutral Density Filters ( Learn more here)

Still too much light?  Most professional photographers use Neutral Density Filters to reduce the amount of light that can enter into the lens.  This allows for the lower shutters speeds that we need to photograph waterfalls and streams.  A polarizing filter can also be used as this will reduce the light and will also help remove unwanted reflections from wet rocks, leaves, etc.

I know, all this techno-geekness is rather tedious, but using these techniques and equipment will now allow you to explore the full creative range of one of nature’s natural wonders.  From here let your artistic juices flow.  How can you create a compelling composition?  What should be in the foreground?  Any interesting scenery that can be included?  How about an unusual viewpoint or angle?  Try different lenses – wide angle, zoom lenses, etc.  Shoot in portrait and then in landscape.  Find a way to get something new or fresh – not the same old shot that every other traveler took of the scene.  If you can, go back again and again and explore how the scene is transformed at different times of the day and during different seasons of the year.


Or, leave the camera at home and enjoy the hike and commune with nature.  Whatever it takes to get you out there….enjoy.


Here a few good articles on photographing waterfalls:

The Secrets of Stunning Waterfall Photography

More Tips


Nikon D4S, Nikon 28-105mm (@ 55mm), f/16, 3/5 sec, ISO 100


10 for 2017

10 for 2017

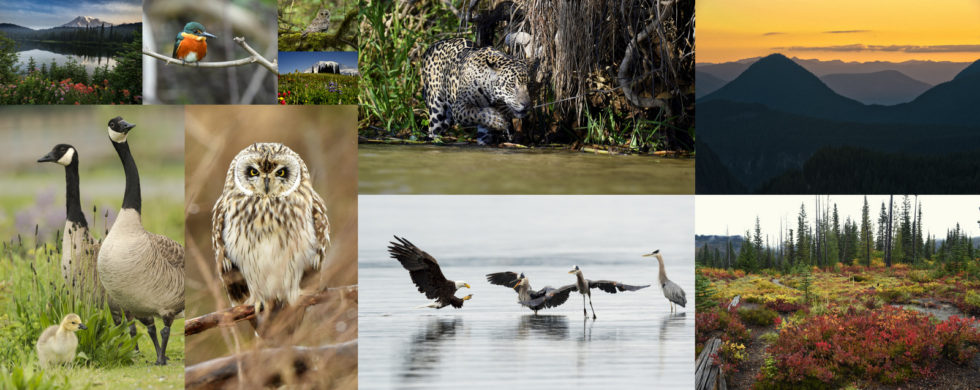
In 2017 I spent much of my “outdoor time” exploring Washington, our new state since mid 2016.  Most of my images from this year were clustered around a few species: bald eagles, short-eared owls, great horned owls, and jaguars.  Landscape efforts were focused mainly on Mt. Rainier.  Our “big” trip for the year was to the Pantanal in Brazil where we had great luck in seeing and photographing jaguars, as well as five types of indigenous king fishers.  These may not be my best shots from the last 12 months, but they are my favorites for a variety of reasons that I will comment on below.   2018 here we come!!

Click on an image to see it larger (highly recommended).  🙂

In no particular order:

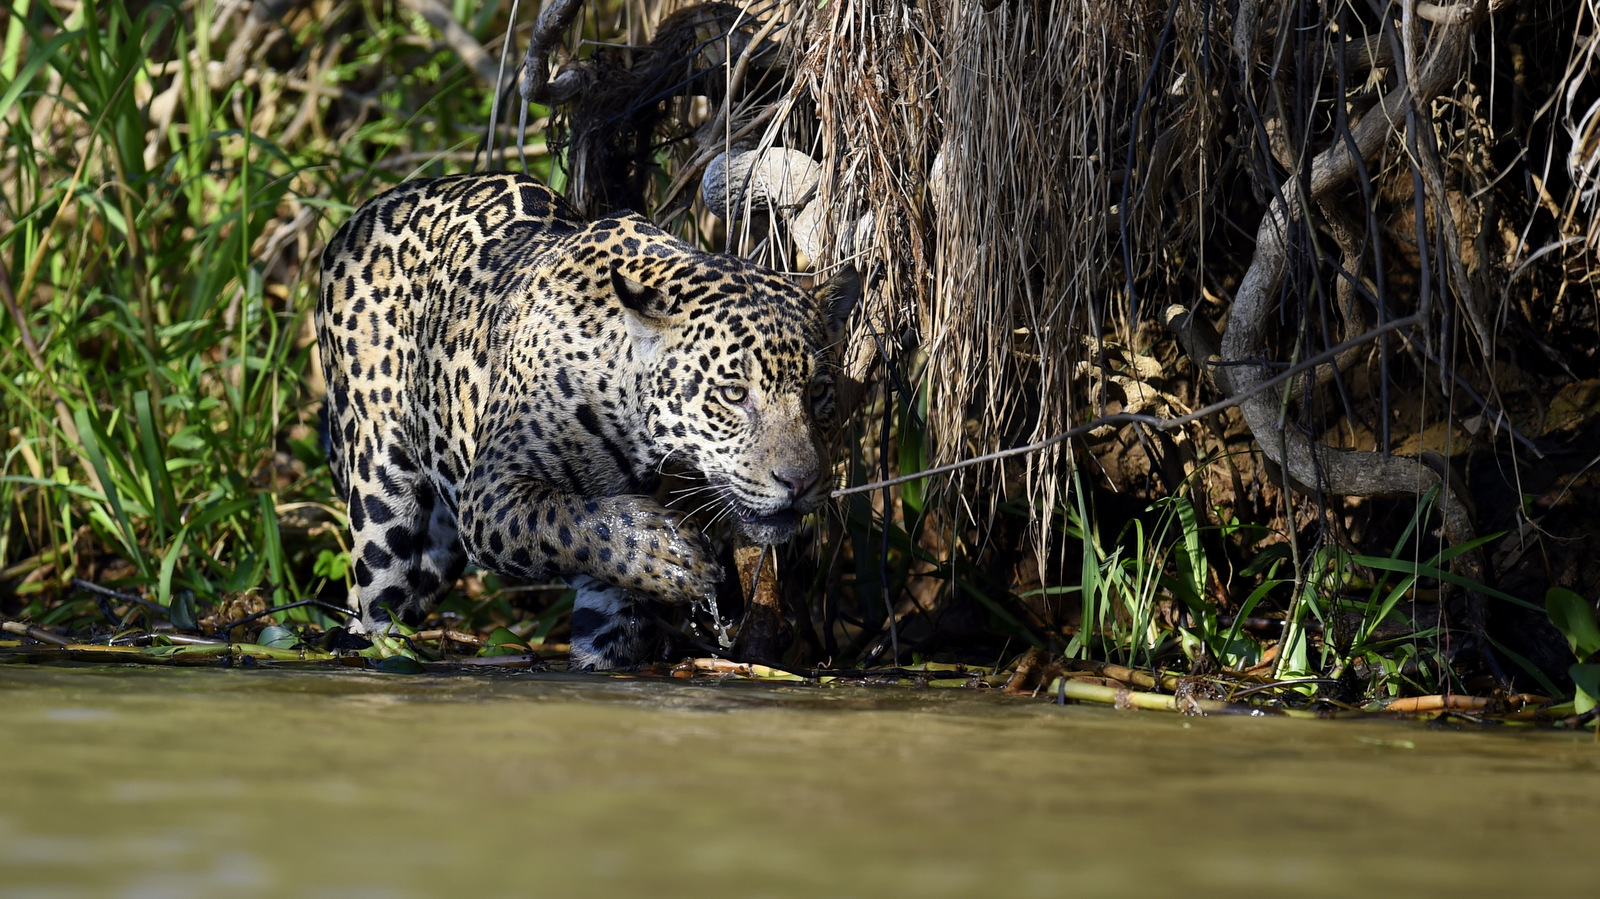
#1 Hunting Jaguar

Jaguar (6748)

Seeing a jaguar in the wild was phenomenal.  And I was pleasantly surprised with how many good images I was able to capture of this amazing cat.


#2 Theft by Eagle

Bald Eagle (3425)

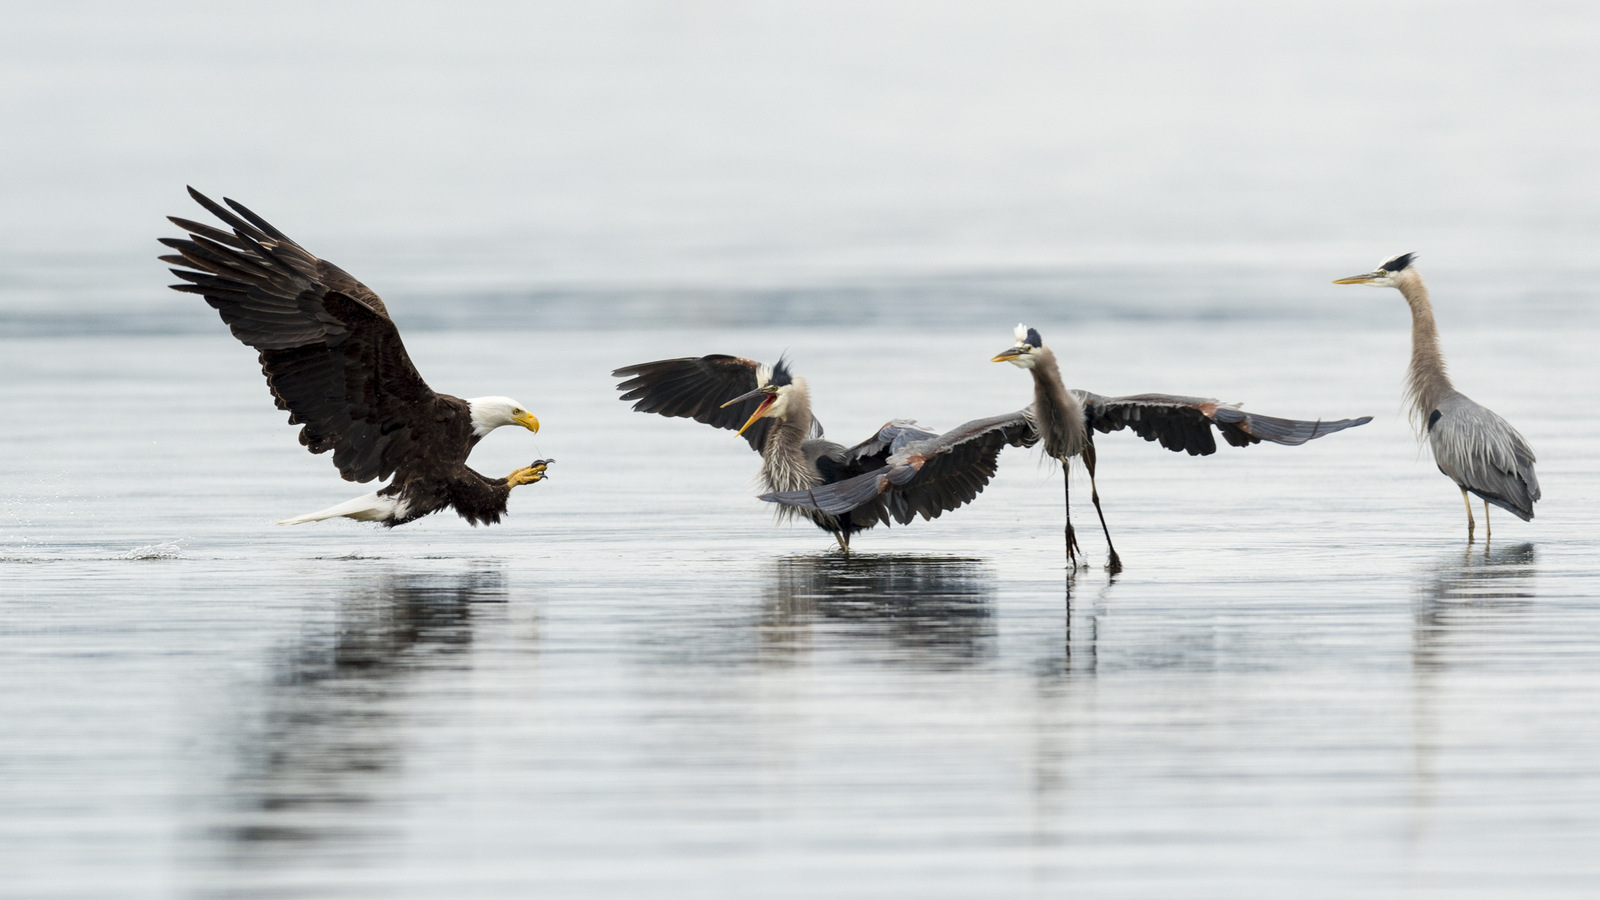
During the year I visited two areas where bald eagles congregated to feast on exposed fish.  In this scene the eagle is about to steal a bullhead fish that is just in front of the Great Blue Heron.  I have dozens of images of eagles to process from the year.


#3 Barred Owl

Barred Owl (9133)

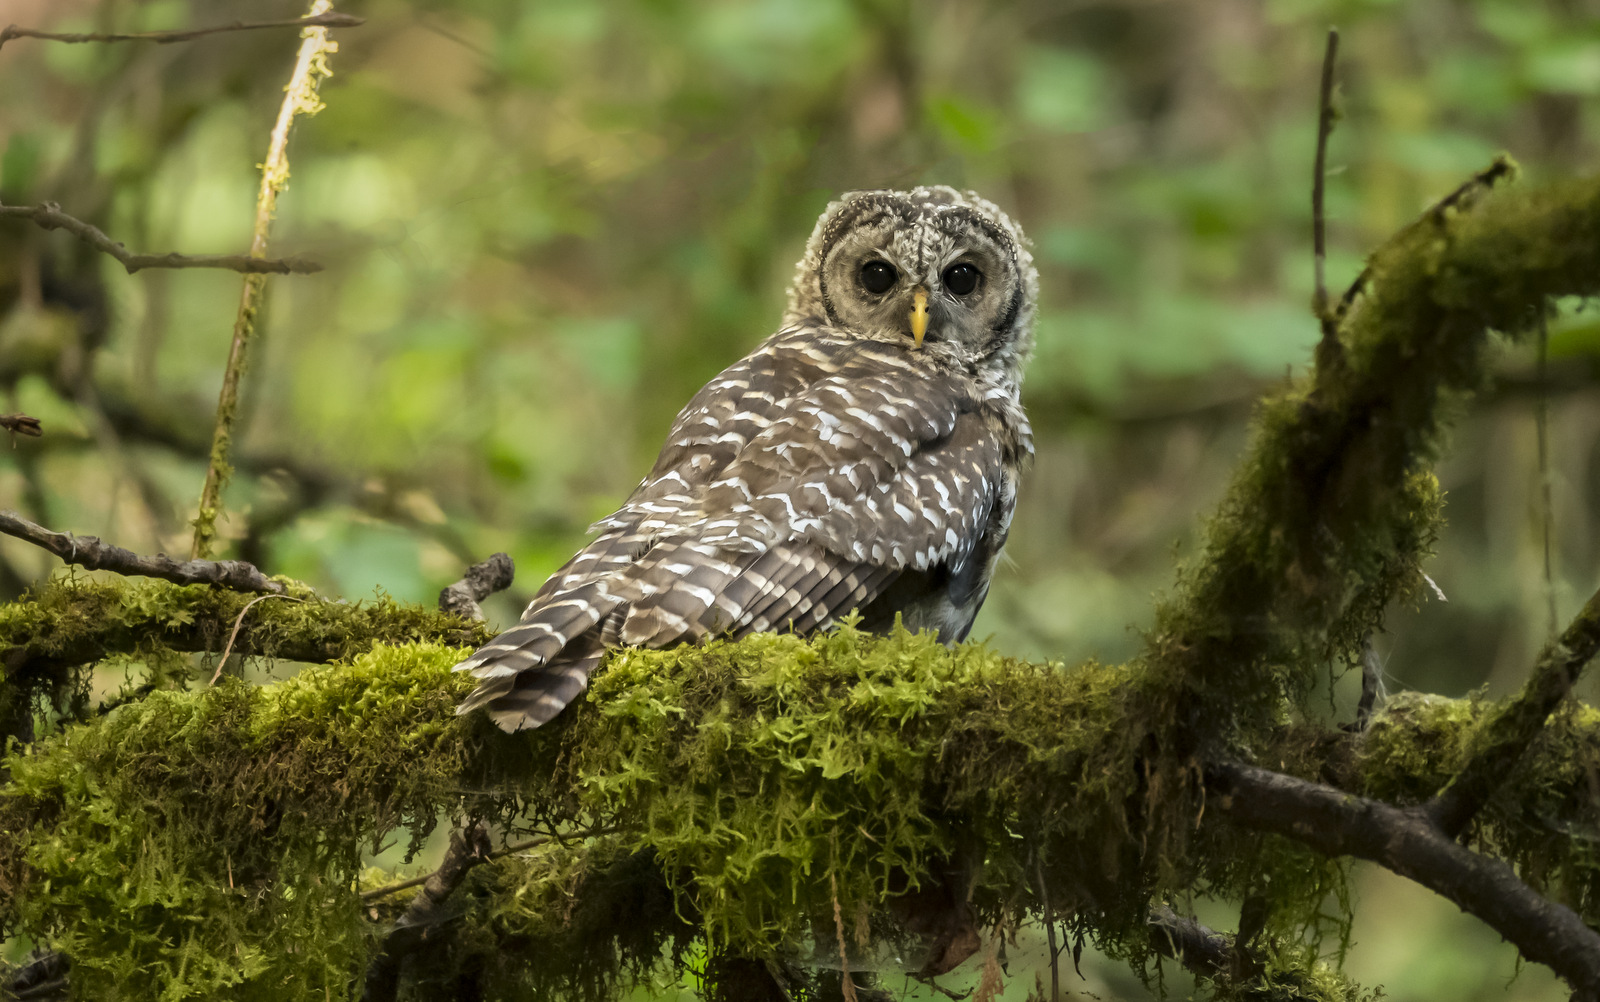
I have seen barred owls several times over the years without much luck in getting a worthwhile image.  And then this happened in a small park in Seattle!


#4 Pygmy Kingfisher

Pygmy Kingfisher

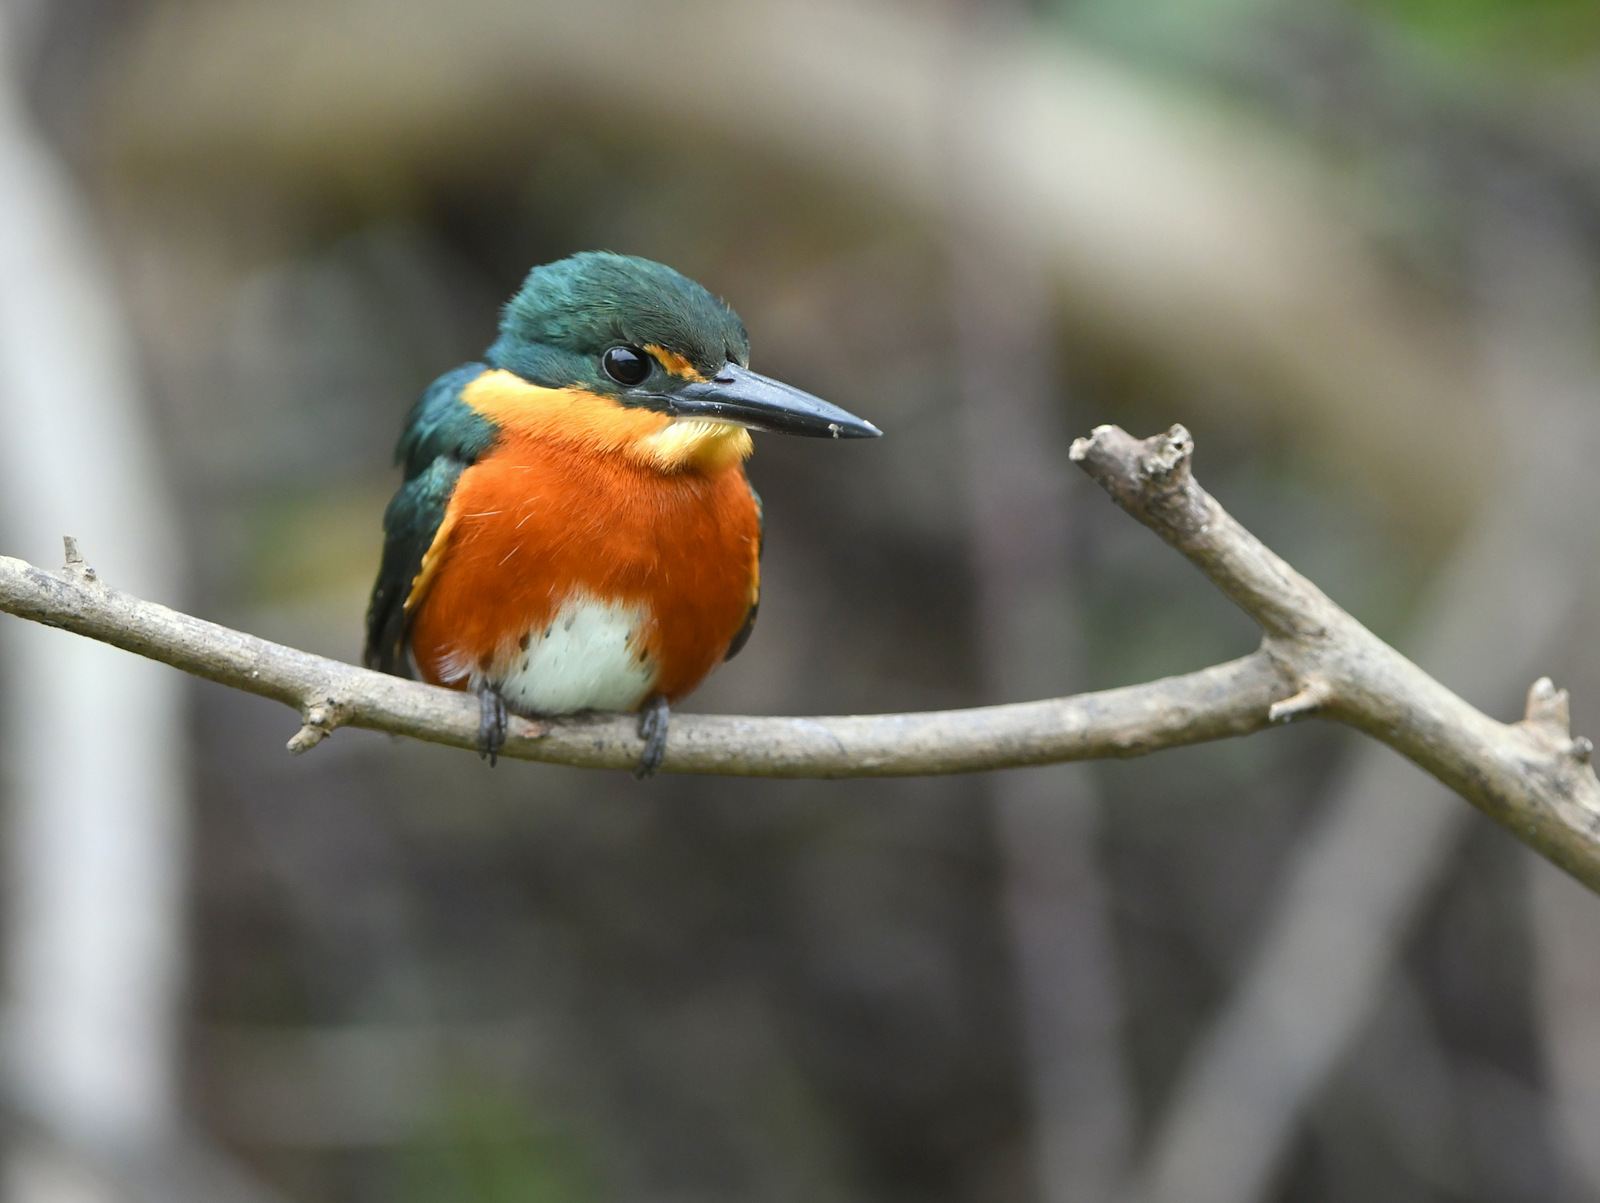
We spotted this little jewel while in the Pantanal in Brazil.  I like this little guy because he reminds of this Malachite Kingfisher shot, that is also one my favorites.


#5  Mt. Rainier Meadow

Wildflowers (2249)

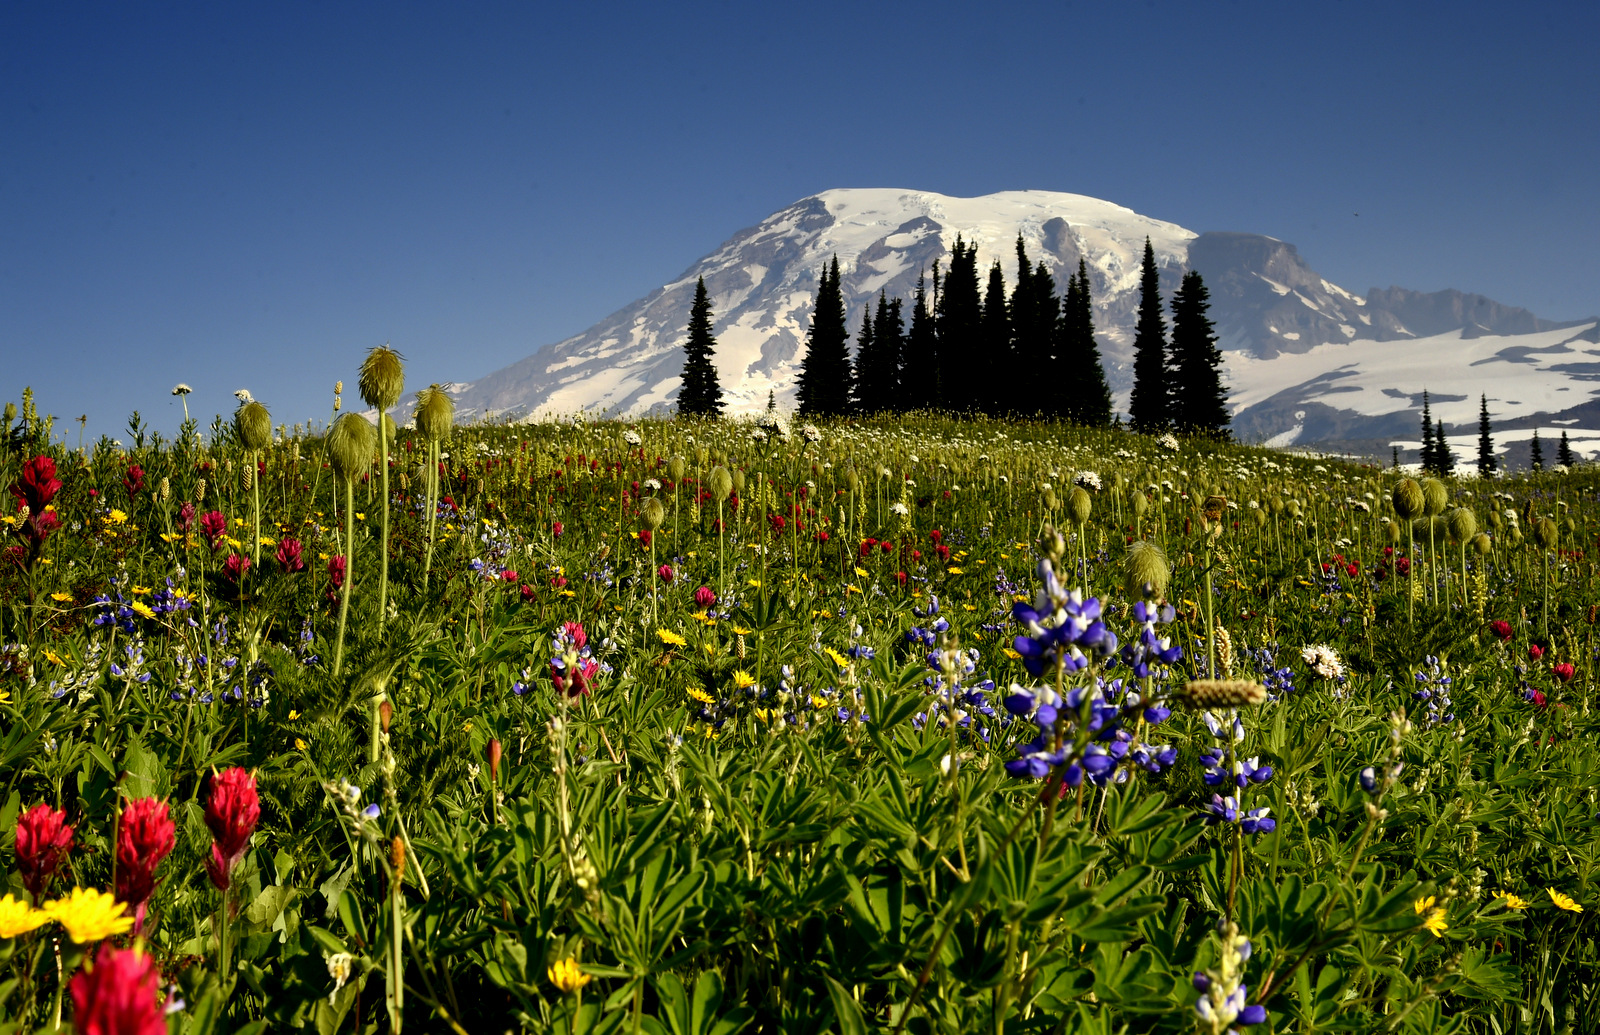
On of my first decent images of the wondrous wildflower displays that one can find near Mt. Rainier.


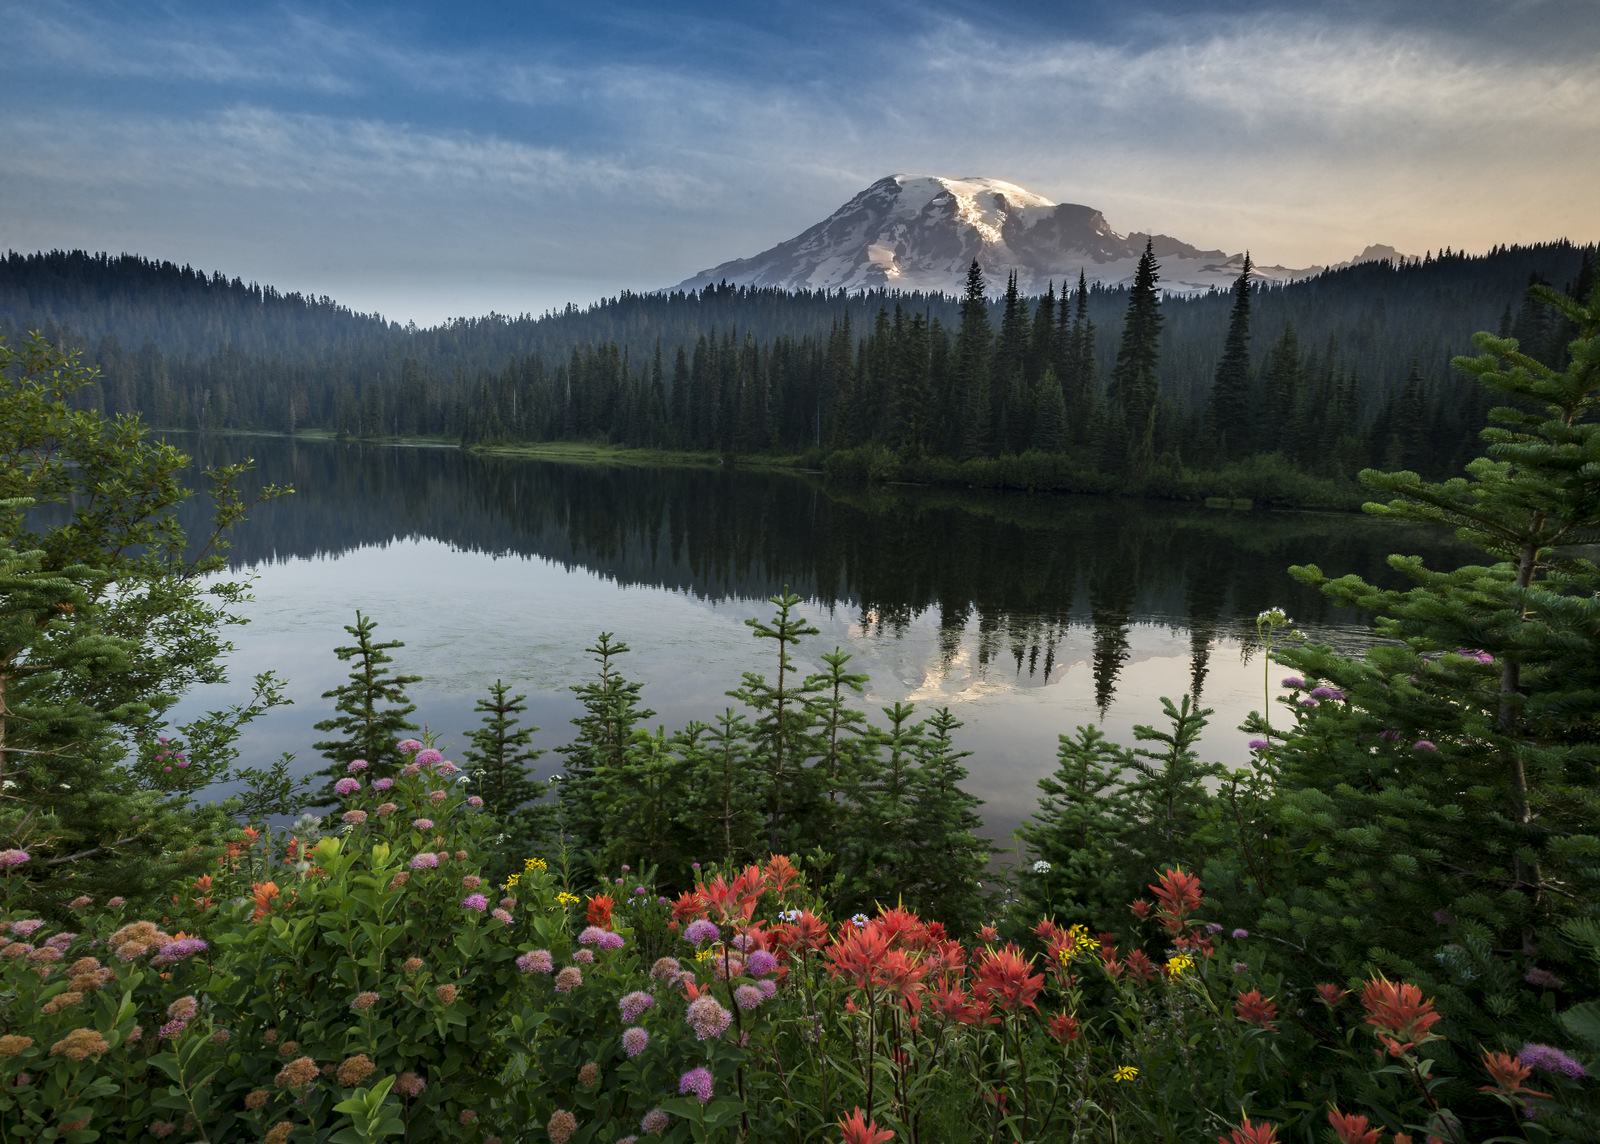
#6.  Reflection Lake

Reflection Lake (2114)

And my first decent image of Mt Rainier at Reflection Lake with a nice dash of color from wildflowers.  A twofer!


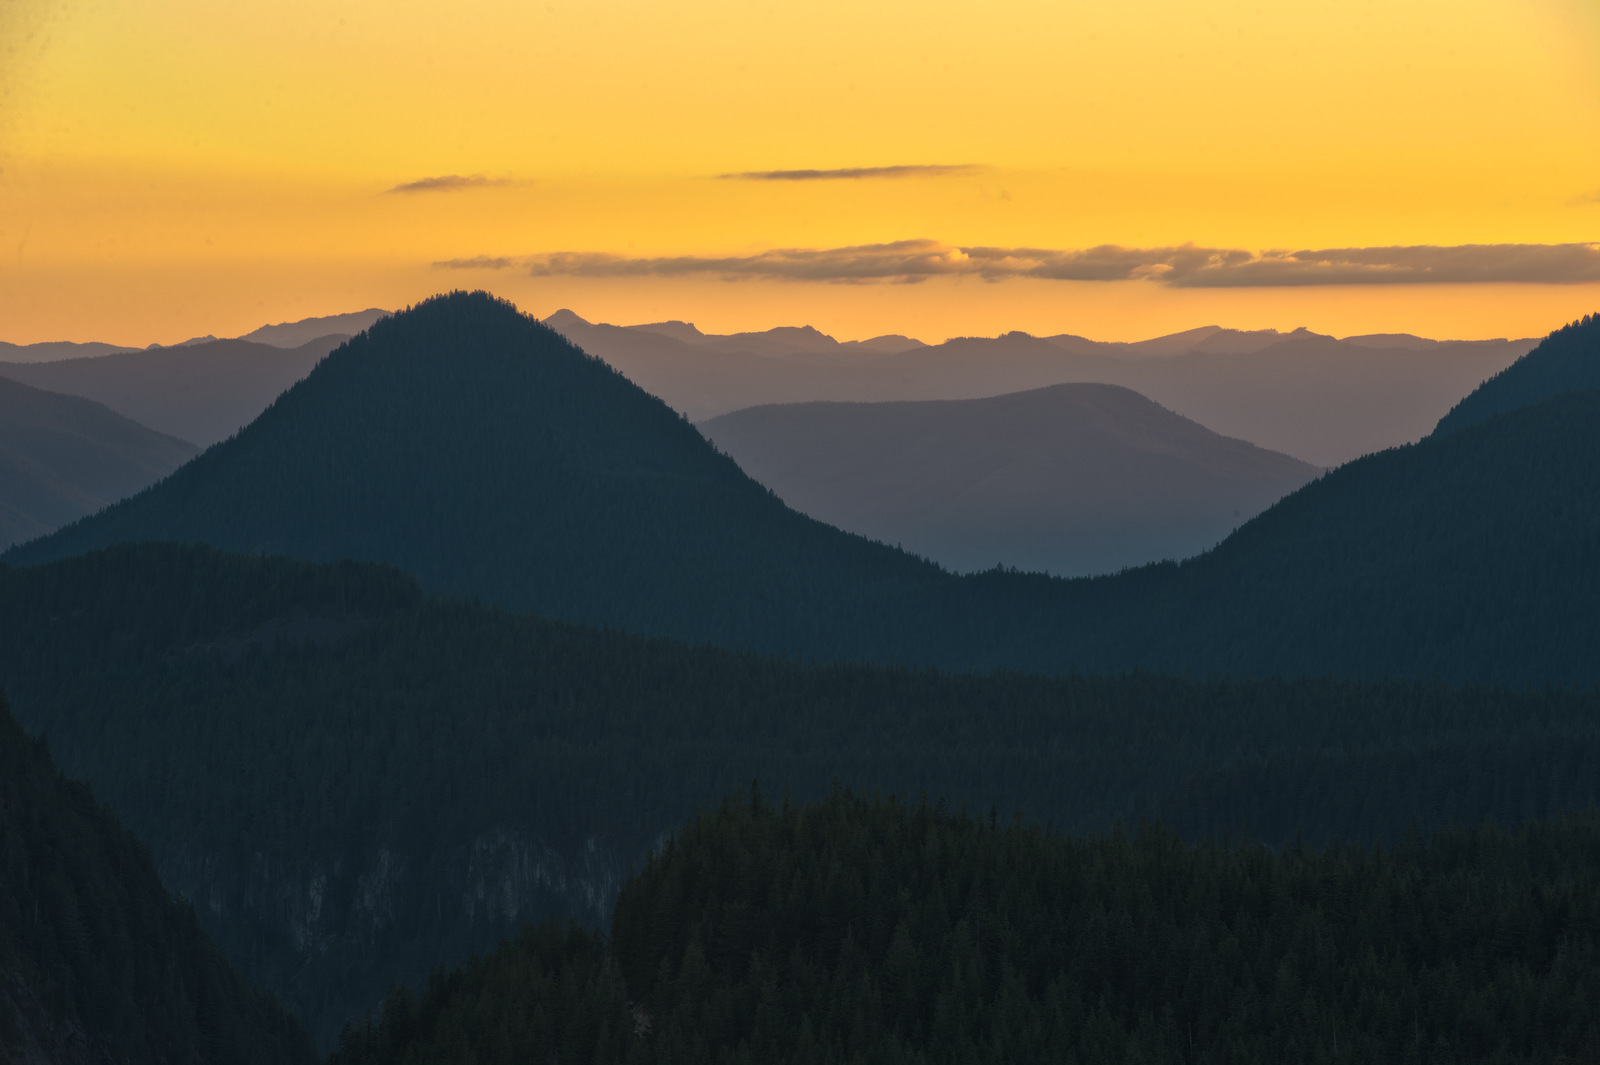
#7 Cougar Rock

Cougar Rock (0050)

A lovely sunset vantage point near Mt. Rainier.


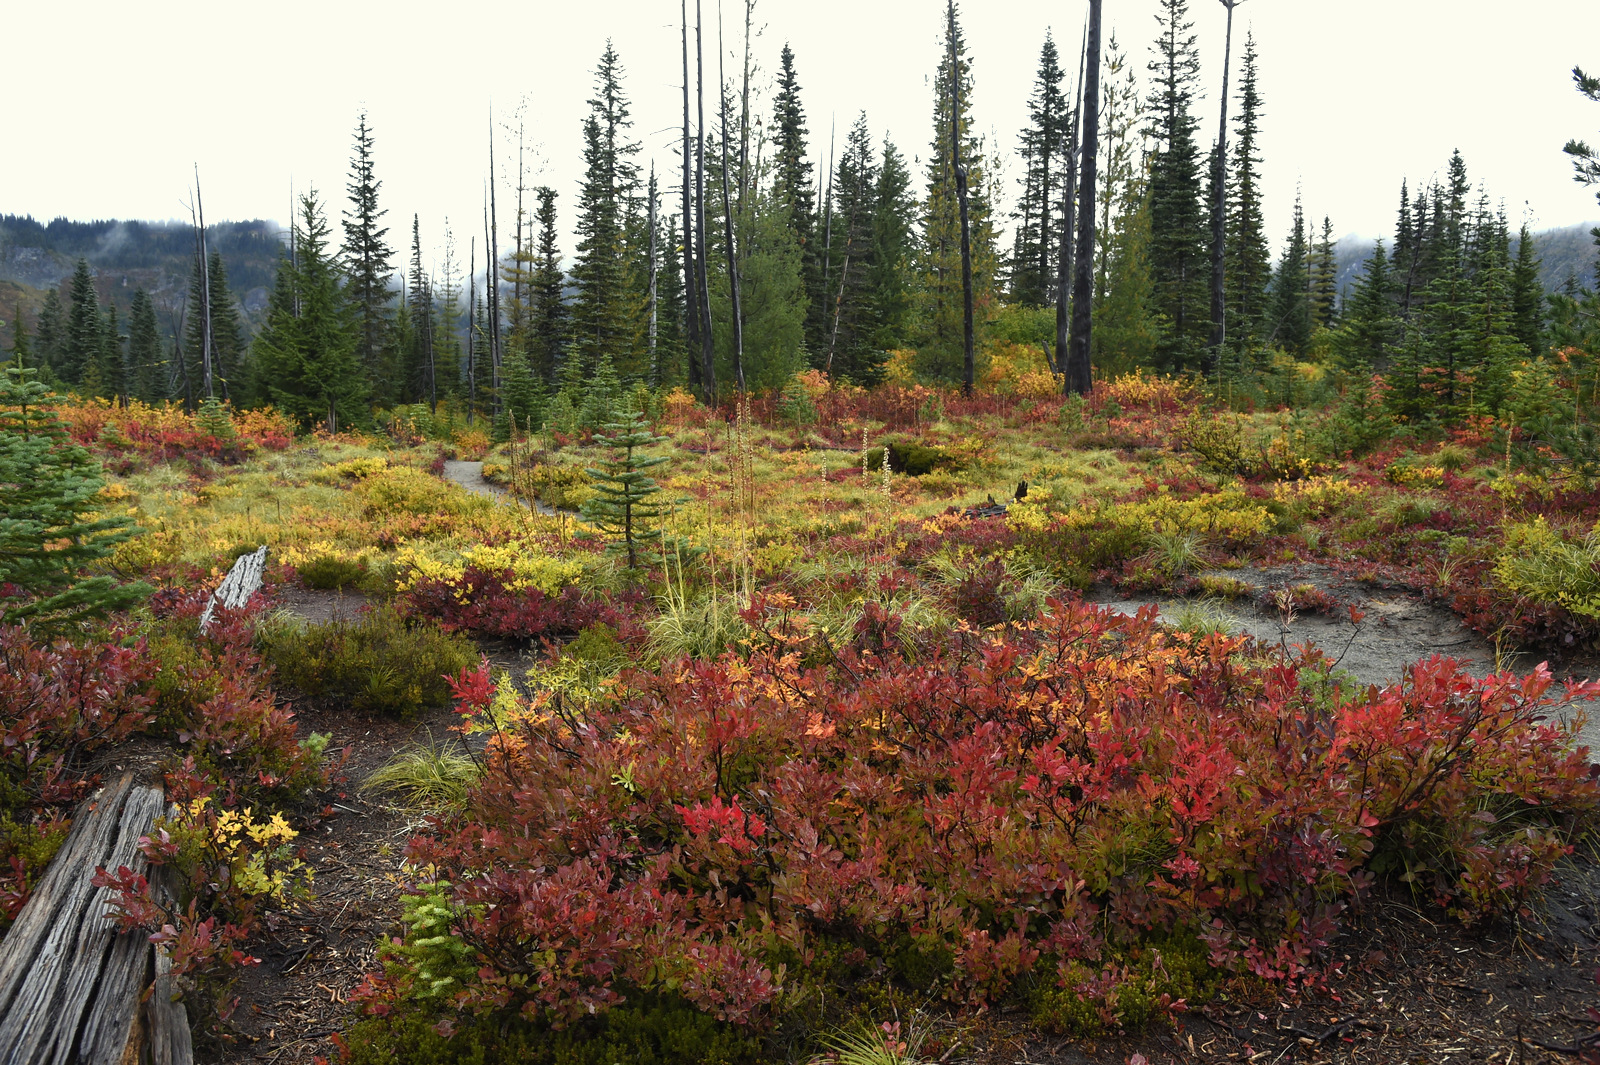
#8 Mt. Rainier Fall

Rainier Color (3331)

An autumn scene near Mt. Rainier.  In Vermont the fall is all about looking up into the trees to see the display.  Here near Mt. Rainier it is all about looking down as Huckleberry and Larch provide much of the color.


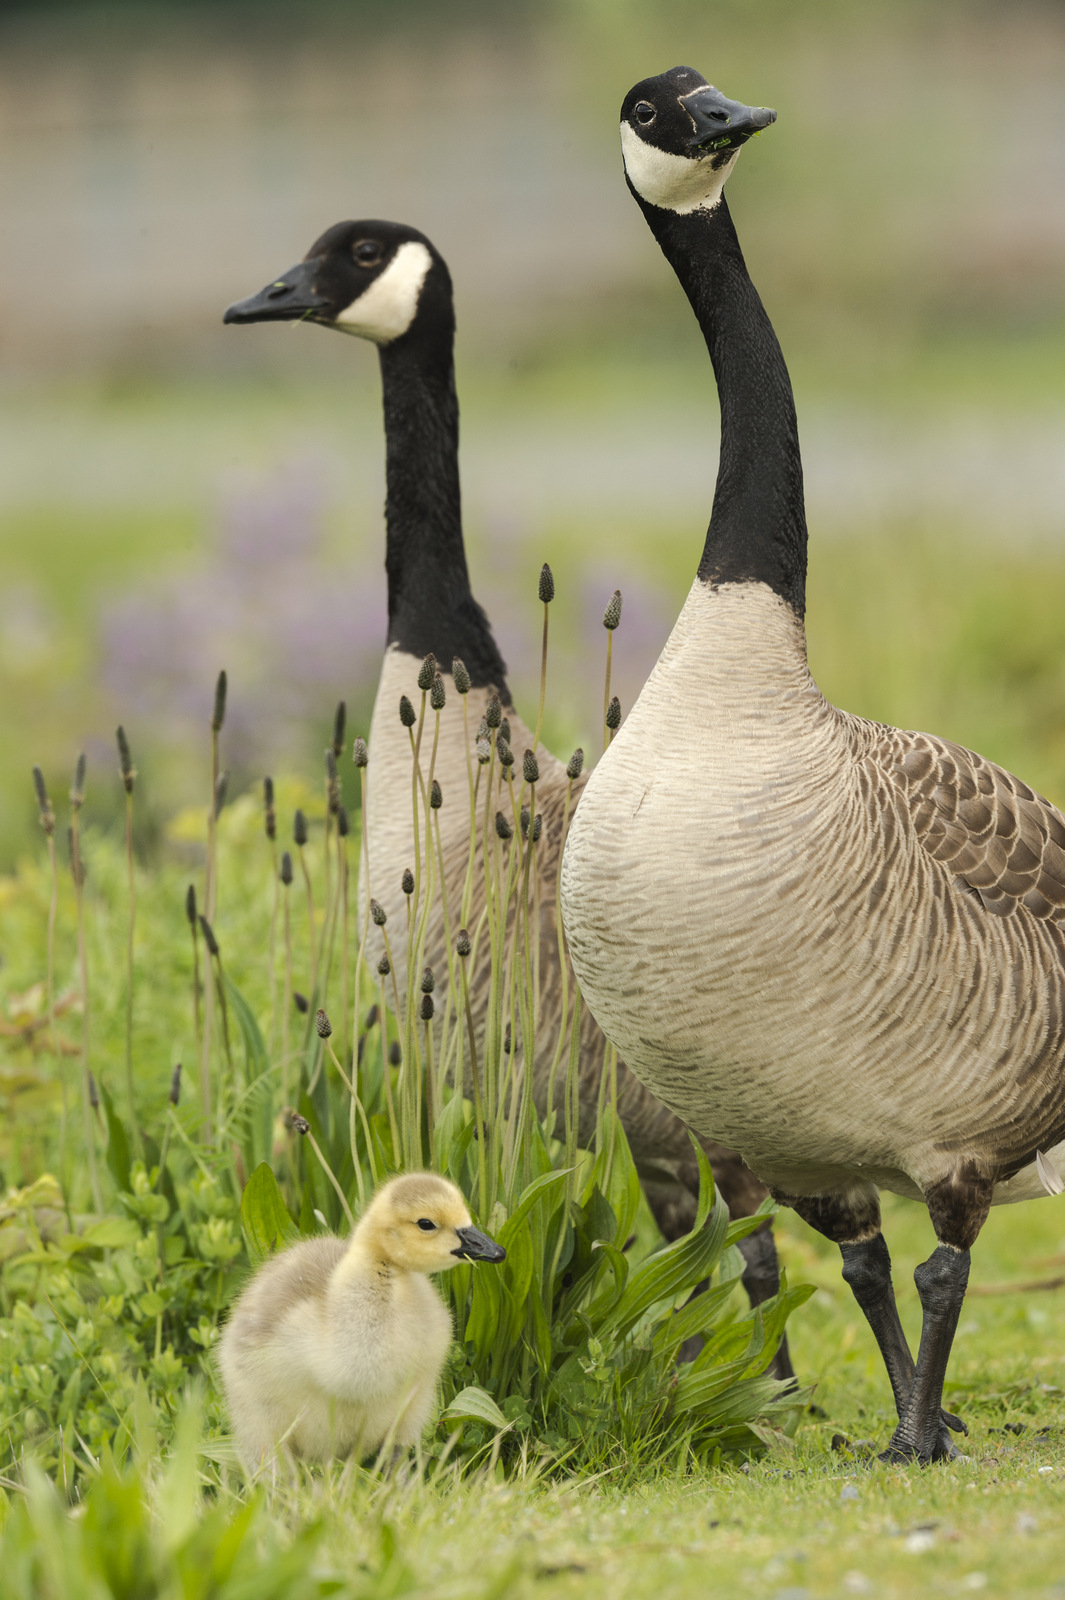
#9  Goose Family

Canada Goose (3657)

Last year an image of a robin was a surprise entry in the top ten list.  This year it is the Canada Goose.  Usually not one of my favorite creatures, as explained here, but I love this image.


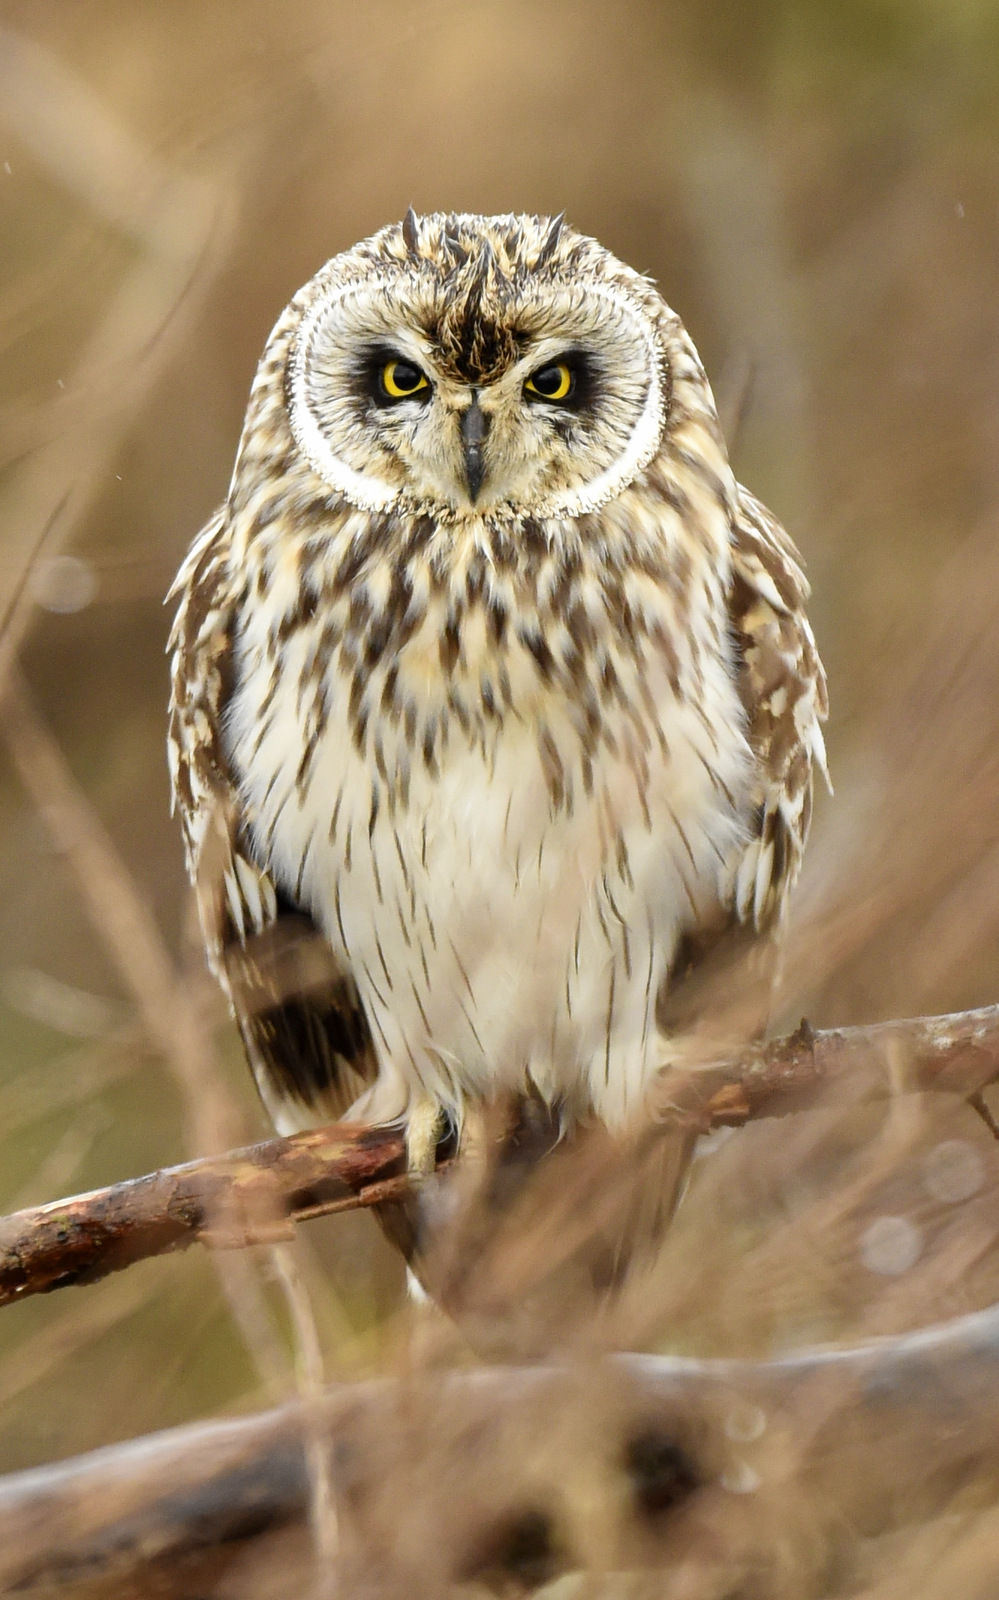
#10  Short-eared Owl

Short-eared Owl (1917)

I prefer images of owls in flight but I can’t resist the grumpy face and devil horns of this short-eared owl.

A Golden Life

Shot of the Month – December 2017

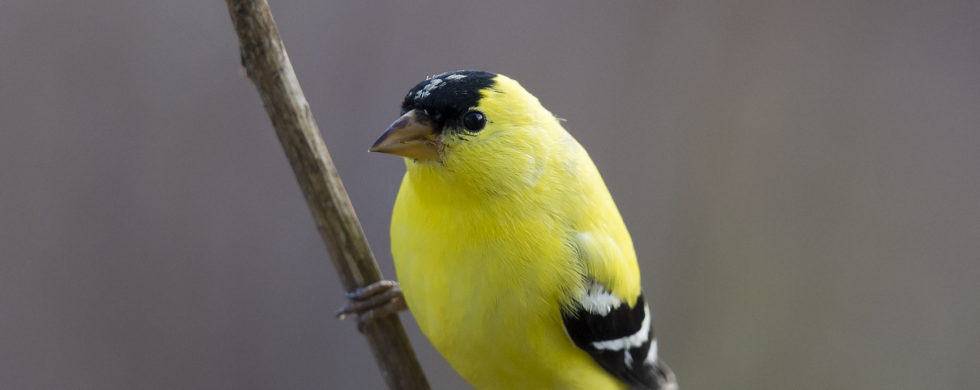
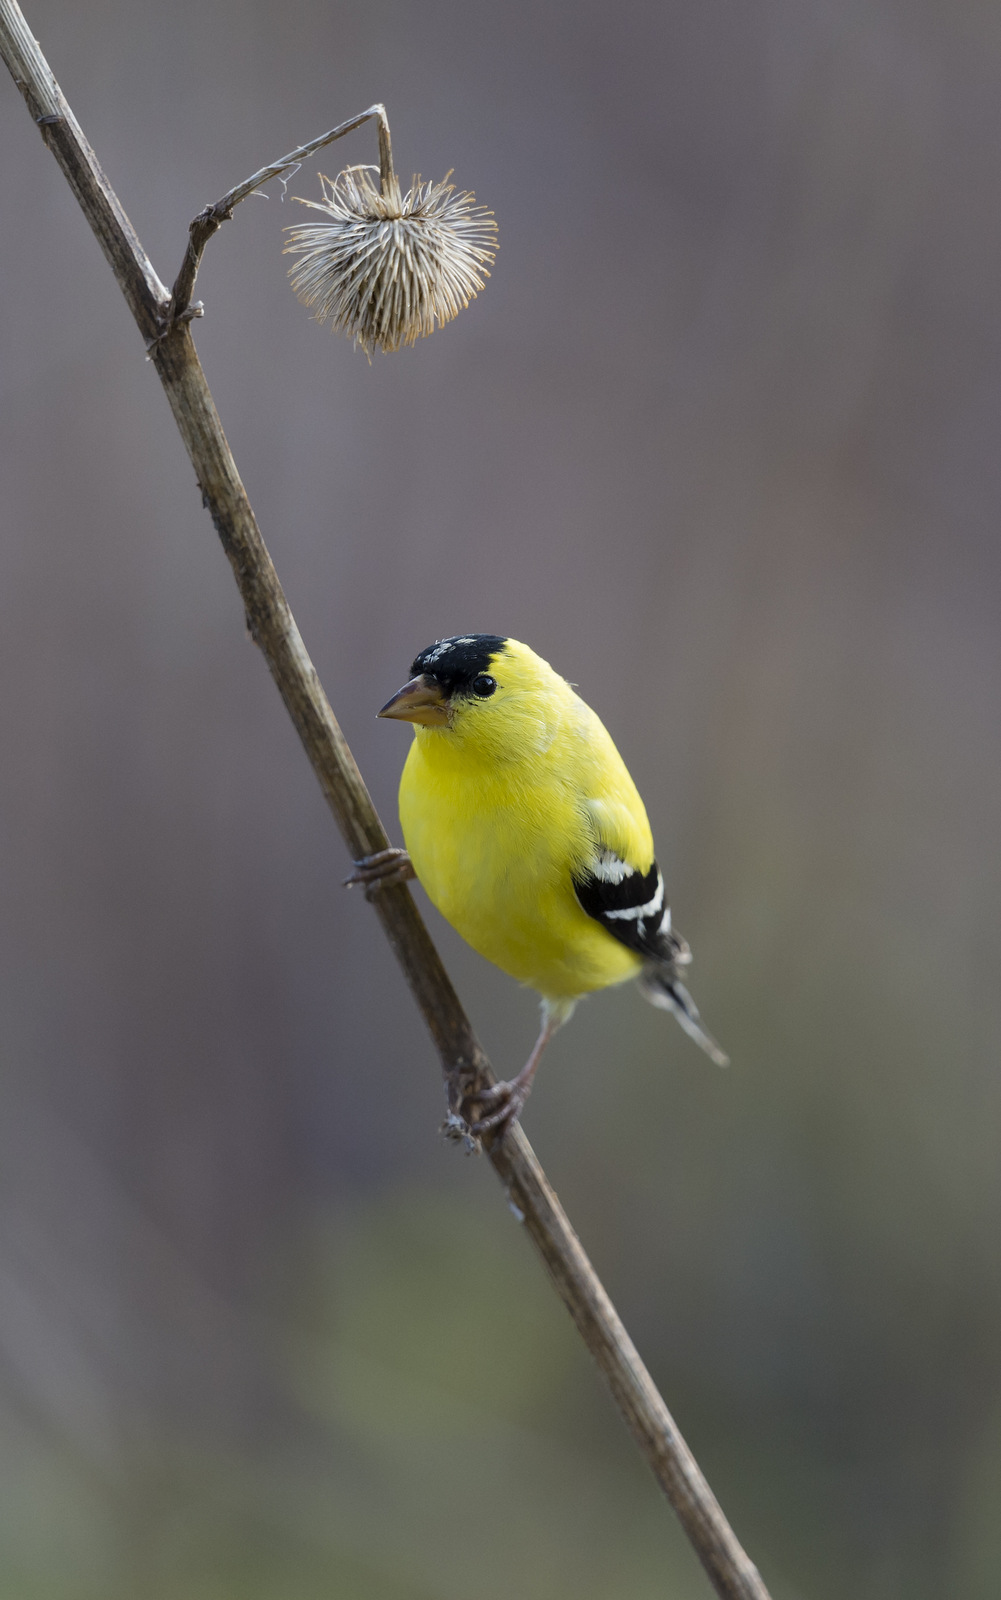
American Goldfinch, Vermont (2810)This month a dash of gold to help ward off those winter blues.  The American Goldfinch (AG) is a very popular, triple threat kinda bird.  First, the bright lemon yellow of the male in full mating plumage is a visual wonder.  After a long winter, nothing gives a jolt of hope like catching a glimpse of that bright yellow near the end of spring — it is a clear indication that warmer weather is just around the corner.  Second, the AG is not only a looker but also renowned for its lovely song.  And last, the AG flies with a bouncy, undulating pattern that is fun to watch — the males often call while singing to draw attention to themselves.  Triple threat, and not shy about showing it off.

The AG prefers open country where weeds thrive, such as fields, meadows, flood plains, as well as roadsides, orchards, and gardens.  The AG is also a frequent visitor to bird feeders.

As part of the finch family the AG has a short stocky bill that is useful for extracting seeds from the seedheads of thistles, sunflowers, teasel, dandelion, ragweed, mullein, cosmos, goatsbeard, alder and other plants.  This small finch is strictly vegetarian though they may eat the occasional insect inadvertently – hey, we’ve all been there; but generally they eat seeds almost exclusively.  Unlike most finches, the AG uses its agile feet extensively to grip the stems of seedheads while feeding. (source)

This strict diet is a problem for Brown-headed cowbirds.  How so?  Well, the Brown-headed cowbird lays its eggs in other bird’s nests and let’s those parents raise their chicks.  It is an incredibly lazy, if not brilliant parenting approach.  This strategy fails however if the egg is placed in a goldfinch nest.  Once hatched, the poor cowbird chick rarely survives more than three days in their adopted home as they cannot get enough nutrition from that all-seed diet that goldfinch parents feed their chicks.

The AG  nests later than most other birds, usually around June or July, to allow the birds to feed on the abundance of milkweed and thistle present at the time of the summer.

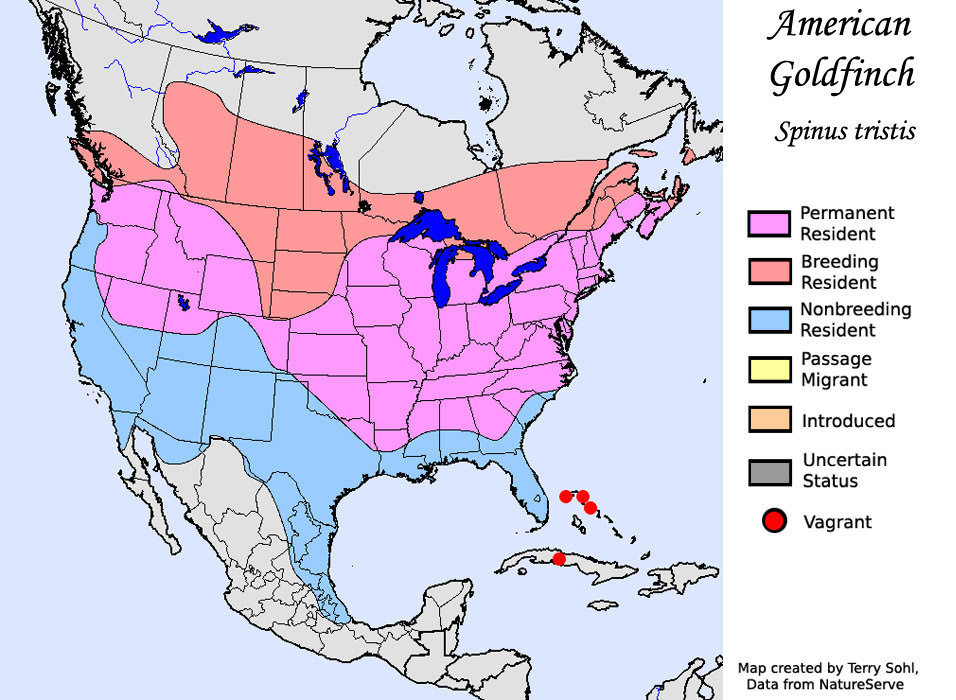
American Goldfinch Range (source)

The AG can be found across most of the United States though these finches will migrate during the winter.  Birds in northern areas will move south just enough to reach areas where the minimum average January temperature is no colder than zero degrees Fahrenheit.  Wow, that is precise.

The AG is the state bird of Iowa and New Jersey, where it is called the “Eastern Goldfinch”, and Washington where it is called the “Willow Goldfinch”.

The AG is not threatened by human activity and is widespread throughout its range.  The clearing of forests by humans, though harmful to many species, has benefited the AG.  Clearing of woodlands reduces the number of other birds and creates open spaces where weeds thrive — the preferred habitat for AG.

Good looks, favorable and expanding habitat, and a crowd favorite – for this little finch life is indeed golden.


Until next month….


Nikon D4S, Nikon 600mm, f/4, 1/1000s, ISO 1100,

Whoa, That’s Deep…

Shot of the Month – November 2017

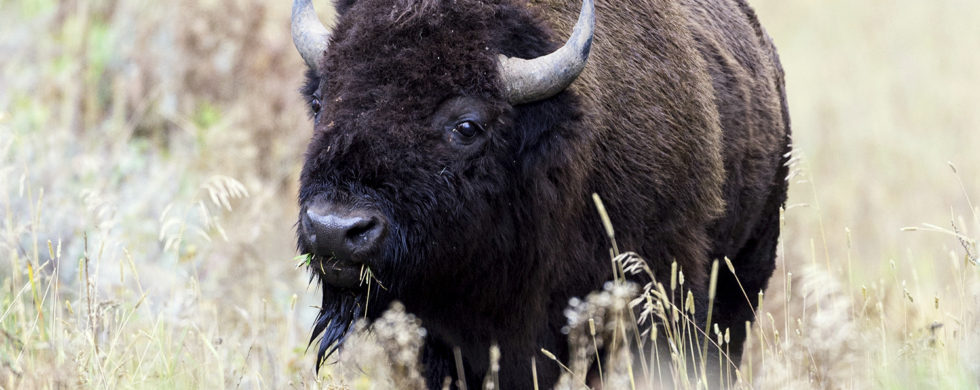
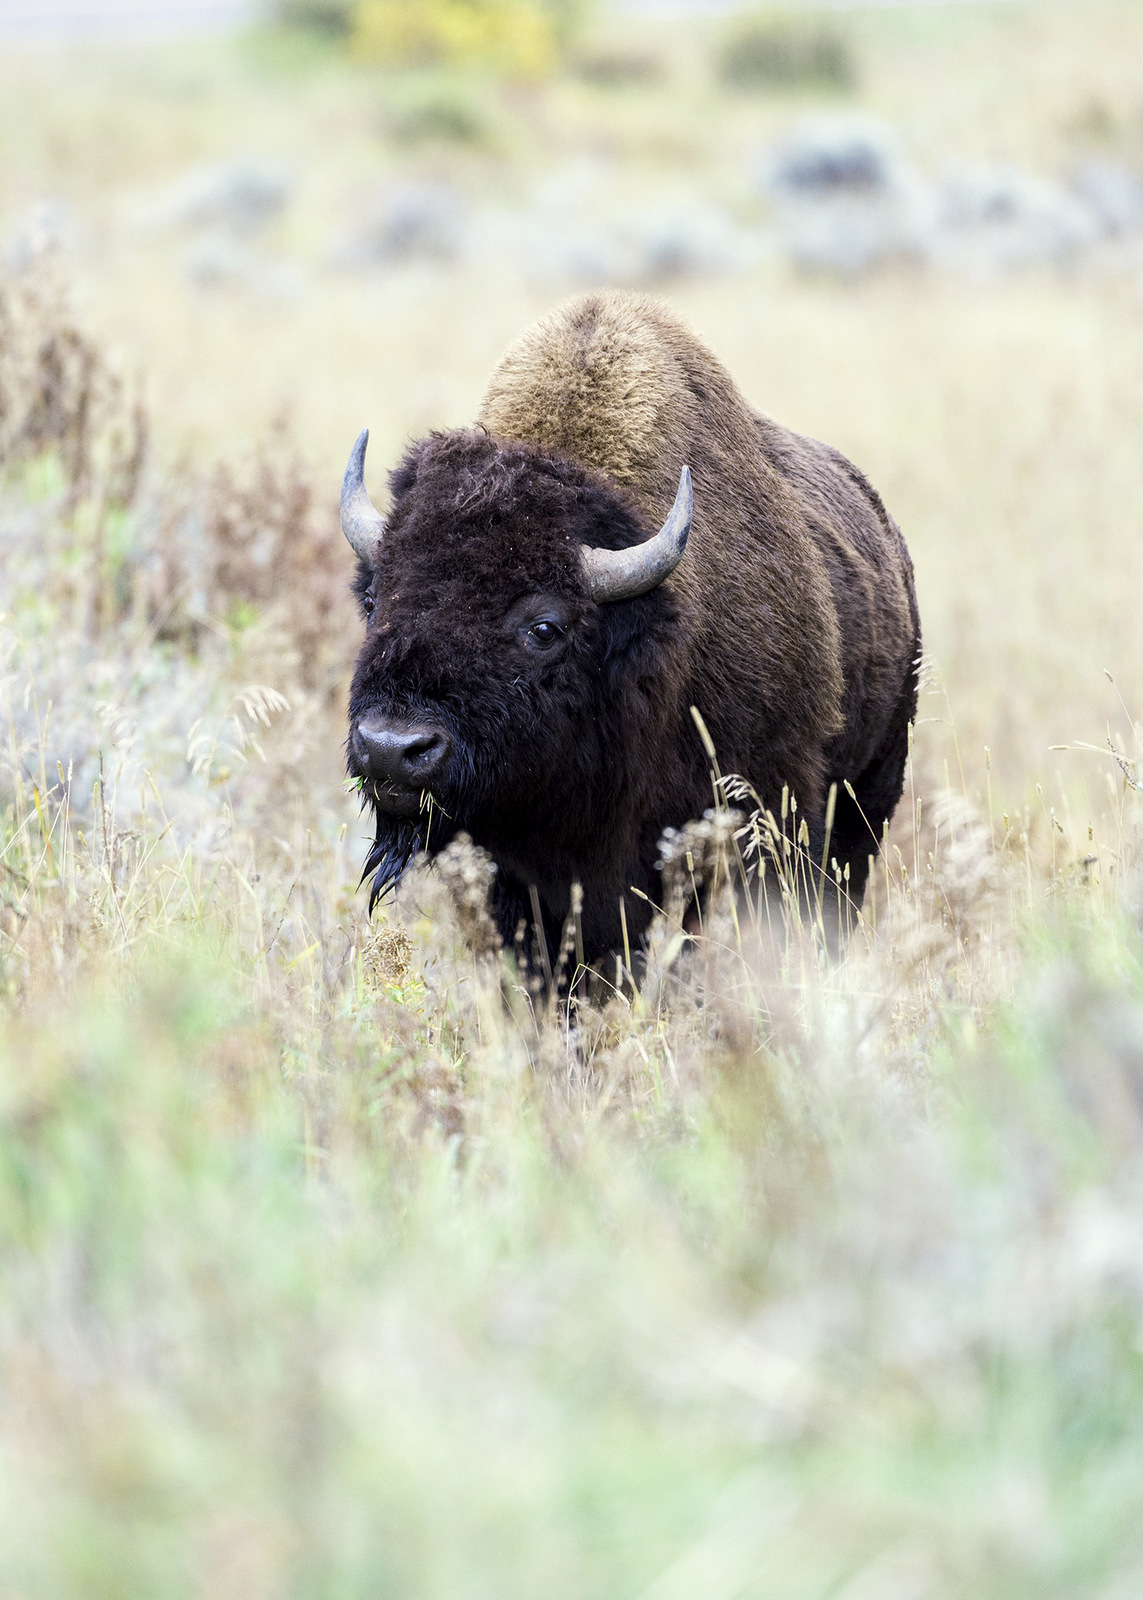
Bison, Yellowstone NP (5710)One of the great challenges of photography is that our images are forever trapped in a two-dimensional plane.  Alas, this often renders our images a poor representation of our richly three-dimensional world and many images can look flat and, well, boring.  While we can’t overcome the physical realities of this space-time conundrum, we can use some nifty composition techniques to create the appearance of depth in our photographs.

For example, I have dozens of photographs of bison — most of which are pretty mundane — a large brown creature not doing very much.  But look at this image — wow, I love how my eye is drawn in.  There are so many layers that the image becomes much closer to giving a sense of our 3D world.  With this image, we don’t just observe, but we are pulled in and explore the space.

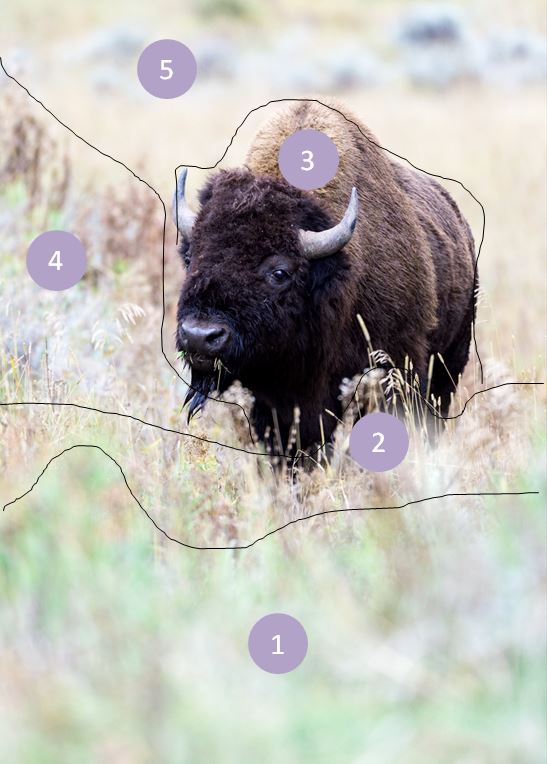
How did we get so much depth in this shot?  Let’s break the image up into different zones as shown in the image to the lower right and see how they build depth into the scene.

Depth of Field

By using a wide aperture on my lens the resulting shallow depth field leaves only the bison in sharp focus. Our eyes are naturally drawn to elements that are in sharp focus.   In this image, the bison really pops compared to the grasses in front and behind her and provides a sense of depth. (Zone 3)  For the basics on understanding depth of field, click here.

Foreground

A visual element in the foreground can add depth.  In this image, the out-of-focus green grass provides the first layer to the image. (Zone 1)

LayeringCreating Depth

Images with the greatest amount of perceived depth will include elements in the foreground, middle ground, and background.  In this image, we have the green grass in the foreground, the bison in the middle ground, and the out of focus, but visible bushes of different colors, in the background.  Zone 1 is out of focus and green.  Zone 2 is still out of focus but now a different color.  With zone 3 the bison is in sharp focus compared to all the other zones, and its rich brown color also provides a clear distinction.  The color transition of zone 4 from front to back and the verticality of the brown plants in the rear of this zone lead the eye back away from the bison to the empty plain and colored bushes in zone 5.

Overlapping Elements

By having elements in different layers partially block elements behind it one creates the impression of depth.   The green grass in the foreground is the first barrier to entry and then we have that yellow grass just before the bison that partially obscures the massive beast.  It doesn’t seem like much, but that little bit of yellow grass in front of the bison does a lot to help add a sense of depth to the image. (Zone 2)

Shoot in Portrait

Shooting in portrait helps encourage seeing depth.  How so?  Well, look straight ahead and then move your head from side to side.  Your eyes will naturally fall on objects which are about the same distance away.  But if you move your head up and down, now your eyes will focus on objects at varying distances from very near to very far away.  Shooting in portrait recreates that dynamic and can help you to create more depth in your image. (source)

These are just a few of the techniques one can use to create images that people will want to reach out and touch because they seem so real.

Photographs often act like a mirror, providing a two-dimensional reflection of the world.  With a bit of vision and technique, we can transcend these flat worlds much as Alice did when she walked through her looking glass into a fantastical world of adventure.  Try some of these techniques to get beyond photo to portal and transform your photographic reflection into a full-bodied world rich in layers and depth that the viewer will want to leap into and explore.


Here is a very good article with great examples of how you can work a scene to infuse more depth.  And here is an article with more techniques that you can use to create depth.


Until next month….m


Nikon D4S, Nikon 200-400mm (@400mm) f/4.8, 1/1000 s, ISO 1000,

At the Height of Color

Shot of the Month – October 2017

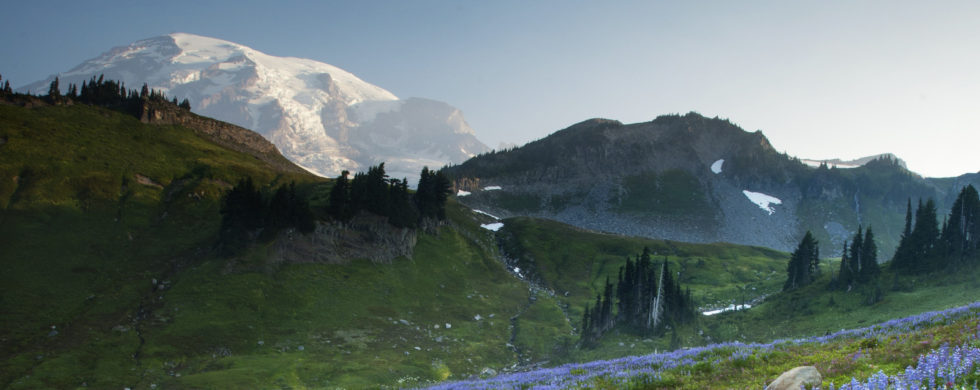
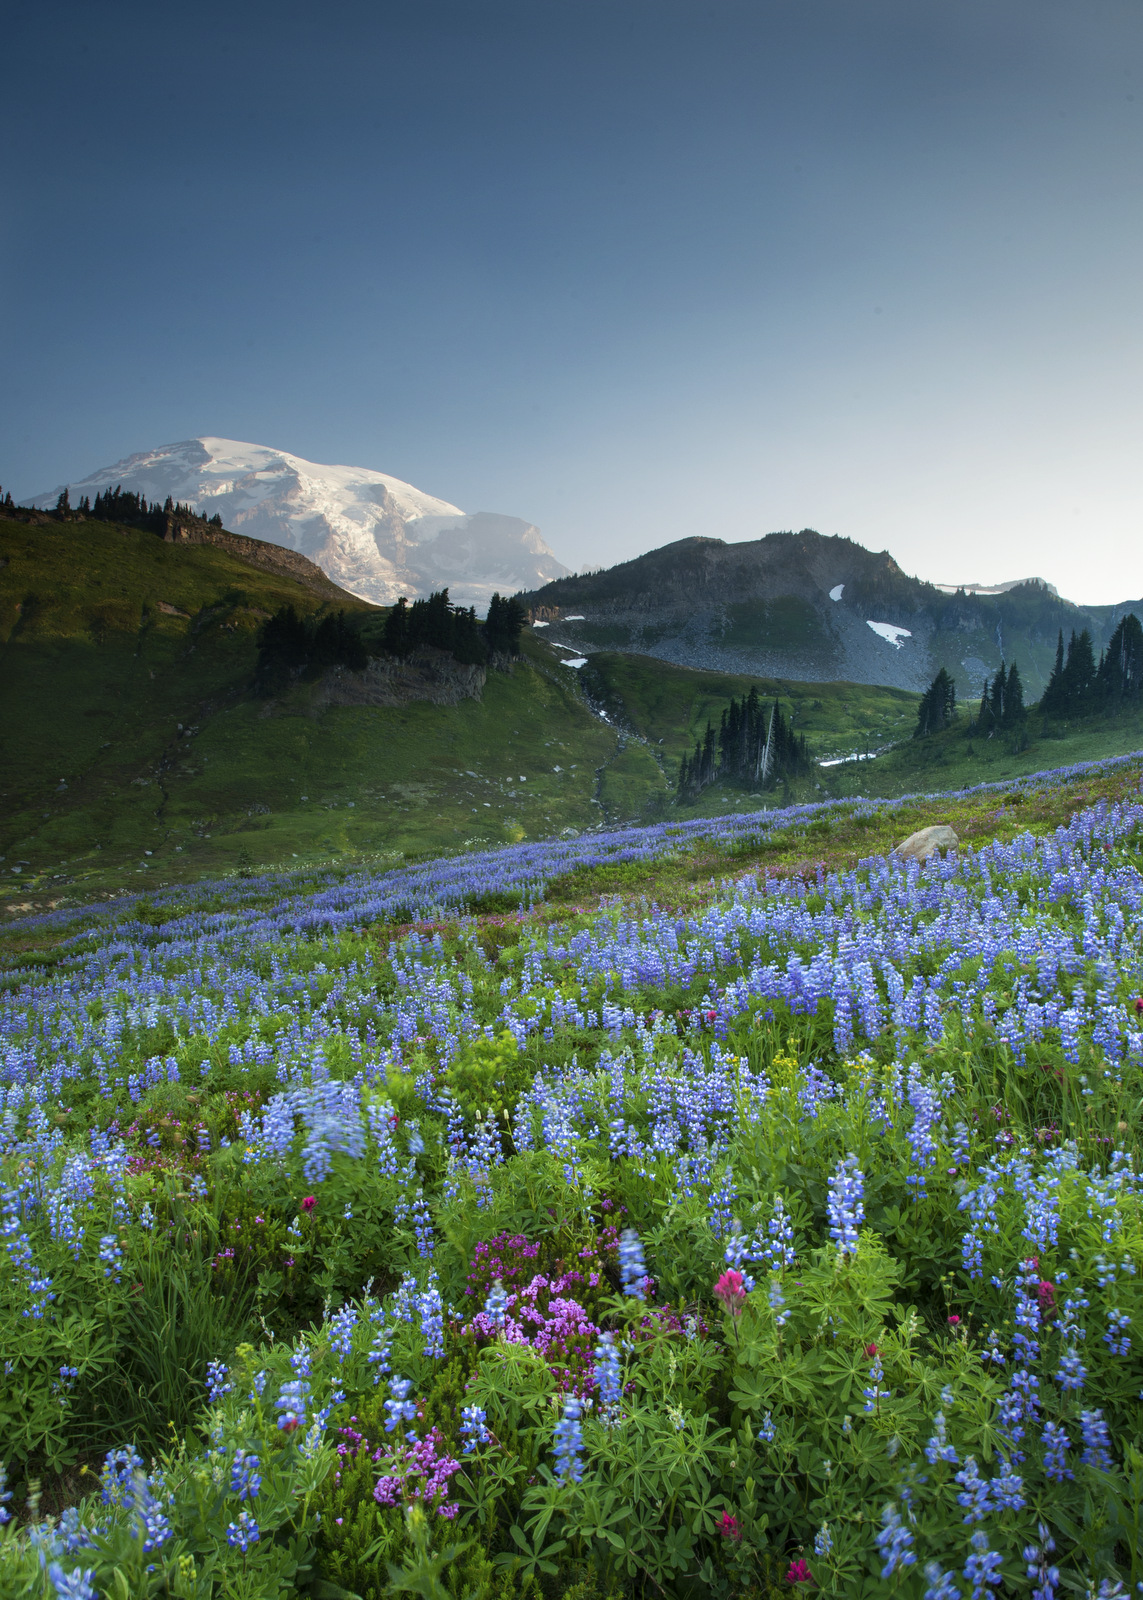
Lupine Meadow, Mt. Rainier (1365)If you love color, check your calendar and your compass as it is likely that Mother Nature is putting on a glorious show somewhere near you.  In the northeast of the US, the best time is in the autumn with the fall foliage.  Here in Washington state there is a lovely explosion of color in the meadows near Mount Rainier each summer.  How good is the display?  Well, Bob Gibbons, in his book, “Wildflower Wonders: The 50 Best Wildflower Sites in the World” lists Mt. Rainier as the #1 location to visit!

The best time to see the show?  Well, Mother Nature is an artist and is not fond of strict schedules and the like.  She creates as the mood suits her.  This mountain park is divided into three zones by altitude.  Dense forests cover the low to mid-elevations of the park from 2,000 to 4,500 feet.  The cool, shady conditions found here suit wildflower species that won’t be found higher up.  These flowers tend to bloom earlier in the summer.  Next, we have the subalpine zone from 4,500 to 6,500 feet.  The subalpine zone often has the most impressive wildflower displays because the growing season is so short here.  Snow can linger in the subalpine meadows into June and even July — so the flowers need to burst out as quickly as they can before the snows return.  Climbing higher is the alpine zone from 6,500 feet to the summit of the mountain.  There are a few hearty flowers in this zone but it is not where you want to be for the most color. (source)

The “peak” bloom for subalpine wildflowers is very dependent on weather and precipitation patterns.  Typically, most flowers will be blooming by mid-July and by early August the fields can be bursting with color.  But some years the peak happens in late June.  Also, climate change is starting to impact the timing and seems to be shifting the bloom to earlier in the summer.  So far I have found the 1st or 2nd week of August to be the most colorful.

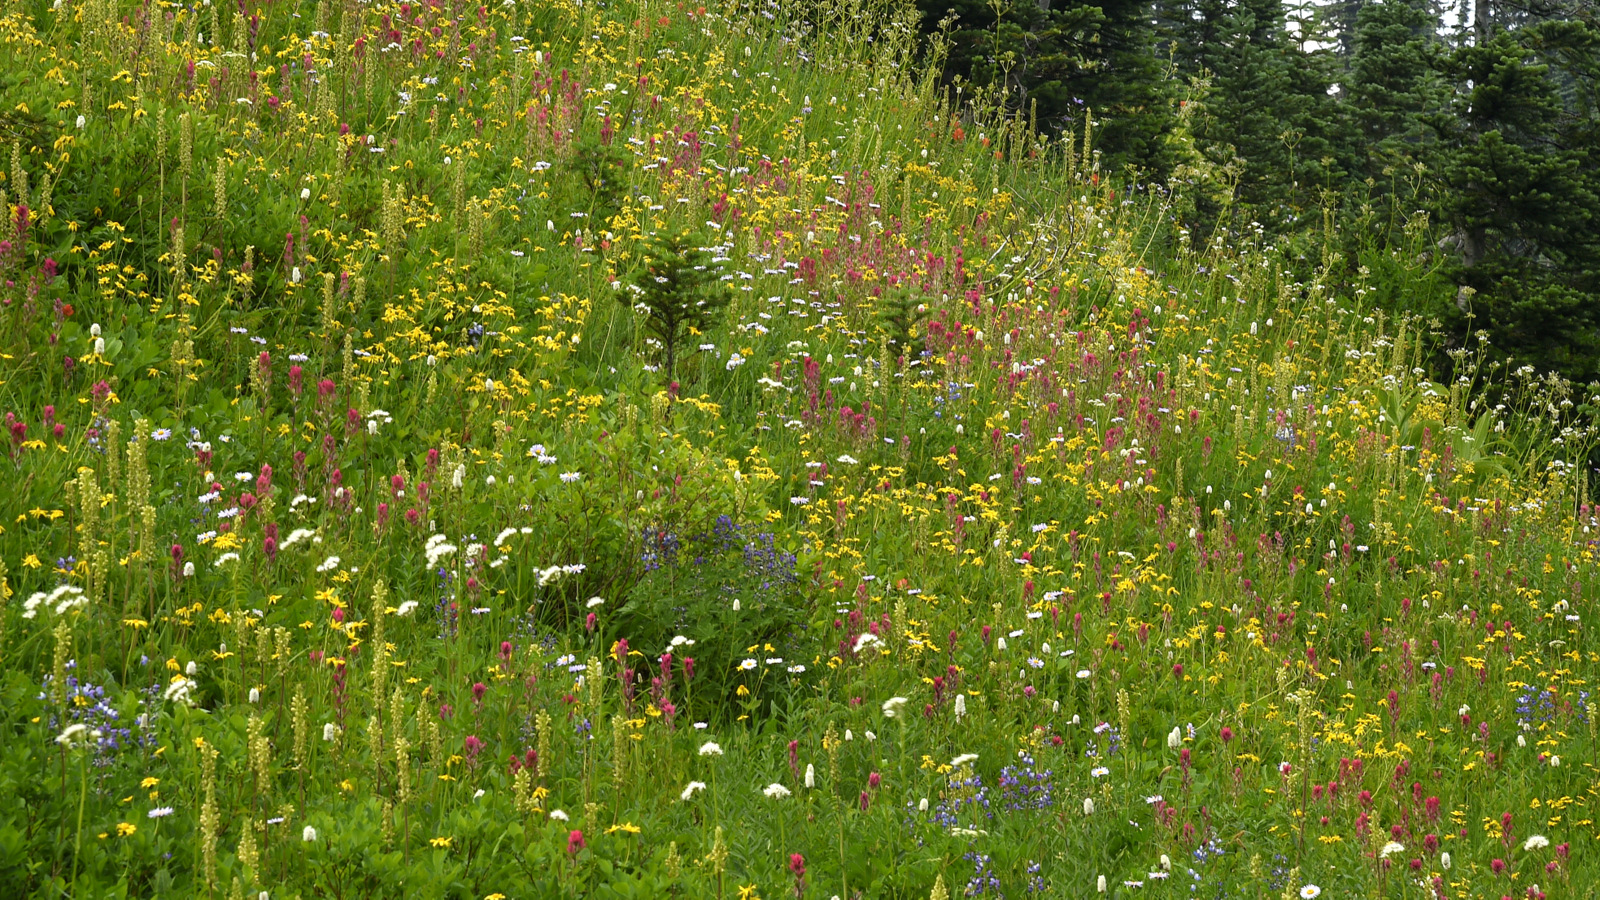
What will you see?  Mt. Rainier has hundreds of species of wildflowers — a cornucopia of blues, purples, oranges, reds,Wildflowers, Mt. Rainier (1634) whites, greens, pinks, and on and on.  In this quiet, peaceful sunrise image above we look over a long sloping meadow dominated by sub-alpine lupines (purple) that leads to snow-covered Mt. Rainier off in the distance.   There are also dashes of red (Scarlet Paintbrush) and pink (Pink Mountain Heather).   Come on a different day, at a different time of day, on a different trail and you can see a completely different color palette.  Here to the right is a rambunctious burst of afternoon color dominated by yellows (Broadleaf Arnica and Bracted Lousewort)) and reds (Scarlet Paint Brush) amongst others.

The canvas changes by the hour.

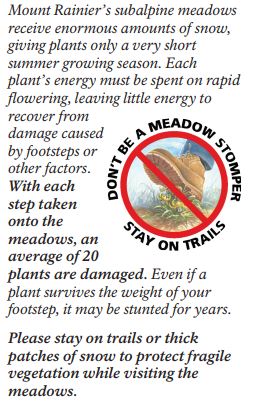
If you do dig your hiking boots out of the closet to take in a mountainside color exhibition do take great care.  Mountain wildflowers are exceptionally fragile.  Each step you take off the trail can crush 20 plants.  Even if a plant survives the weight of your footstep its growth can be stunted for years!!  Stay off the artwork!!

A few resources:

Here is a good article on planning a trip to Mt. Rainier to see wildflowers.

A nice collection of hikes on Mt. Rainier to see wildflowers.

A handy wildflower guide of Mt. Rainier.


Until next month….m


Nikon D4S, Nikkor 17-35mm (@17mm), f/16, 1/10 sec, ISO 200, EV -0.666