07
2016 was a year of transition — we moved across the country from Vermont to Seattle, Washington and we (Nicky and I) both took on new jobs. Between moving and career transition I did not have as much time for photography. We did manage to make two trips to Yellowstone NP (once in the Fall, and once in the Winter) while most other photographic forays were weekend trips exploring our new state. Four of my favorite images were shot in Washington while the other six images were shot in Yellowstone. Click on image below to see it bigger (highly recommended).
The Top Ten for 2016:
#1 Bobcat
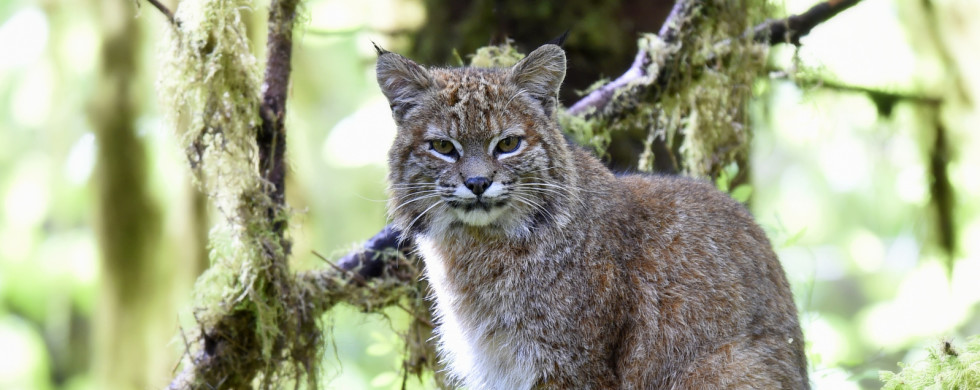
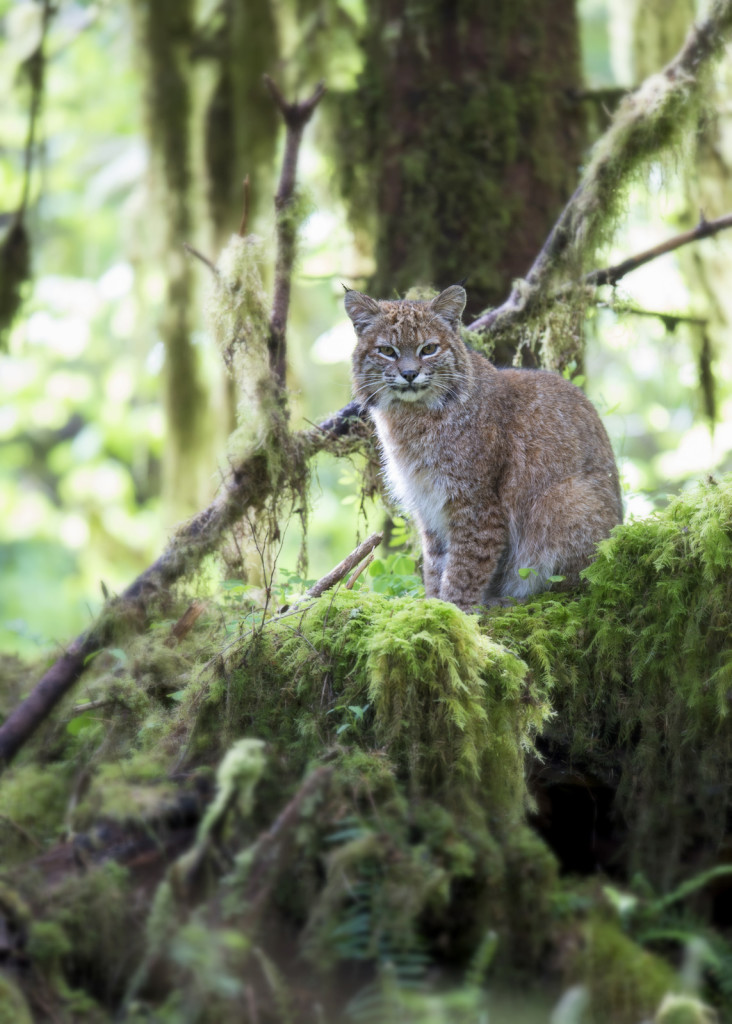
 One of my earliest forays in Washington State allowed me to see my first bobcat in the wild and produced this amazing view in the Hoh Rainforest. You can read the full story behind getting the shot here.
#2 Marmot
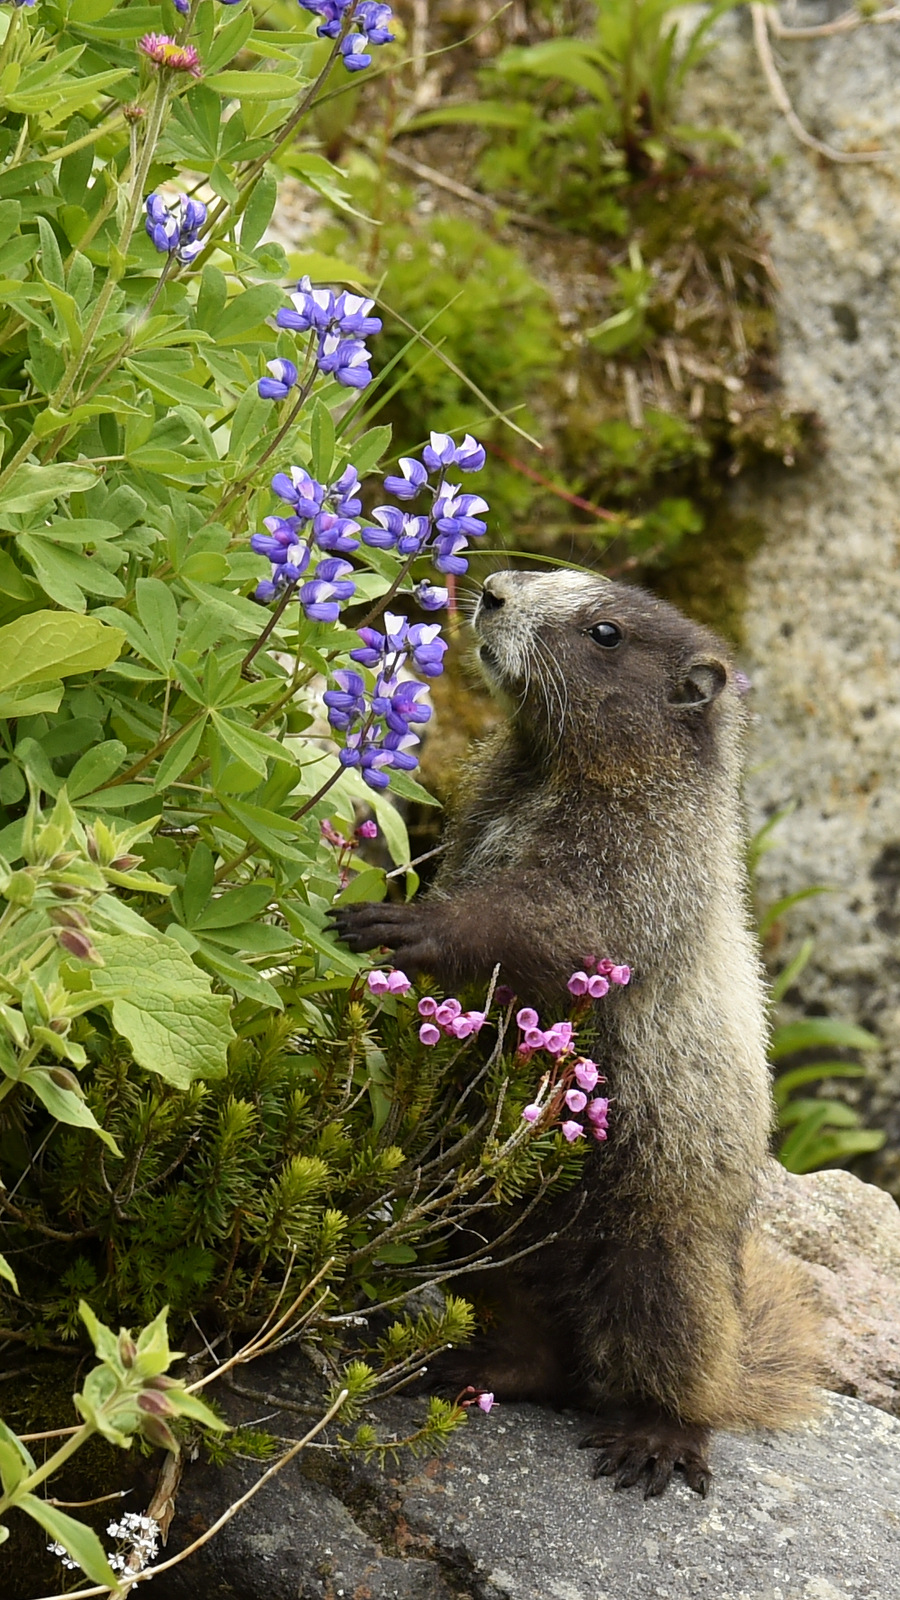 During the summer we visited Mt. Rainier several weekends in a row to try and capture the summer wildflowers at their peak. I didn’t have much luck on that front though I did get this nice shot of a marmot. And in my defense, there are 4 types of wild flowers in this scene!
#3 Great Gray Owl
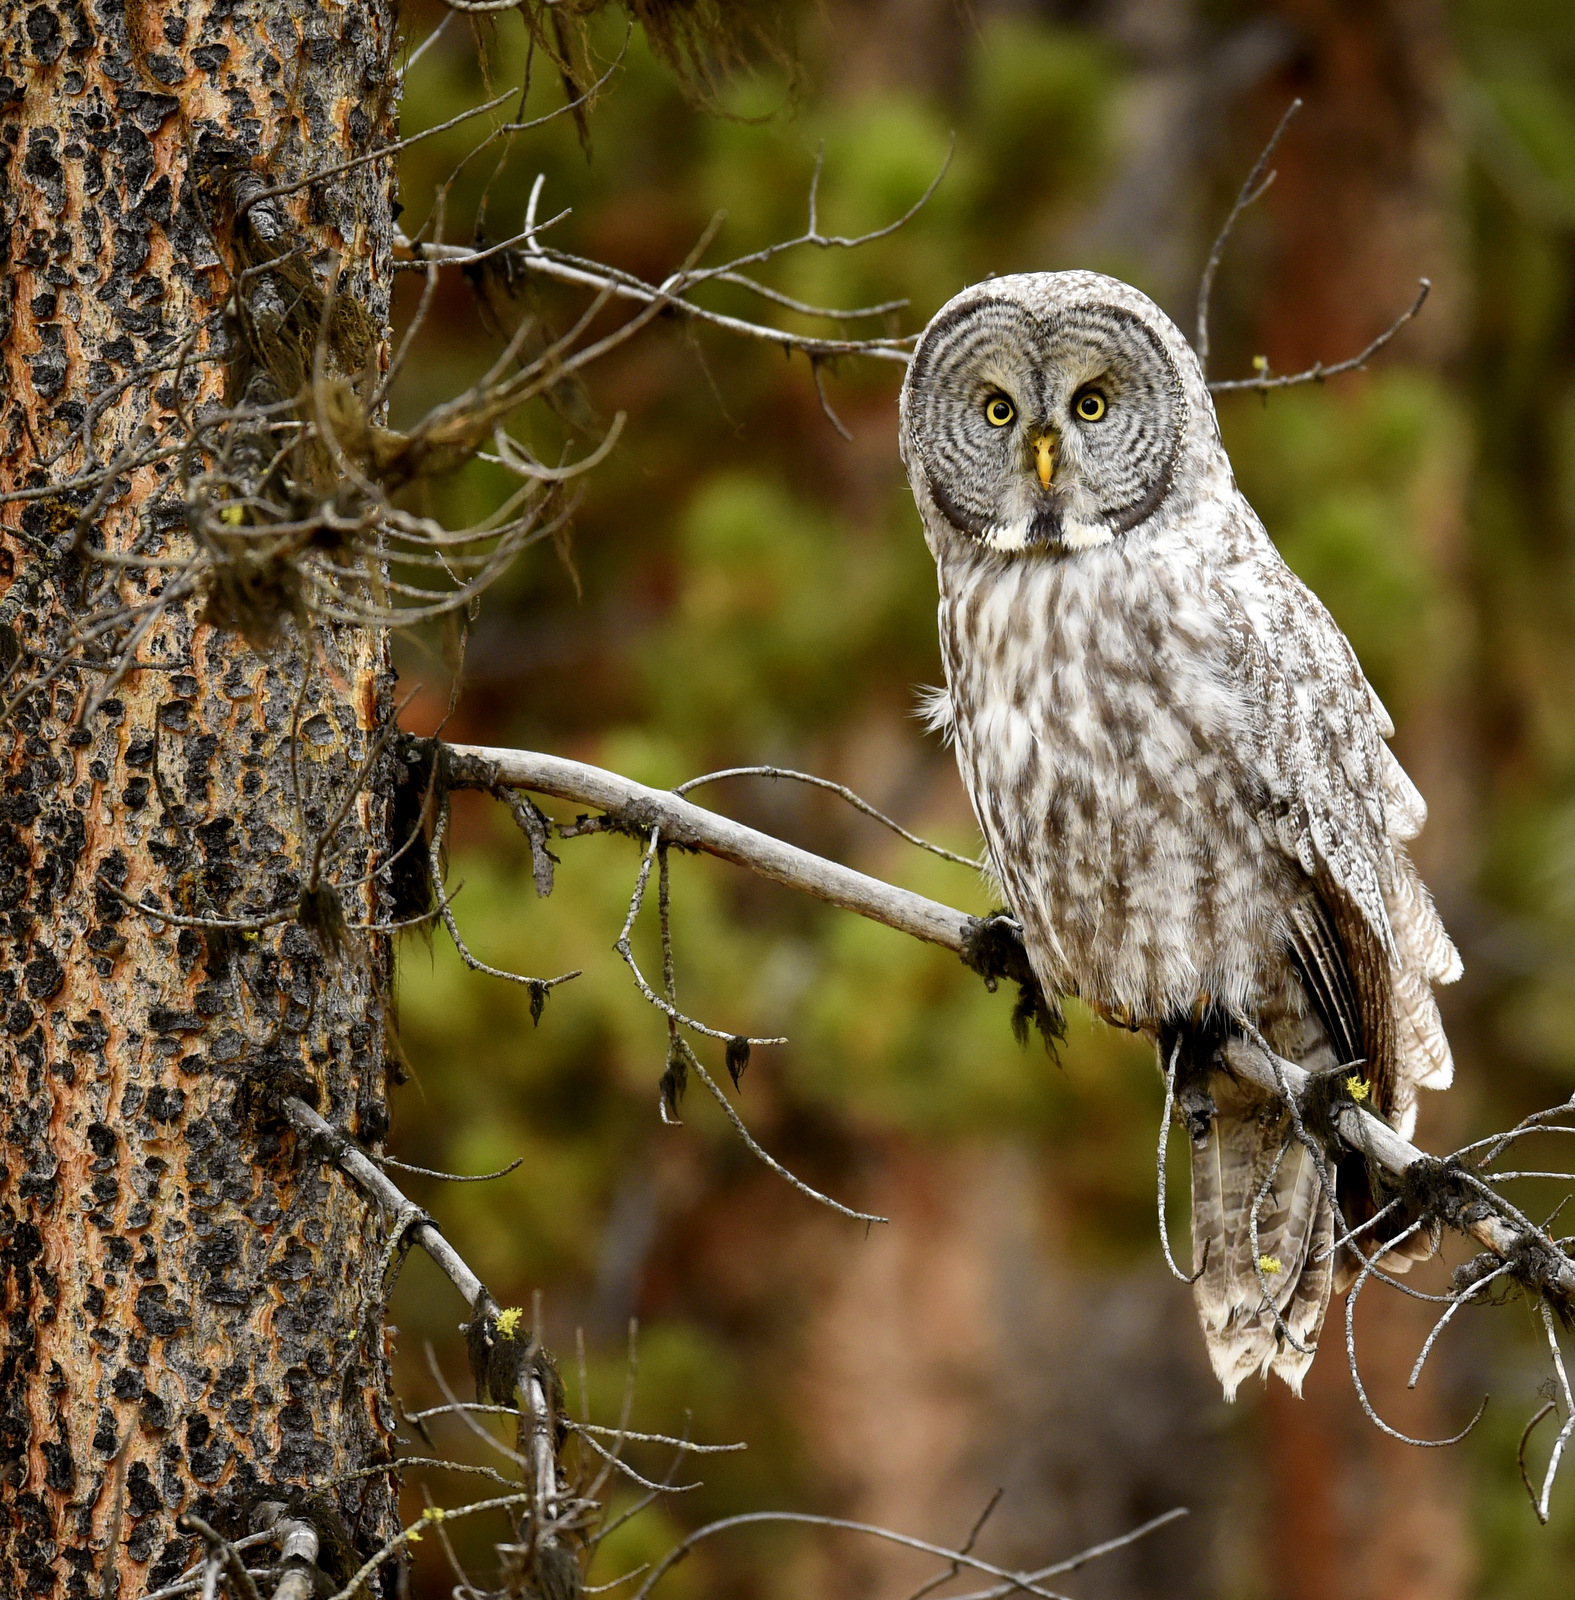 I spent three magical hours alone with this Great Gray Owl in a forest in Yellowstone NP. Wow.
#4 Bighorn Sheep
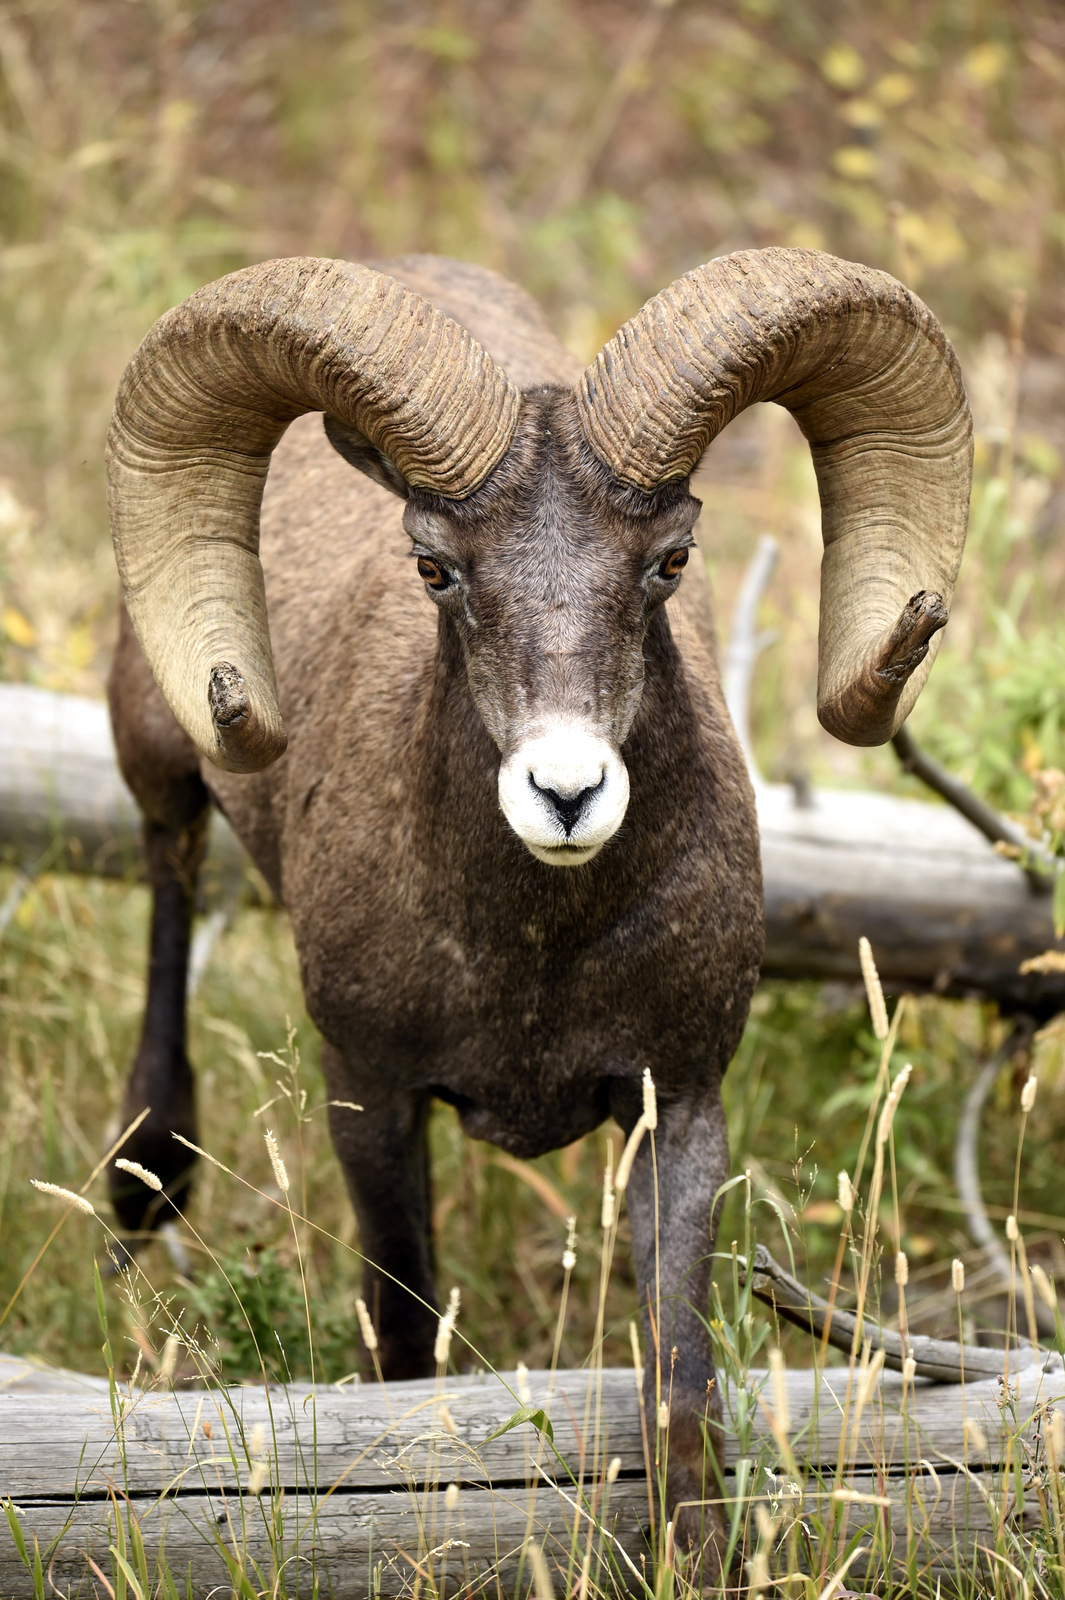 On the fall trip to Yellowstone I had my first sighting of a male Bighorn Sheep. Our guide said that this may have been the biggest ram he had ever seen during his 35 years as a guide.
#5 Yellowstone Landscape
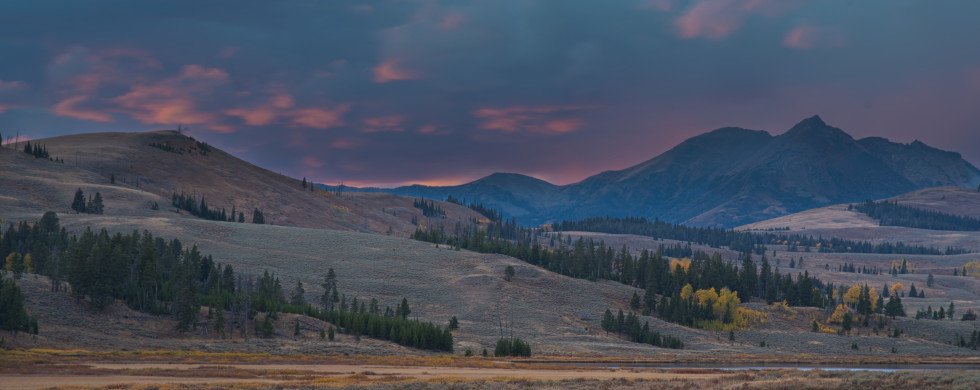
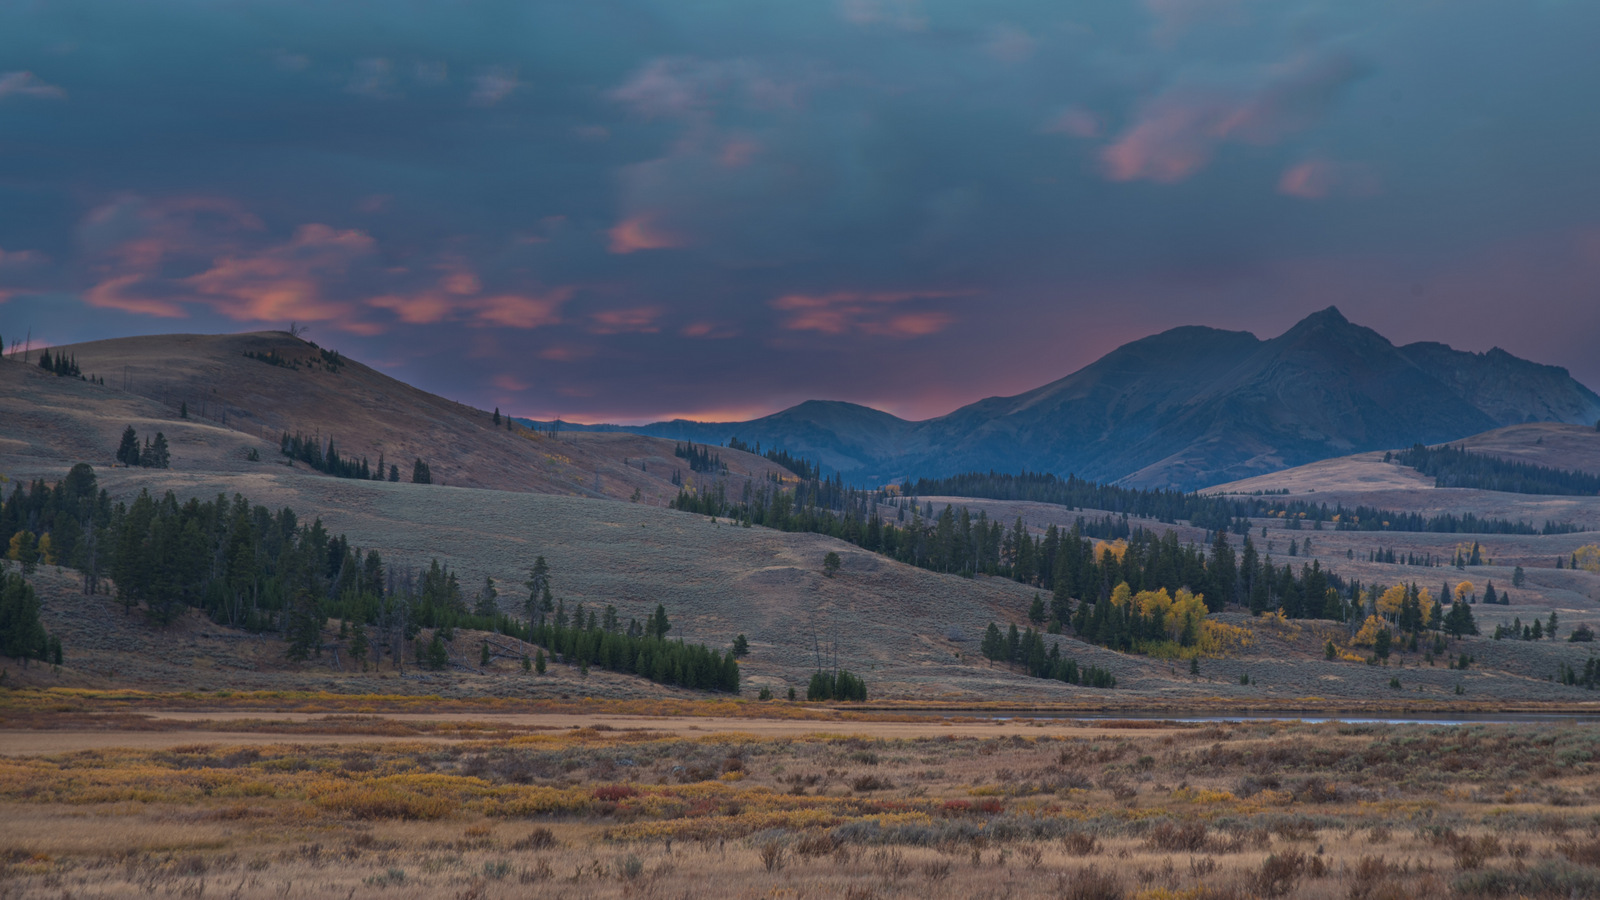 A nice sunset in Yellowstone captured using the HDR technique. If HDR is jibberish to you, learn more here.
#6 Robin
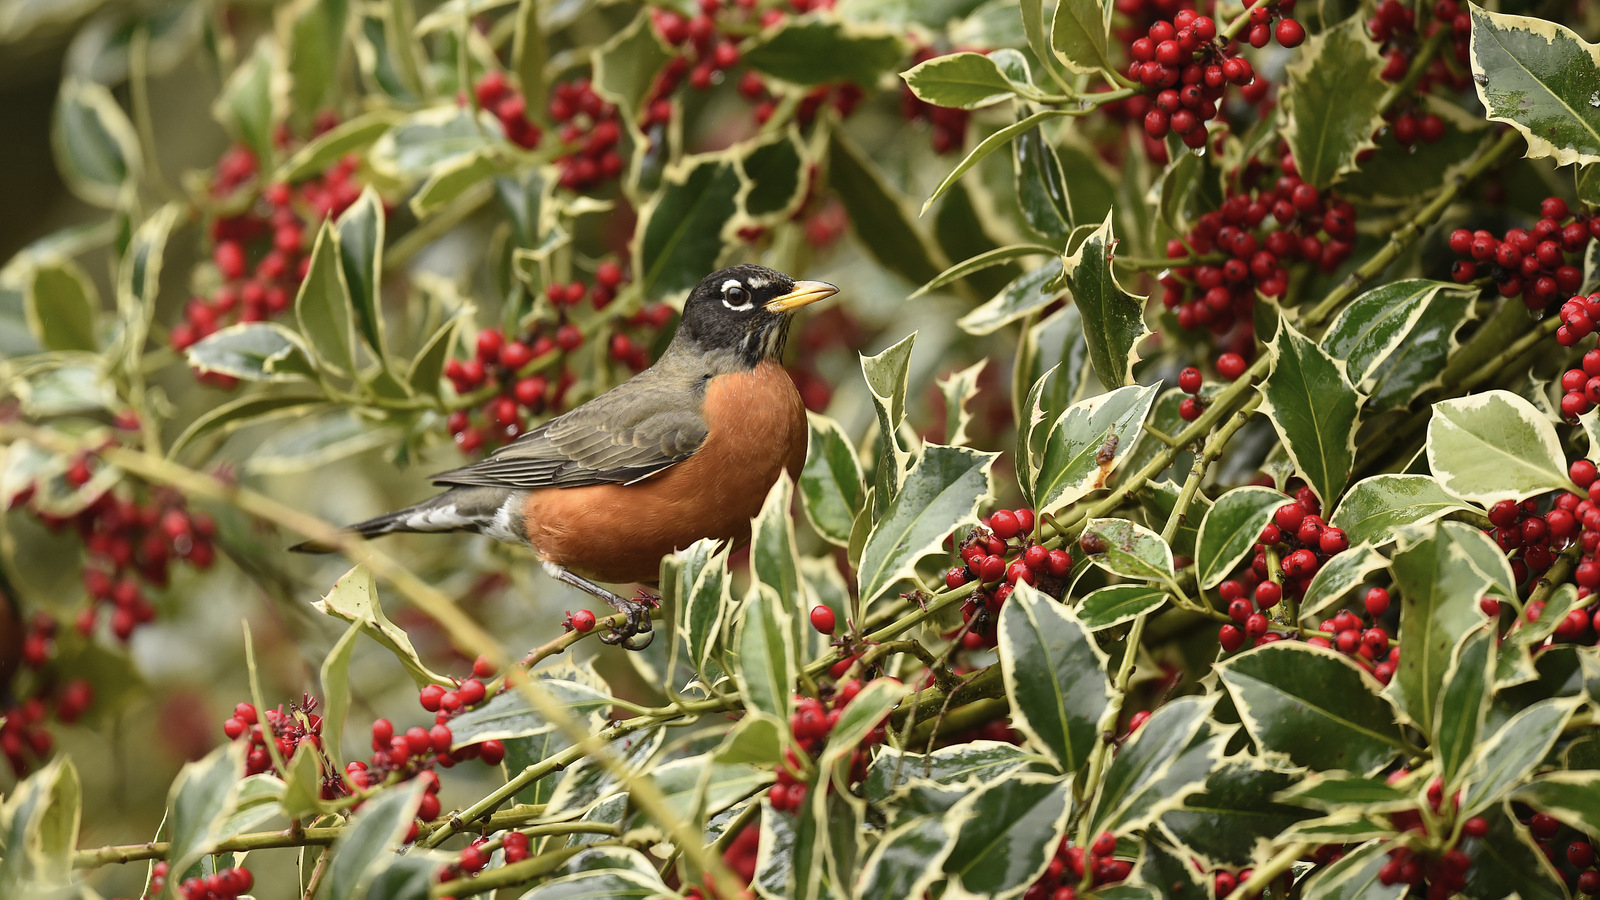 I have to admit that I never imagined that an image of a robin would make my top-of-the-year list, but I really like this scene of a robin in a holly tree. Not bad for backyard photography.
#7 Short-eared Owl
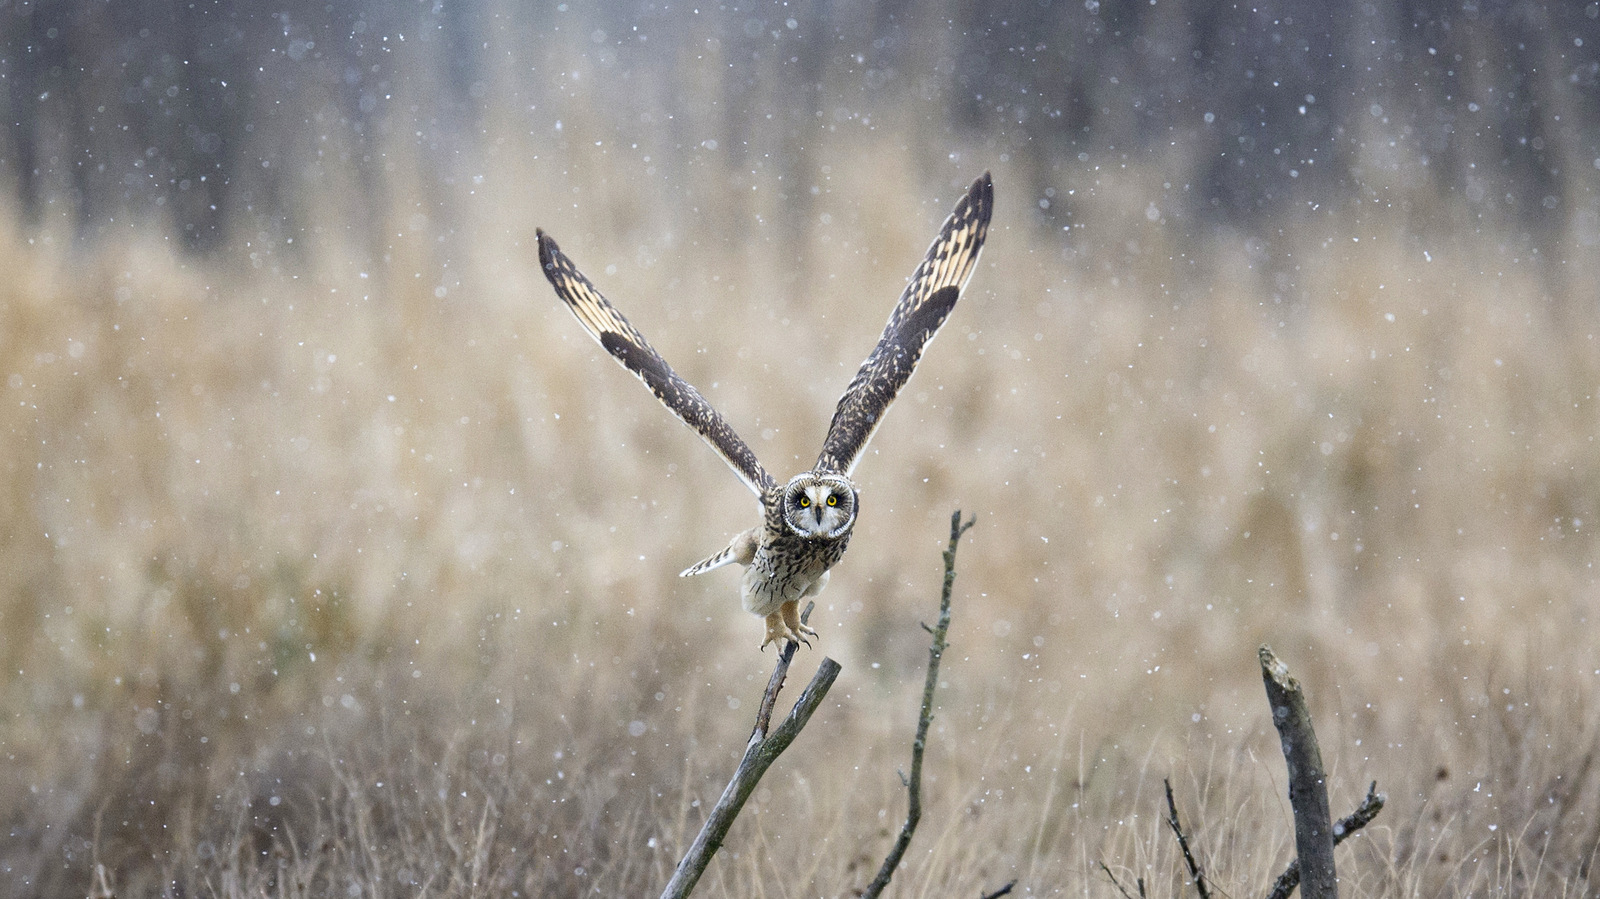 I never had much luck in finding Short-eared Owls (SEOs) on the east coast. Turns out that many owls winter over in Washington state. You now know how my winters will be spent…..This shot of an SEO taking off in the snow is my favorite capture so far.
#8 Coyote
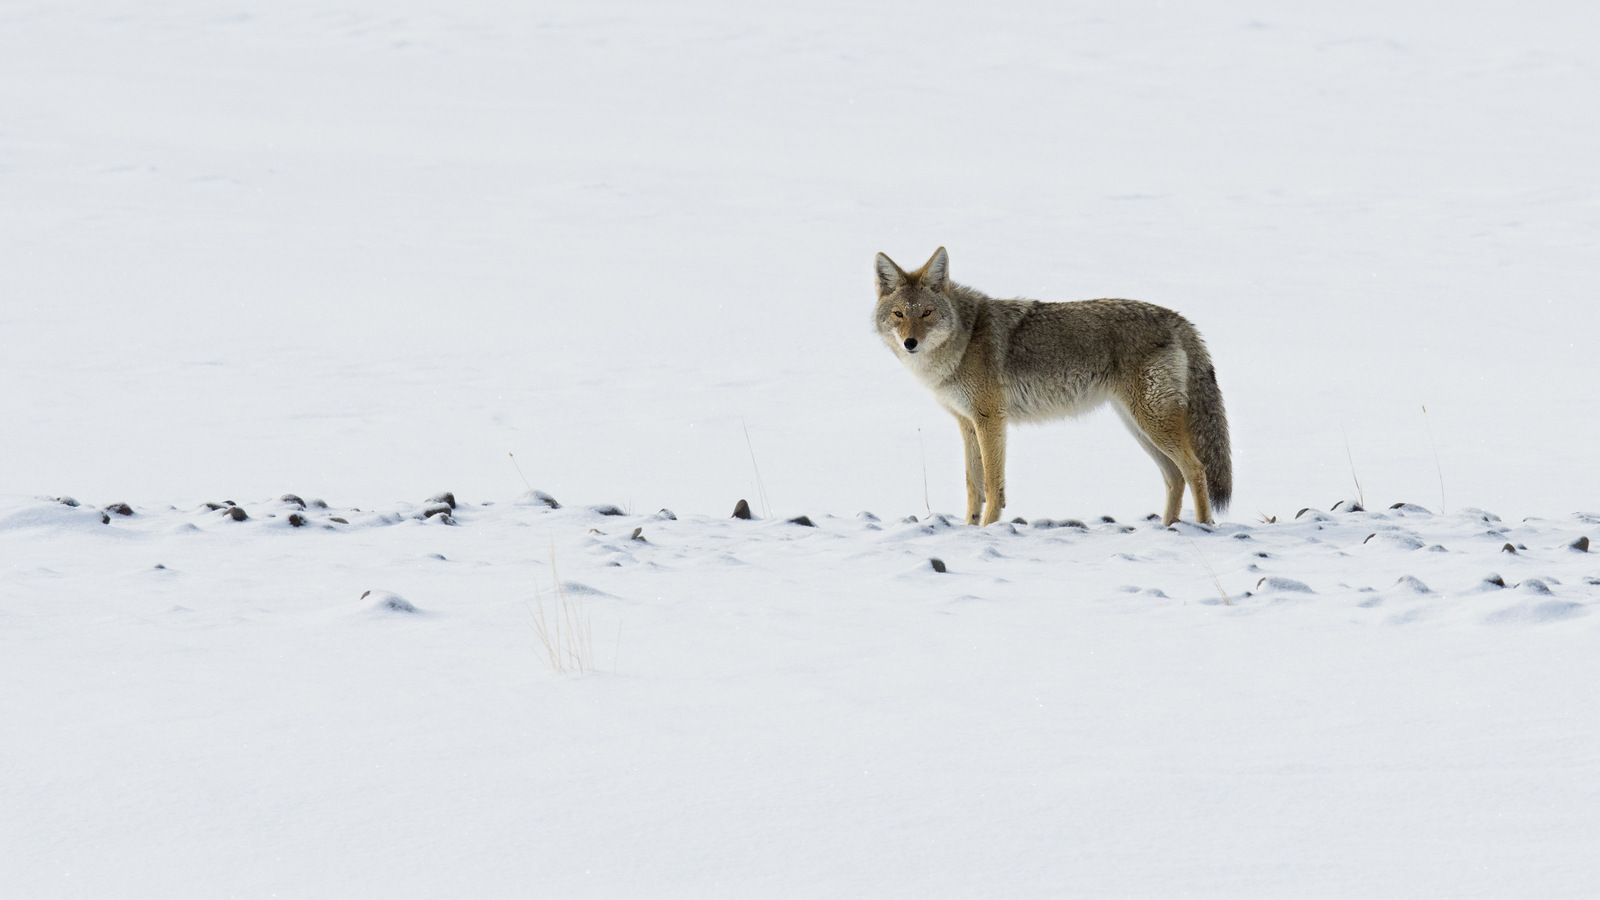 Our winter trip to Yellowstone provided my first opportunity at a decent image of a coyote.
#9 Bison
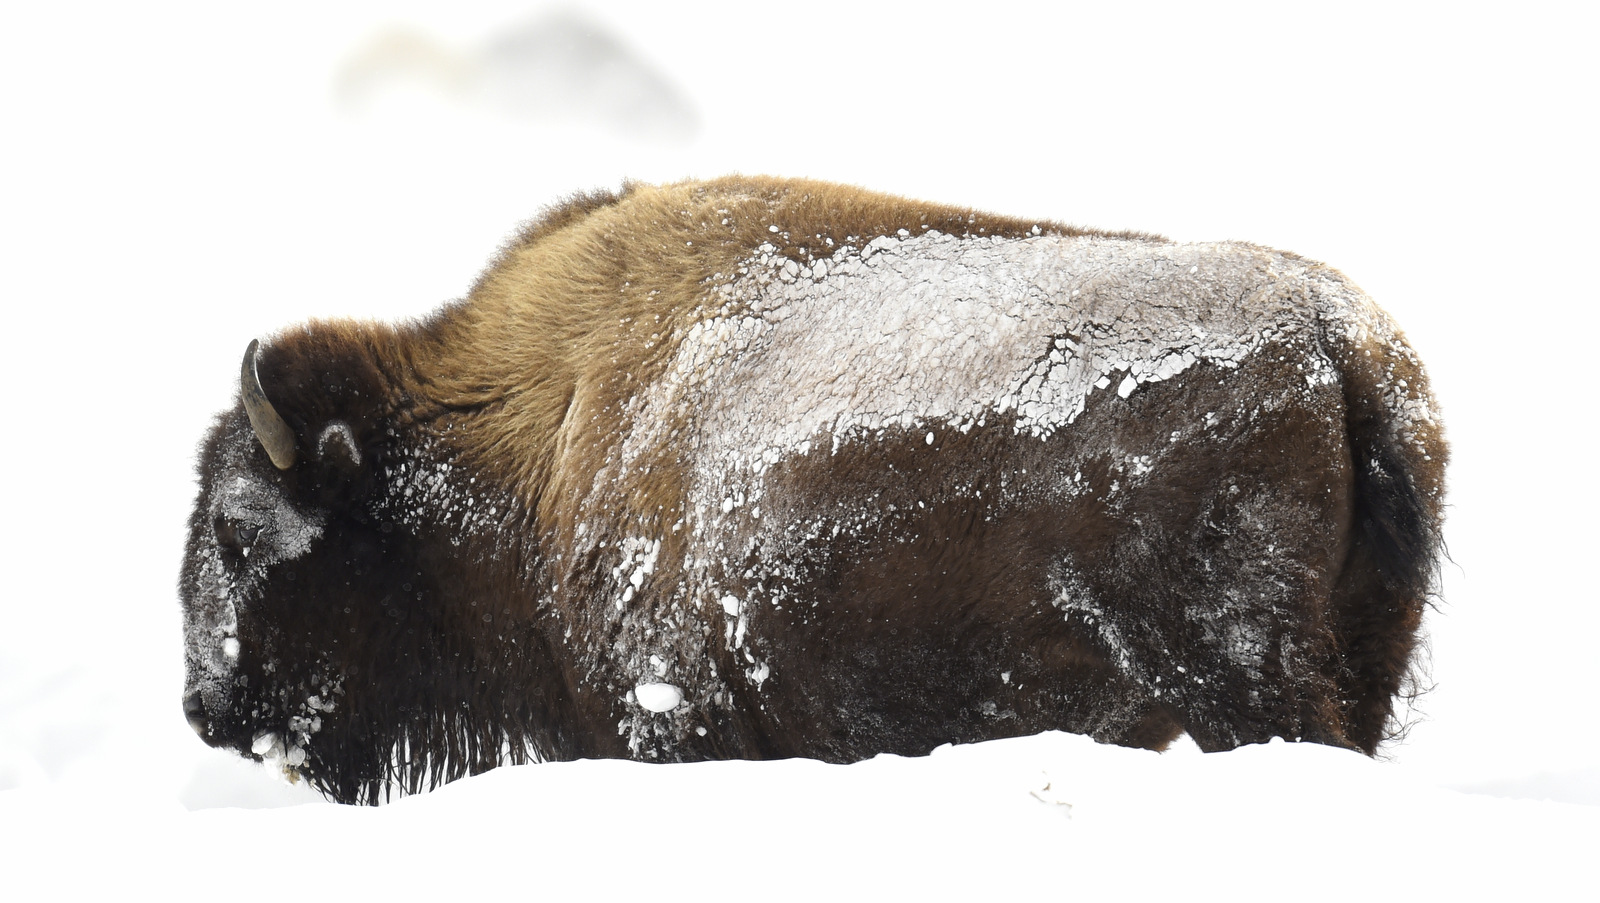 The star attraction of our winter trip to Yellowstone was the bison. I loved the abstract nature of this shot.
#10 Pronghorn in a snow storm
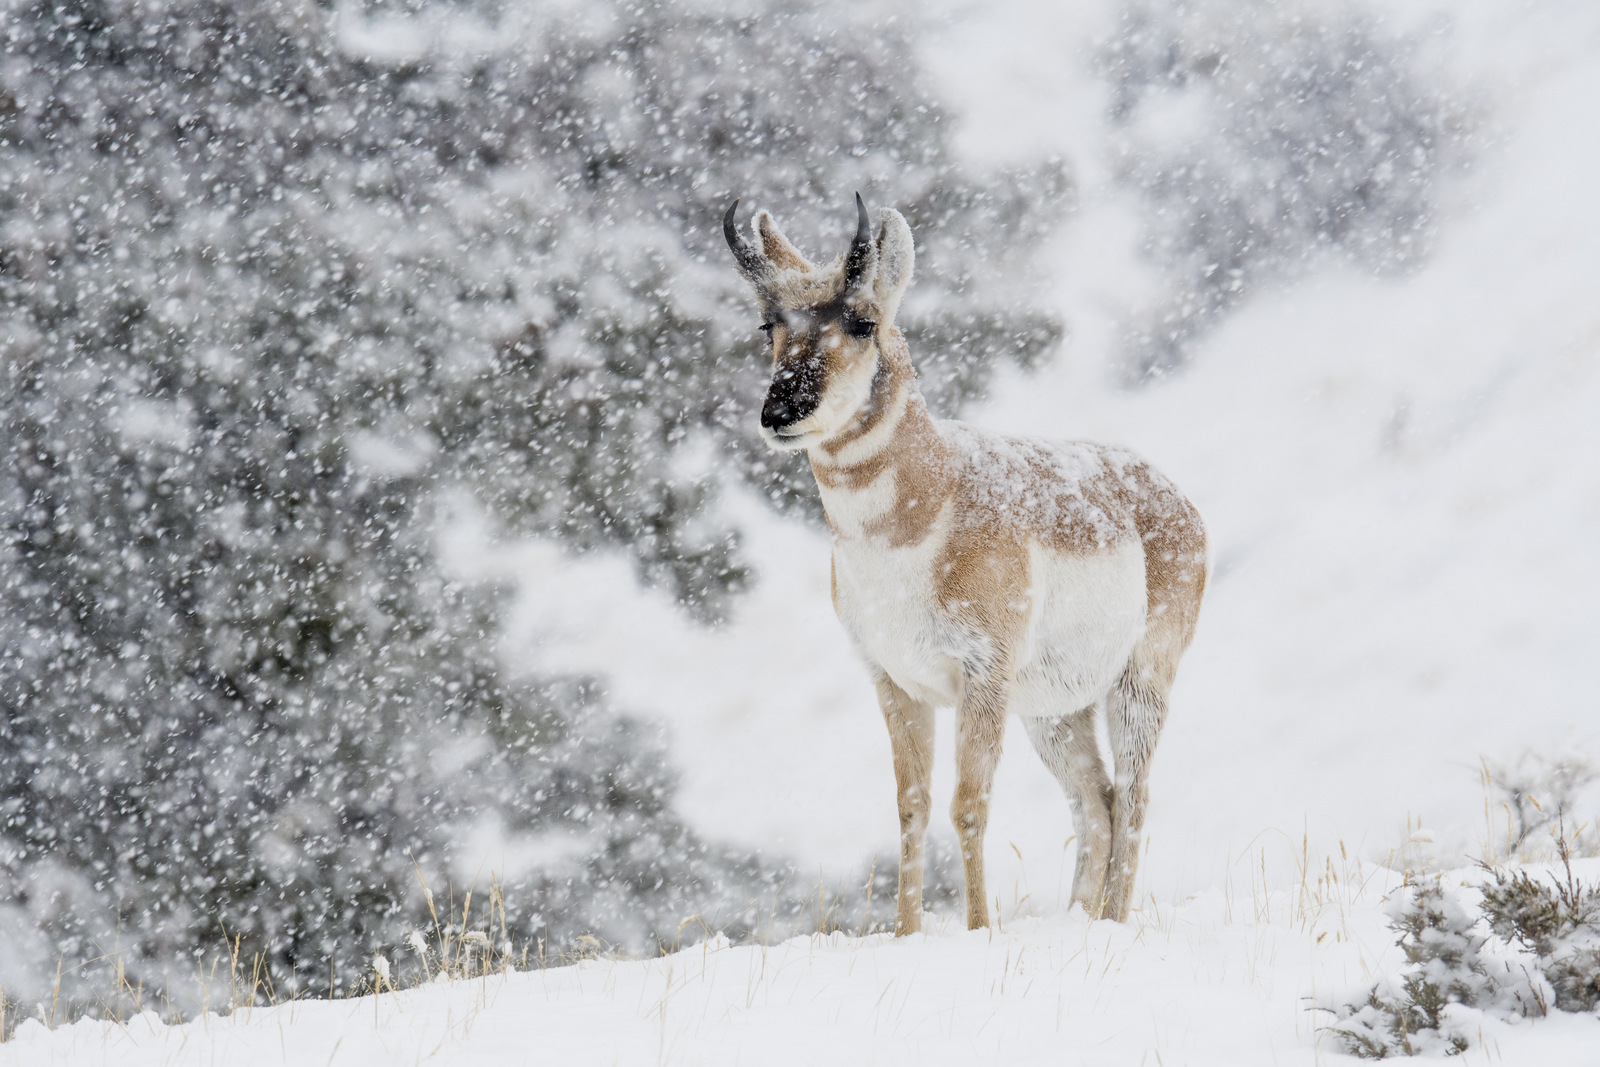 Probably my favorite shot from our winter trip to Yellowstone. One day one, five minutes from the gate at the end of the day as were leaving the park we found this herd of Pronghorn caught in a sudden flurry of snow.
Wishing you a great 2017!
31
Shot of the Month – December 2016
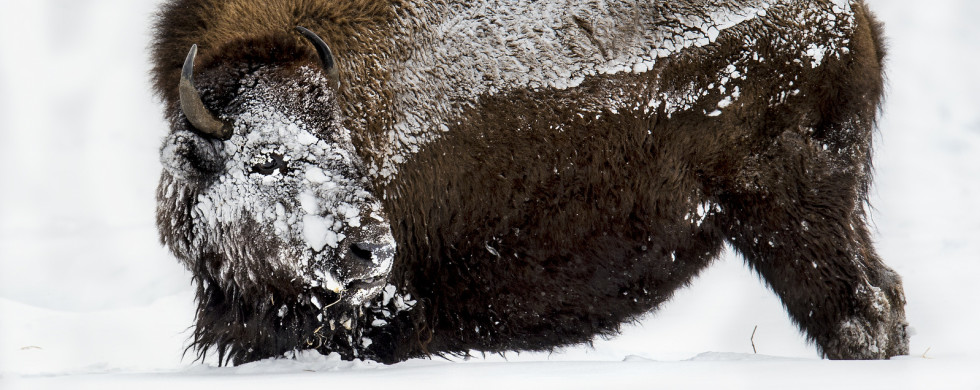
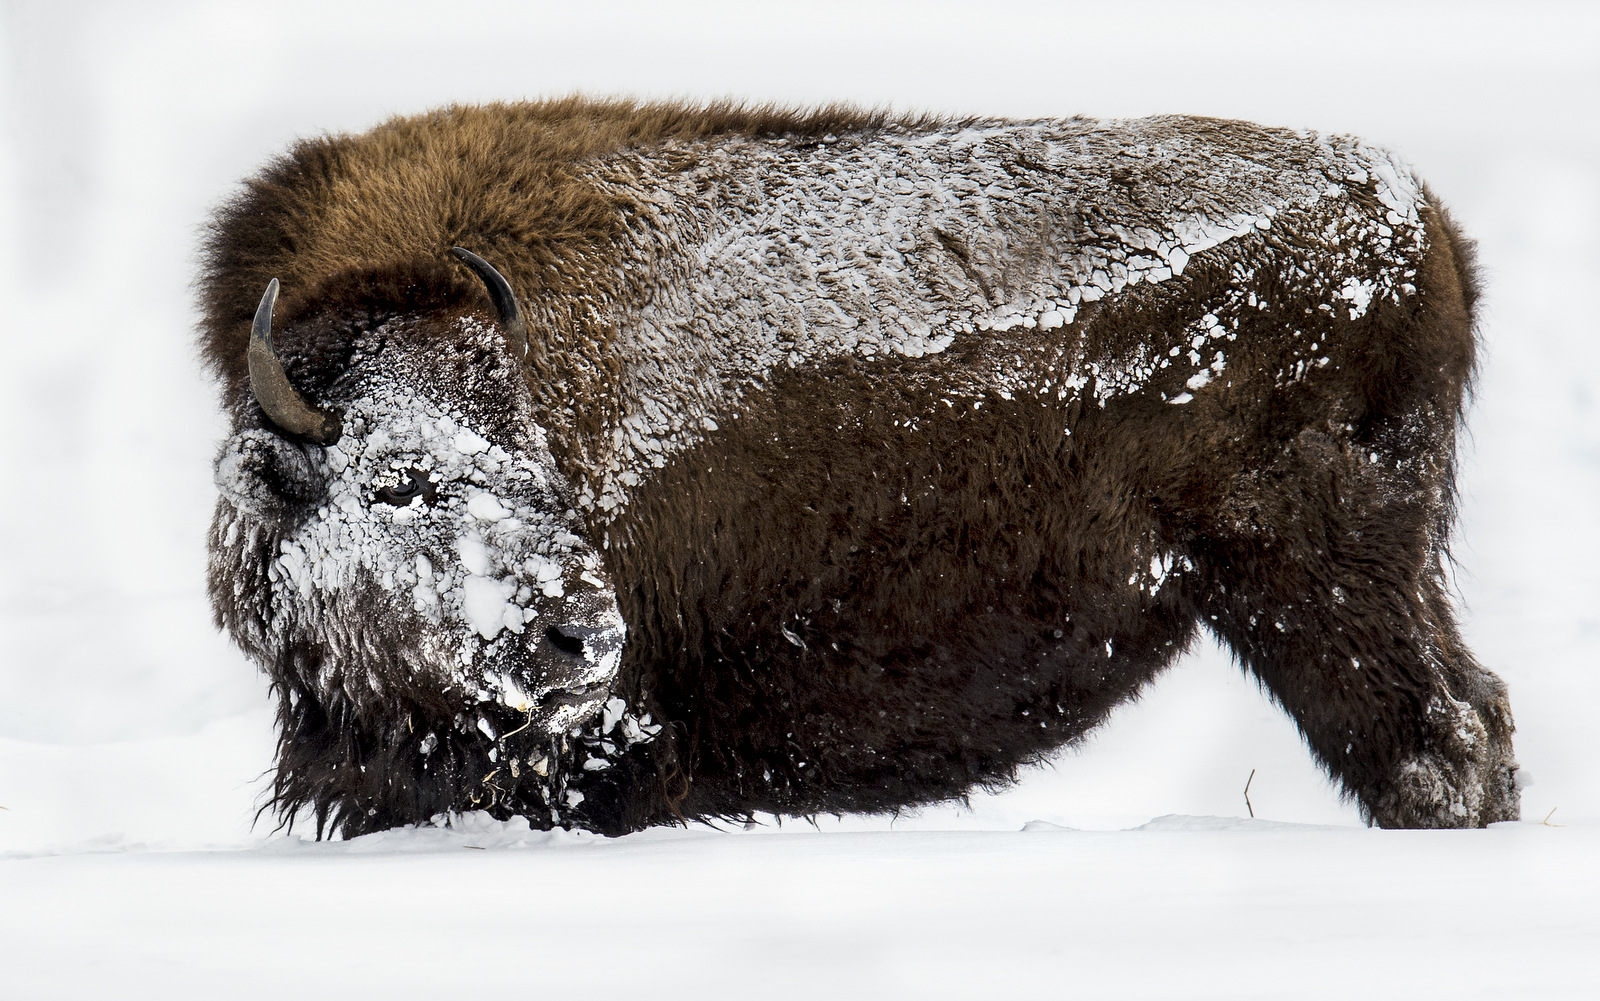 One look at this image and most of us shudder with cold in sympathy for this poor beast. Some might even clamor — “Help that poor animal, he must be freezing to death.” I am a real wimp when it comes to the cold and I normally walk around the house wearing multiple layers and a fleece — I seem to always be cold. So, upon seeing this bison in Yellowstone NP, standing in deep snow and generally covered in the white stuff, I felt quite despondent for him.
Well, dear friends, the nature science folks tell us that we can all relax. Bison have evolved over millions of years to deal with this type of weather. Our human concepts of what is cold simply don’t really apply in the bison world. When I photographed this bison I was standing in waist-deep snow and it was about 16° Fahrenheit. There was also a gusty wind that would swirl about causing mini blizzards every few minutes such that I would lose sight of this massive beast for a few seconds at a time. In Yellowstone, a temperature of 16° F is considered “moderate” — almost balmy conditions considering that temperatures can easily drop down to -30° F and beyond.
I have been told by park officials that bison don’t feel the cold until it reaches about -40° F. Nope, not a typo. In the winter a bison will grow a coat of woolly underfur with coarse guard hairs that protects them from the elements. This rich coat has 8 times the number of hair follicles compared to cattle. The fur is thickest on the bison’s head, on the front of their body and on their forelegs. When the wind blows us humans will often turn our backs to the wind to avoid the worst of it. Bison have no need for such contortions; given their full fur defense they are quite content to face directly into the onslaught. The bison swings its massive head into the snow to clear the way so that it can eat the grass that lies beneath — the body is so well insulated that the snow does not melt as you can see in this photo.
So, now you know, the next time you see what looks like a poor, freezing bison, you can rest assured that he is most likely doing just fine and is rather, just chillin.
Until next month….michael
🙂
Nikon D4S, Nikon 600mm, 1.4 x TC (effective 850mm), f/9, 1/640 s, +1 EV, ISO 500
30
Shot of the Month – November 2016
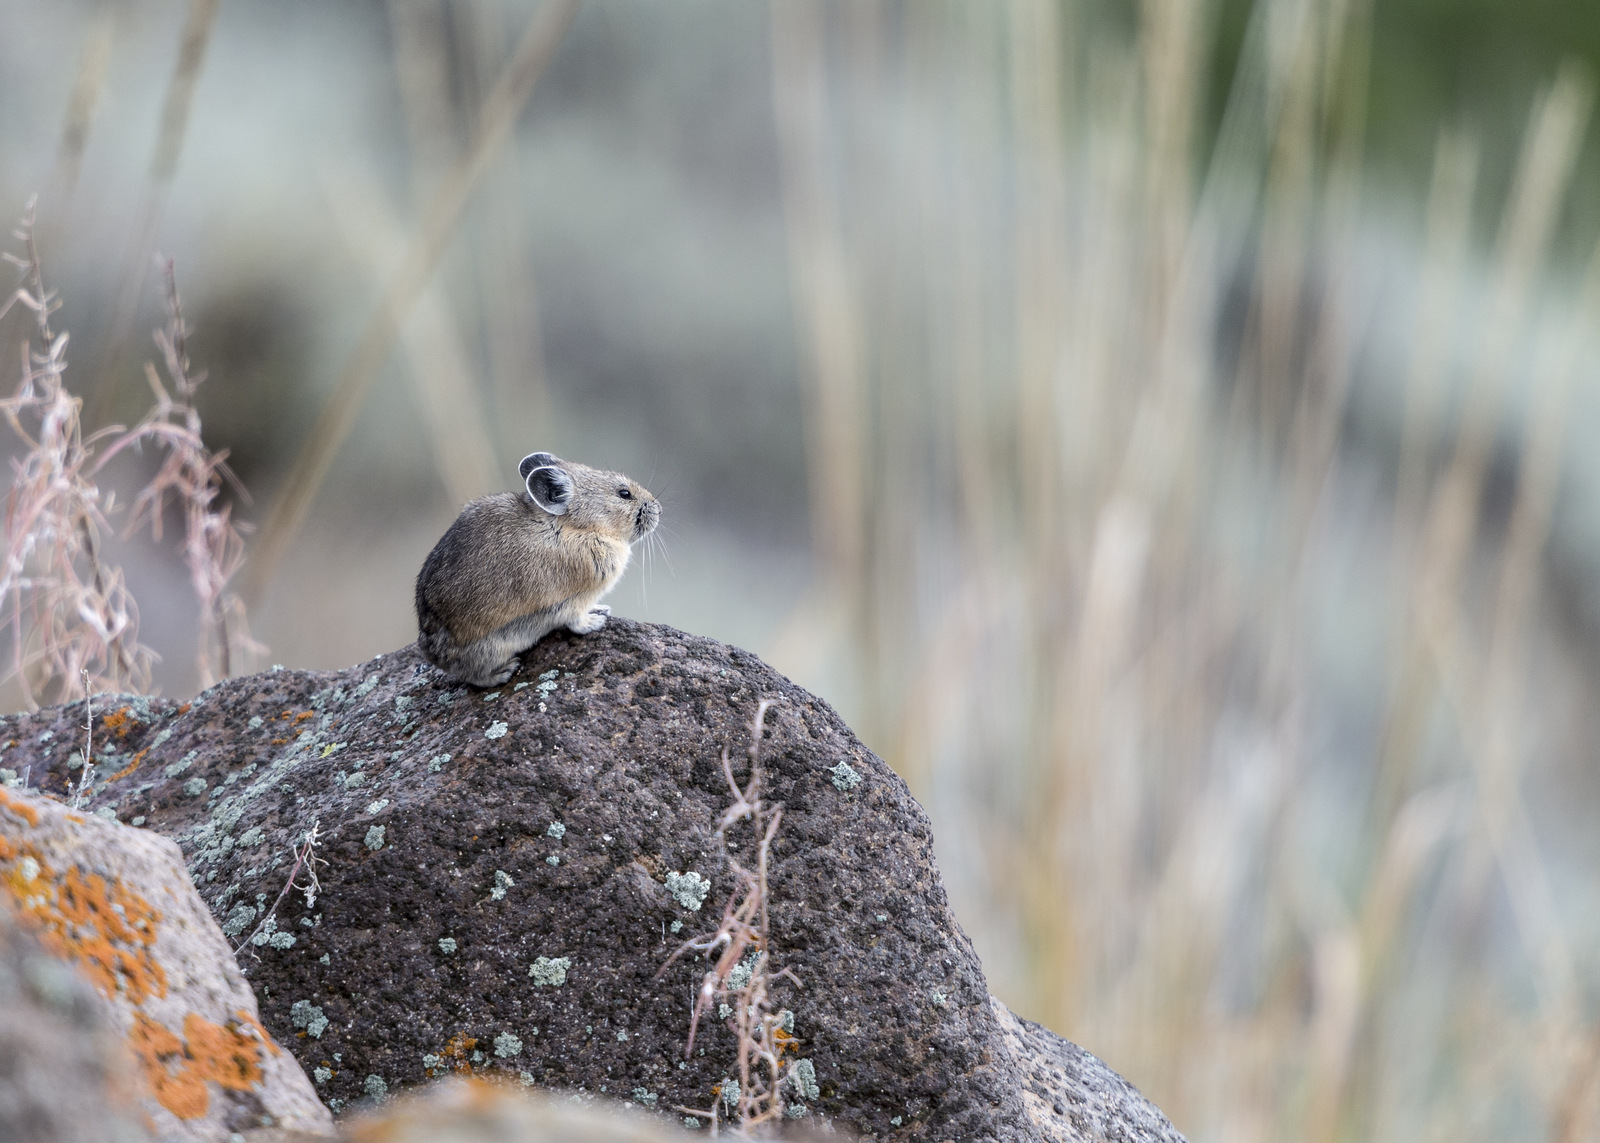
For someone who doesn’t believe in climate change then karma would dictate that said person be reincarnated as a Pika. But before we get to the hot topic at hand, what the heck is a Pika you might ask. I think Pika is an acronym for Probably the most Incredibly Kute Animal. Though, I might be wrong on that.
The Pika is an incredibly cuddly and cute fur ball found amongst the highest mountain ecosystems around the world. “Fur ball” is pretty accurate as a Pika’s body is quite round and she doesn’t have a tail. There are about 30 species of Pika in the world (mainly Asia, North America, and parts of Eastern Europe) with one species found in the United States. The American Pika can be found in Colorado, Oregon, Washington, Idaho, Montana, Wyoming, Nevada, California, and New Mexico. The fine lass (could be a chap, I have no way of knowing) above was photographed in Yellowstone NP.
The Pika is well adapted to surviving in alpine mountain ecosystems which are typically windswept, treeless, and frigid. The alpine zone only represents about 5 percent of the planet’s surface and thanks to climate change, this habitat is disappearing fast. As the mountain tops warm the vegetation changes, the snowpack melts and new predators and pests move in. Most mountain habitats in the Western US have warmed by at least 1 degree F in the last hundred years. In the next hundred years, the temperatures are expected to rise by another 4.5 to 14 degrees.
Pikas literally cannot take the heat. Expose a Pika to temperatures above 78 degrees and she will die within six hours. Yes, really.
In Oregon and Nevada Pikas have disappeared from 1/3 of their previously known habitat. Since the early 1900’s the Pika has disappeared from 8 of the 25 U.S. mountain ranges where they previously lived. Pikas keep climbing higher but once they reach the top of the mountains, they can’t go any higher to escape the deadly heat.
Expect to see the Pika on the Endangered Species list soon. And given current trends, the Pika may become the first known species in the US to go extinct from climate change.
As they say, karma is a b****.
Until next month….m
Nikon D4S, Nikon 600mm w 1.4x TC (@ 850mm), 1/750s, f/5.6, ISO 720
31
Shot of the Month – October 2016
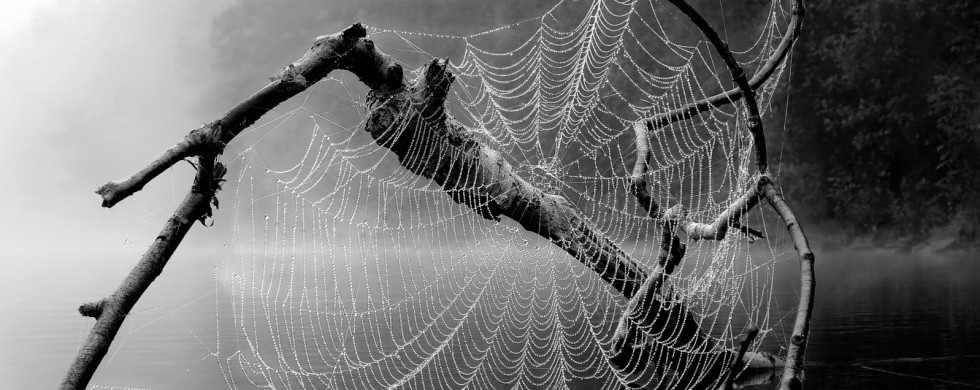
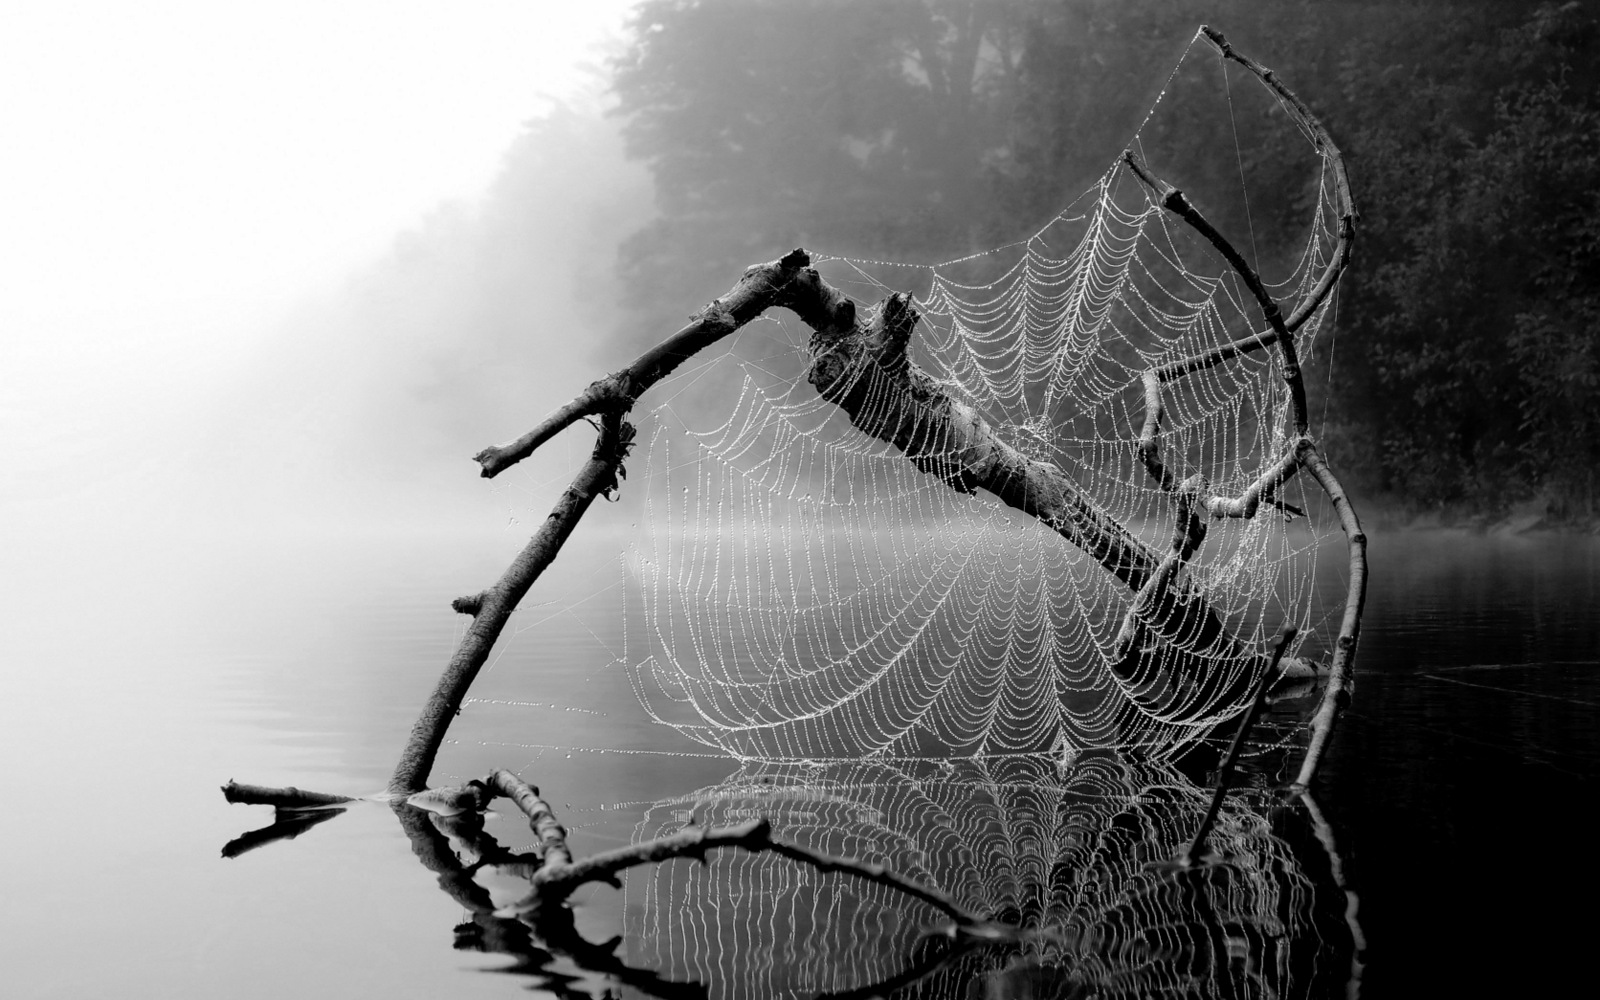
Last month’s image was a cacophony of color amongst the trees. This month’s image captures the quiet stillness of shades of gray by the waters edge. I love how the image transitions from pure white in the upper left corner through shades of gray to deep black in the lower right corner of the image. On this sunless morning in Vermont the lake was quiet and there was no wildlife to be found. While drifting along in my kayak, with not much to do, I came upon this spider’s web and decided to experiment and see what I could come up with. While shooting this image my main focus was on trying to capture the glistening dew drops on the spider’s lair. I paddled around and around trying every position imaginable until I found the angle that worked best. The image was shot with a point-and-shoot camera (Canon G1X).
Converting the photo to black and white was rather easy given that there was virtually no color to be found in the scene. Other than the two corners, most of the image is filled with shades of gray.
Turns out that creating gray can be a rather complicated affair. In the art world painters create different shades of gray by mixing black and white paint in different proportions. Want a darker gray? Add more black. Lighter gray? Add more white. You get the idea. A mixture of just black and white creates a “neutral gray.” Add a bit of yellow, orange or red and you can add a warm cast and create a “warm gray.” Add a bit of green, blue, or violet and you can get a “cool gray.”
In the world of print the CMYK color model is used — cyan, magenta, yellow, and black. All colors are made from a combination of these four colors. To make gray you add equal amounts of cyan, magenta and yellow.
TV and computer screens use a RGB color model – red, green and blue. Red, green and blue light at full intensity on the black screen makes white; by lowering the intensity one can create shades of gray.
On this particular day mother nature made graduations of gray by blocking out the sun with a heavy shroud of fog with a dab of dew thrown in for good measure.
I have to say, I am a big fan of her work……
Until next month…
Canon Powershot G1 X, @ 17.2 mm, f/5.6, 1/60 s, ISO 200,
30
Shot of the Month – September 2016
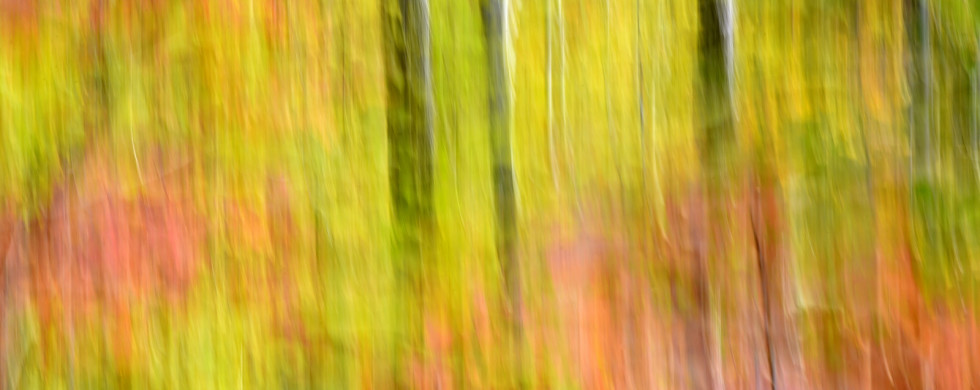
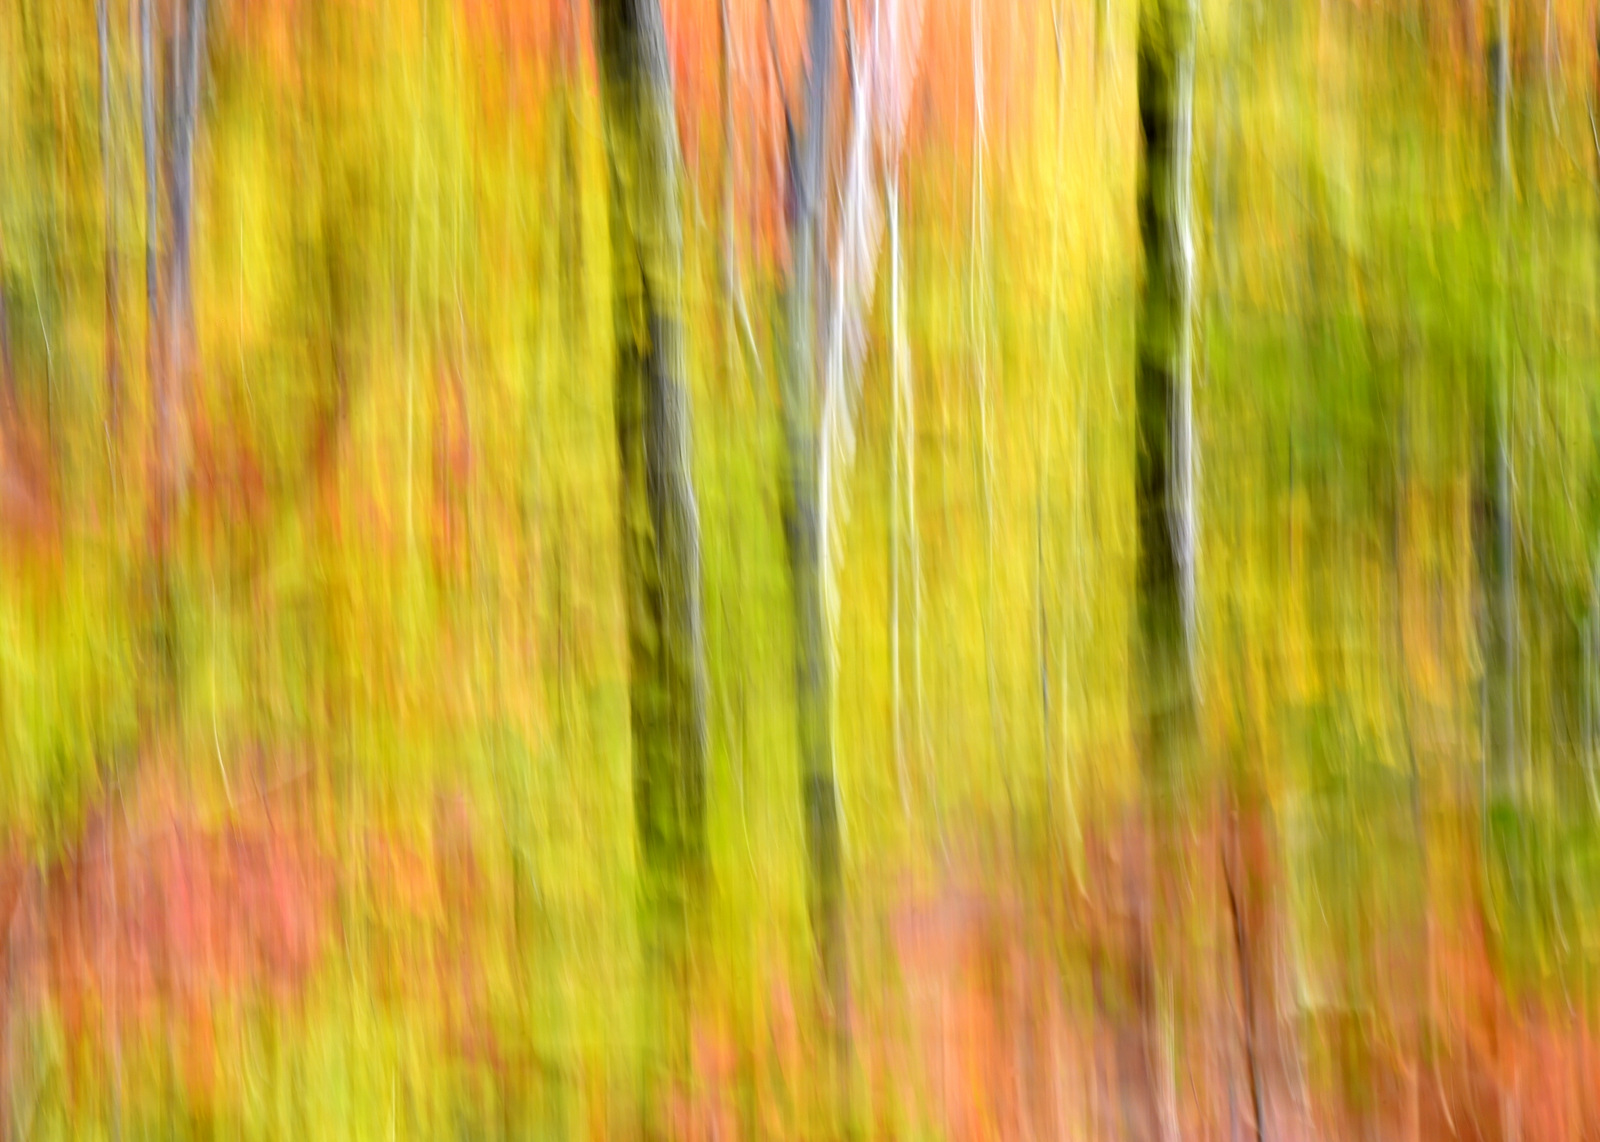
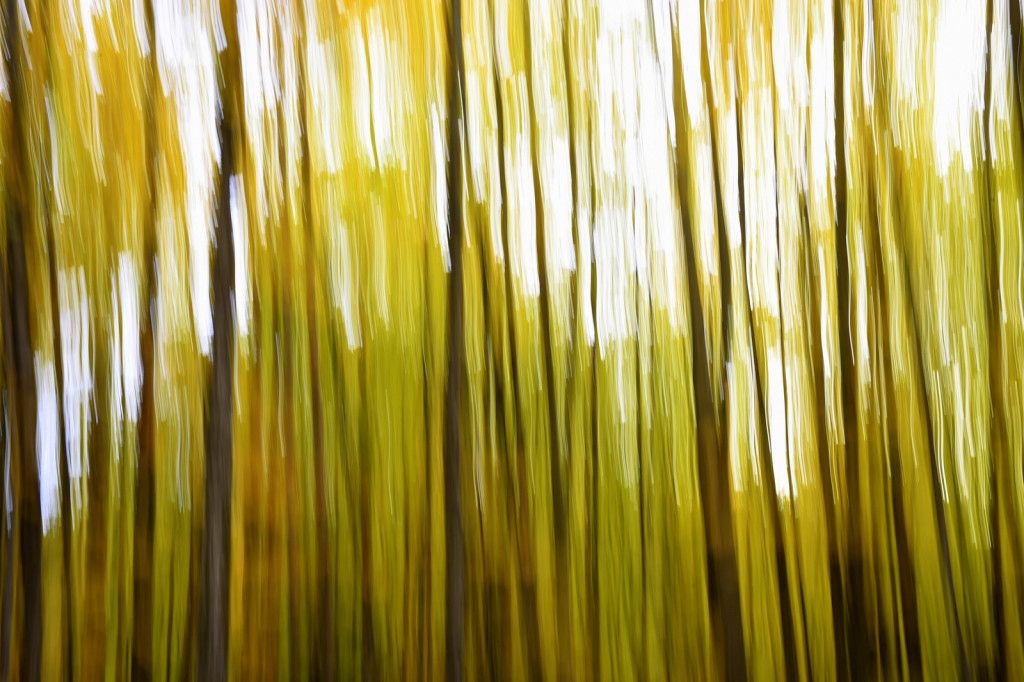
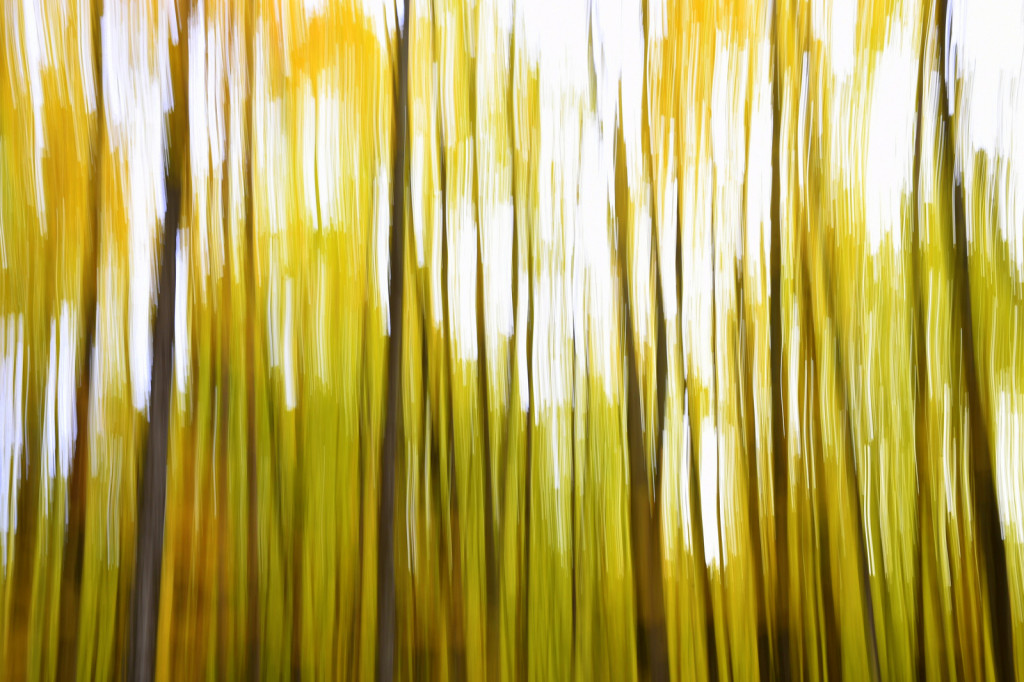
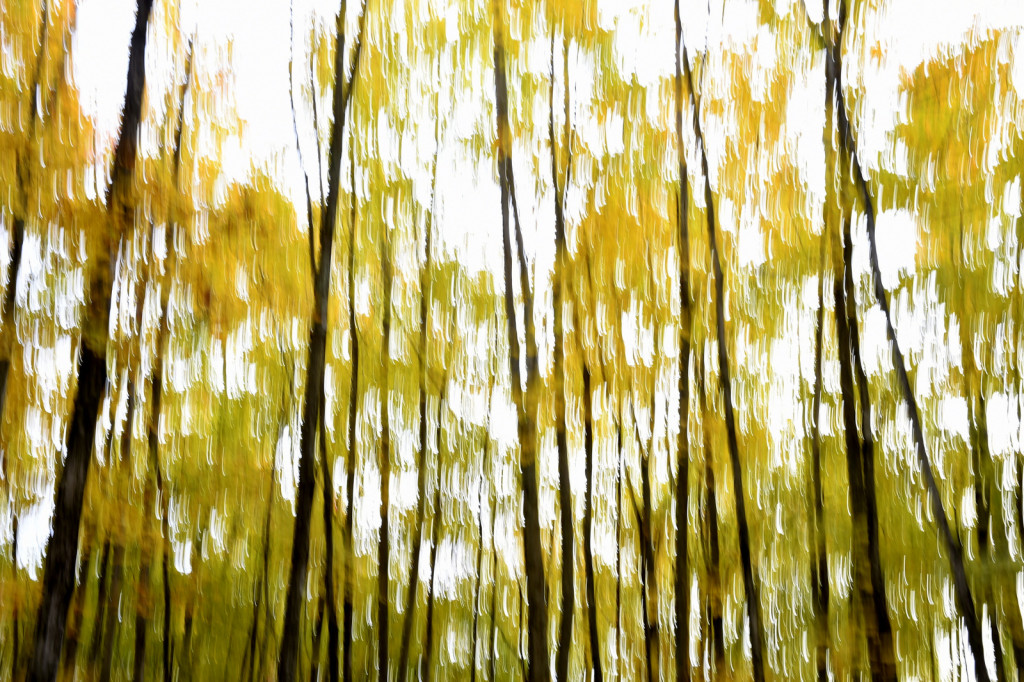
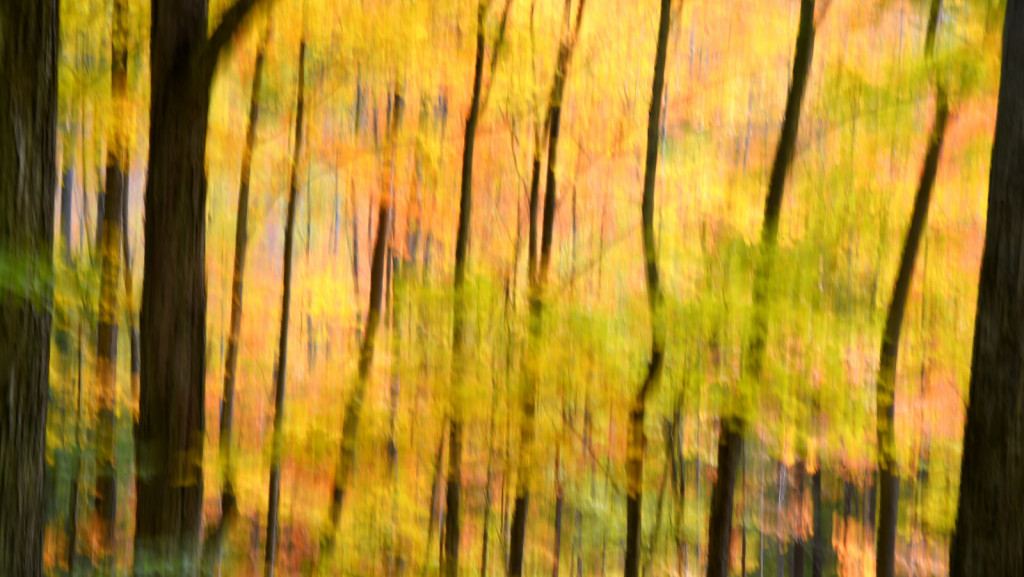
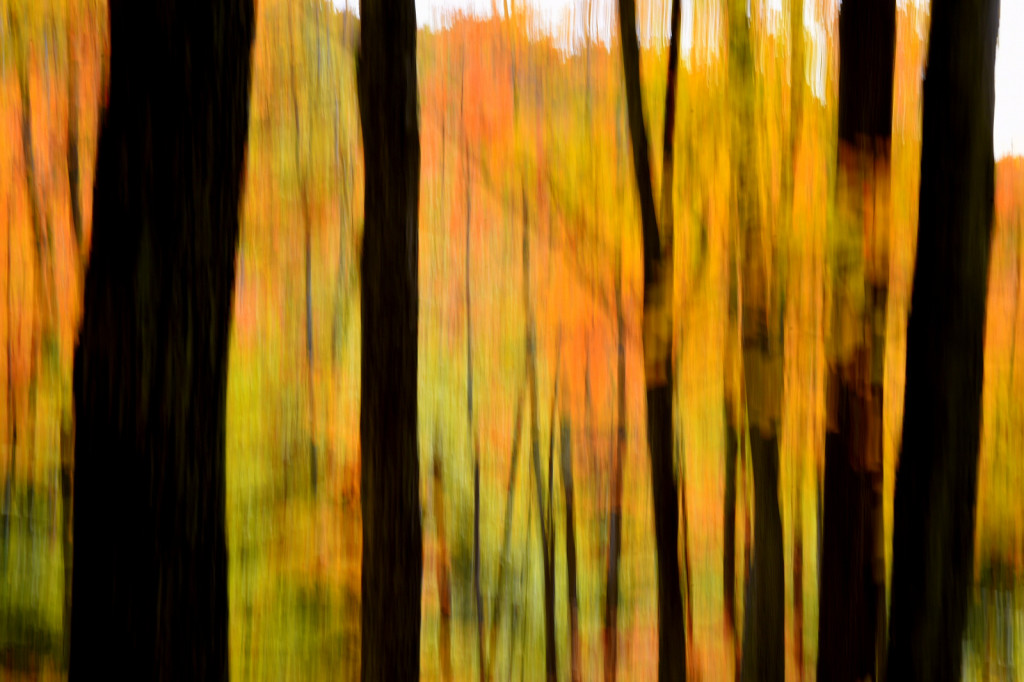
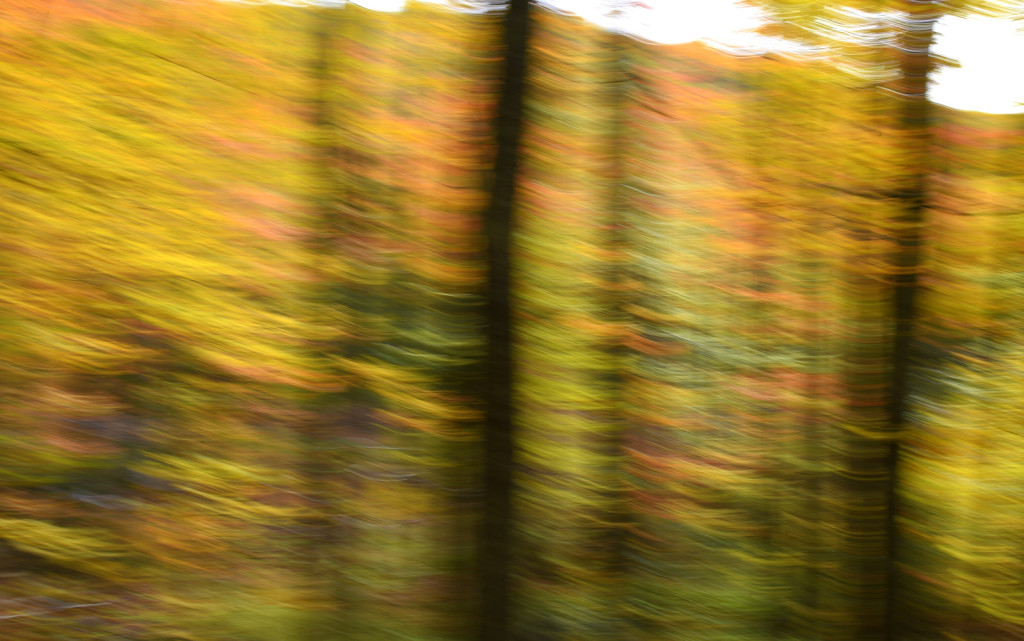
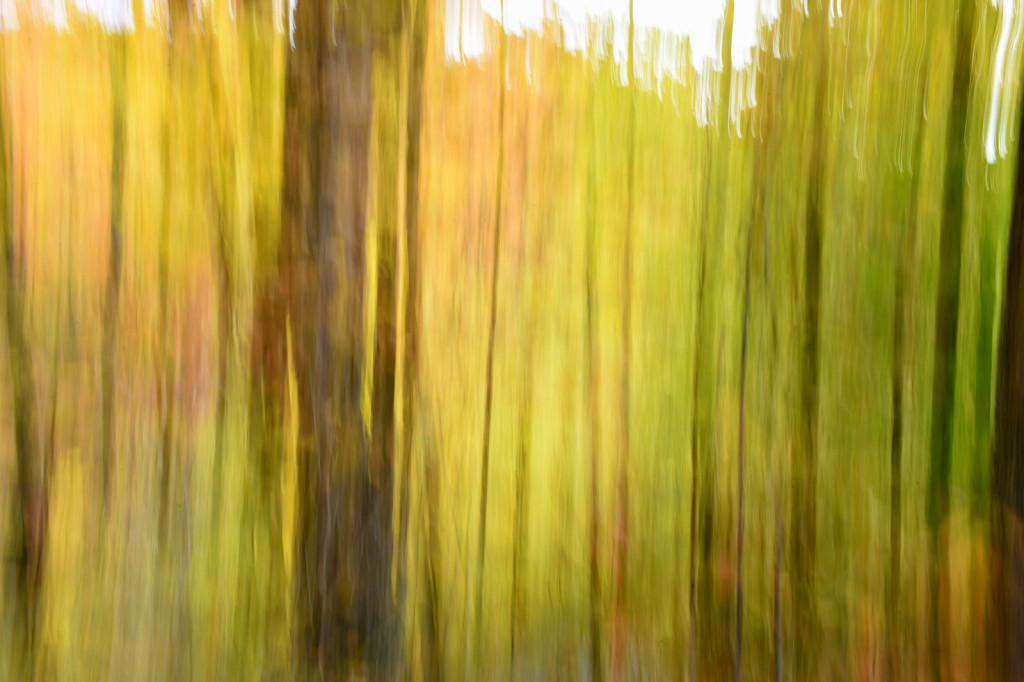
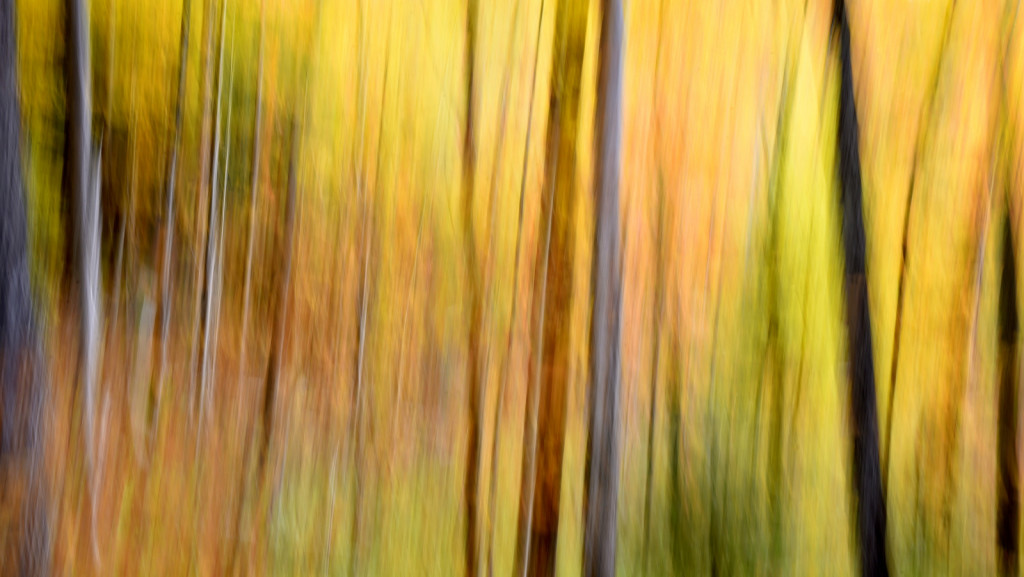
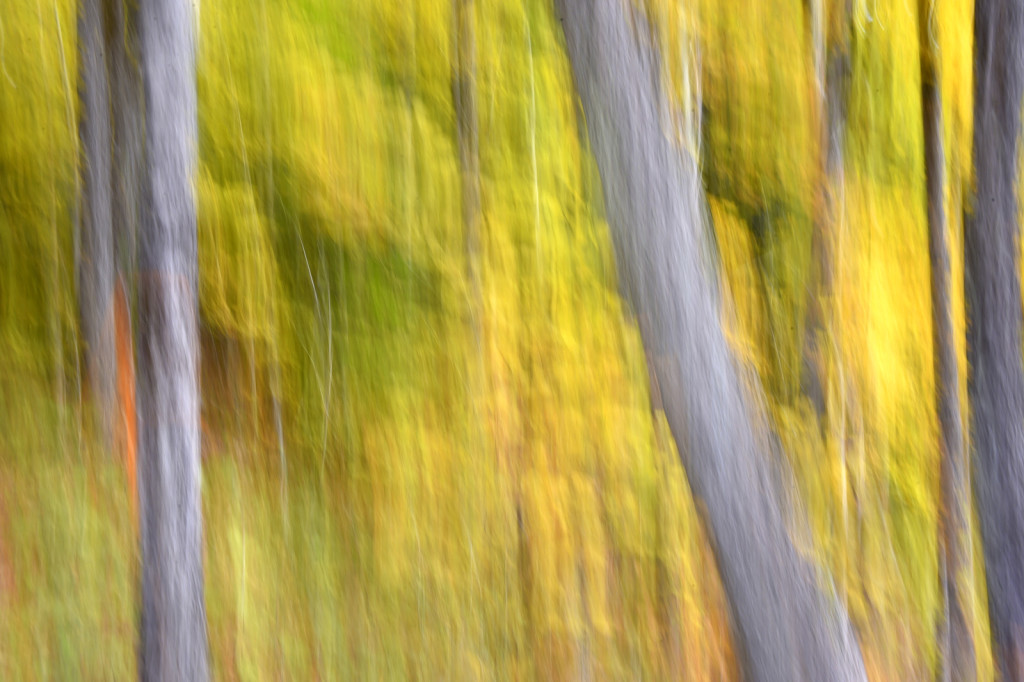
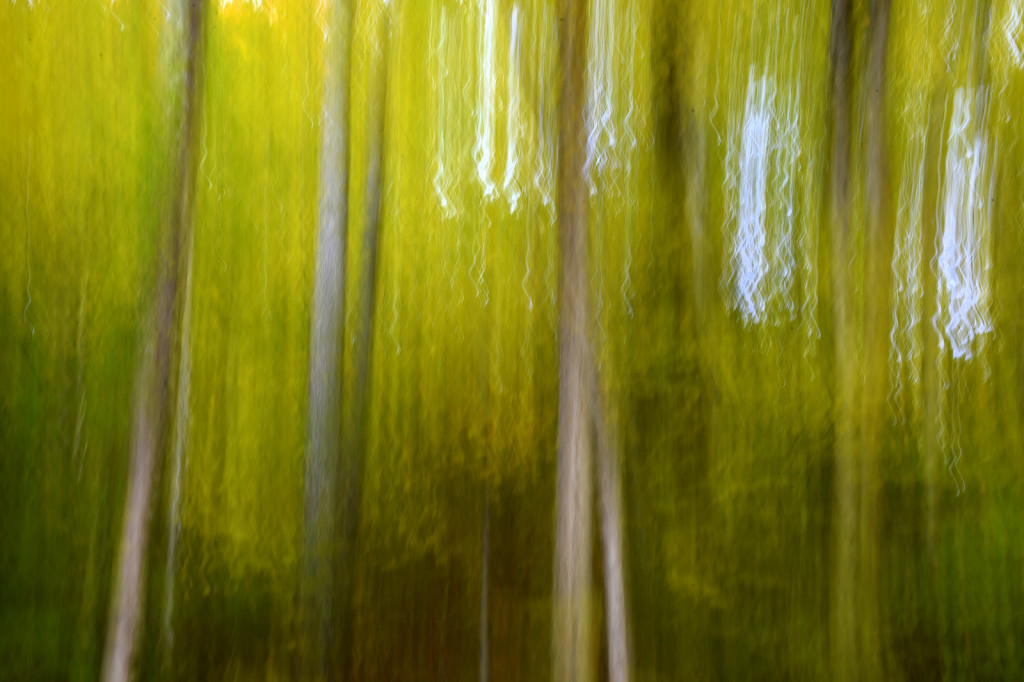
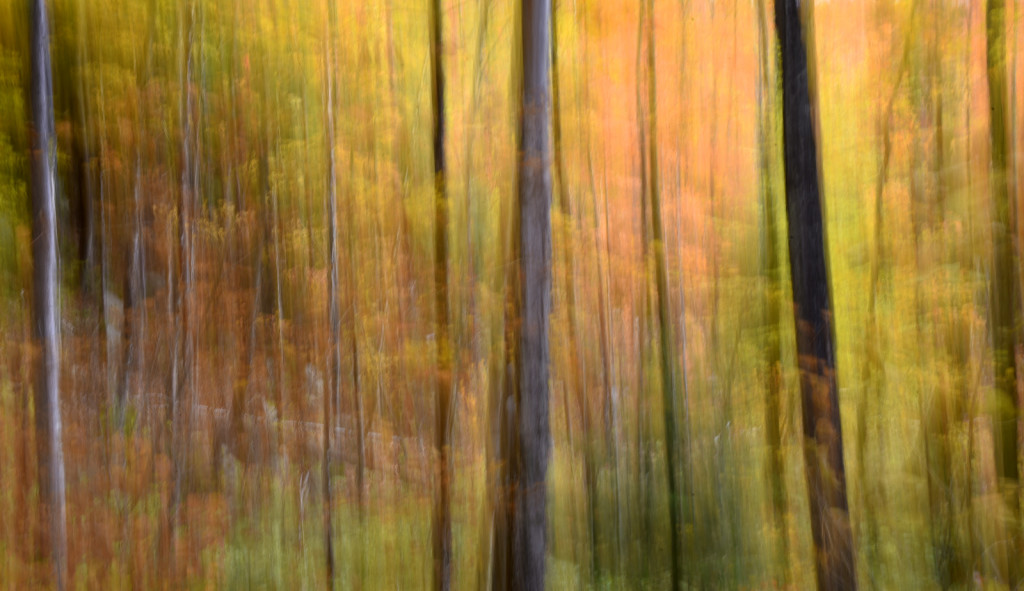
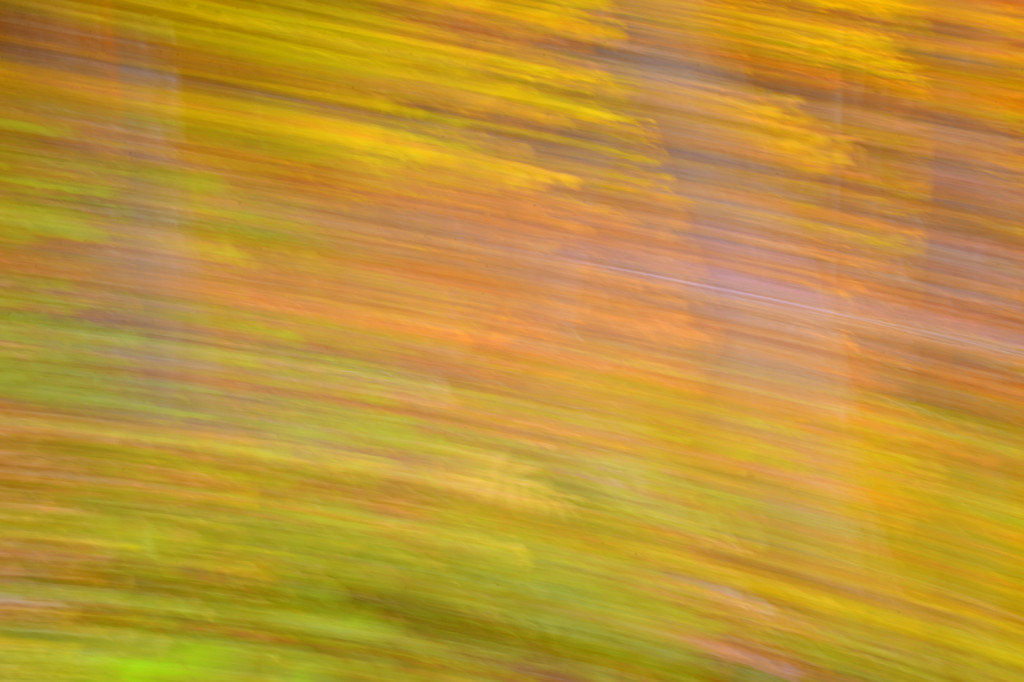
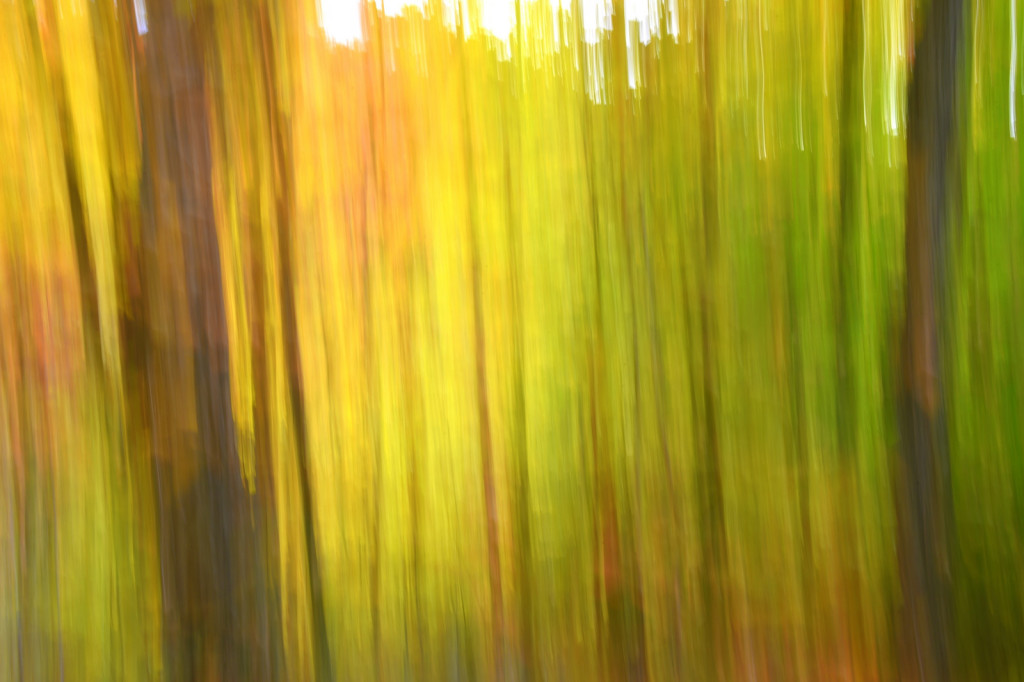
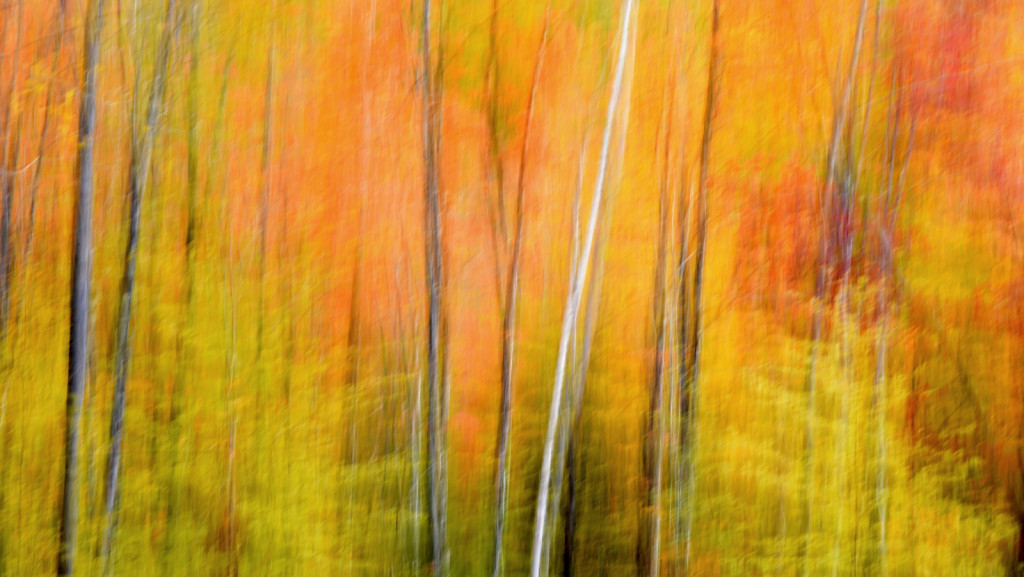
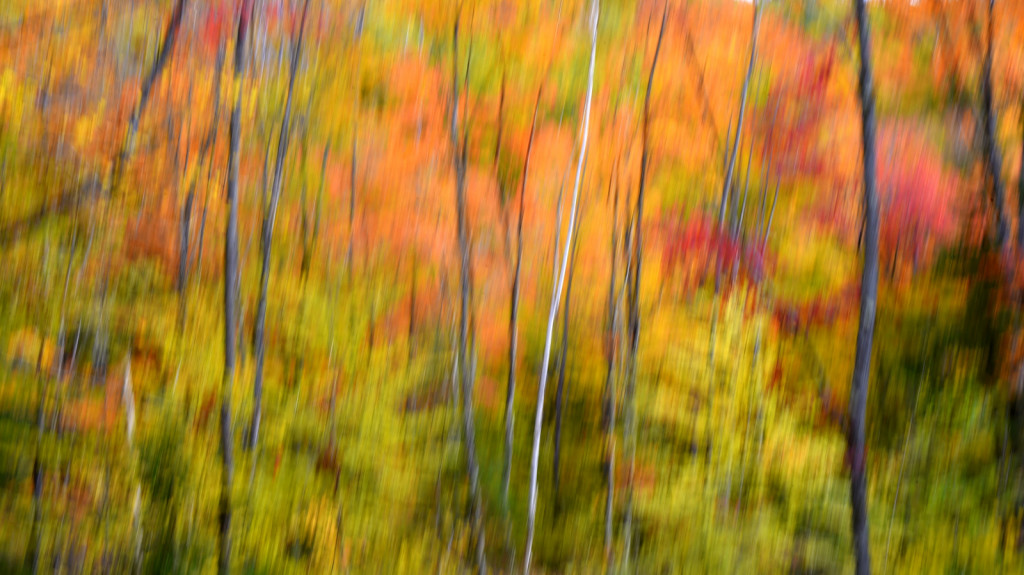
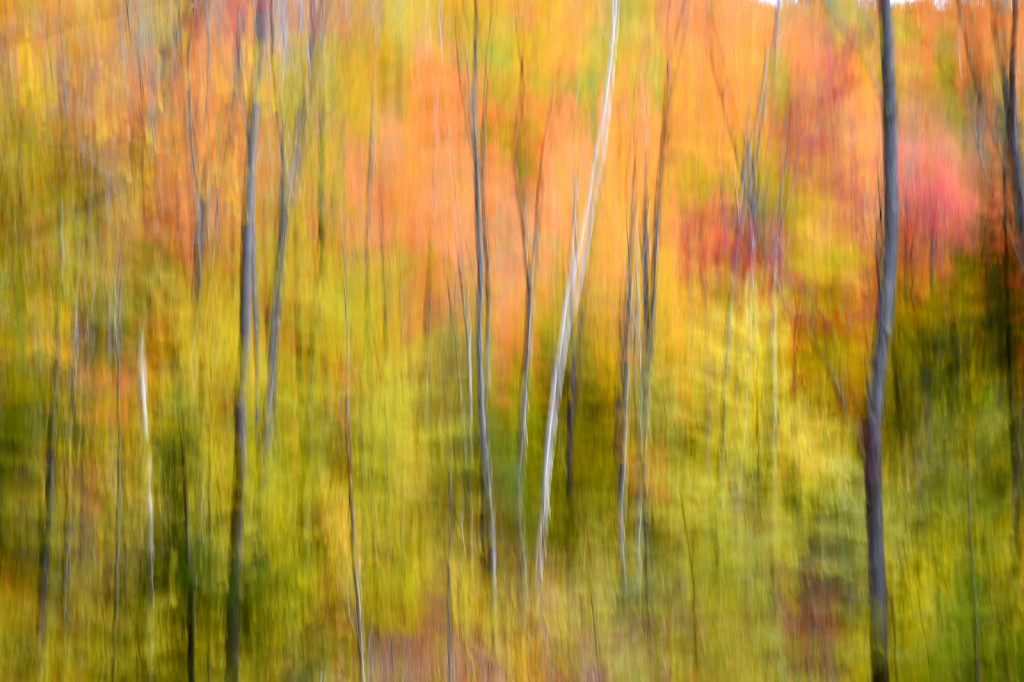
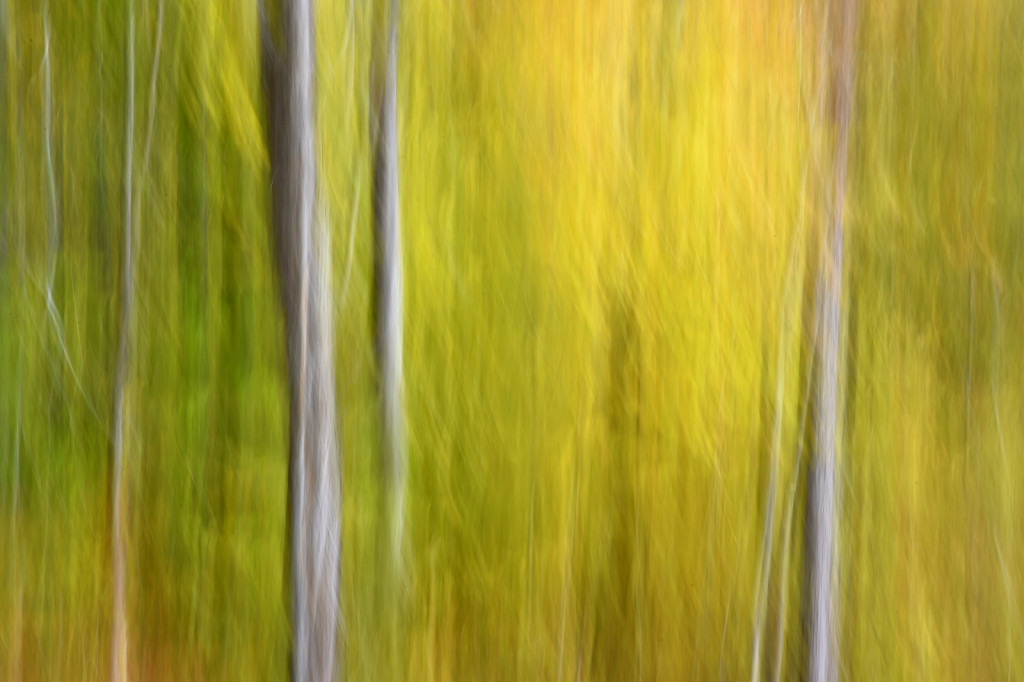
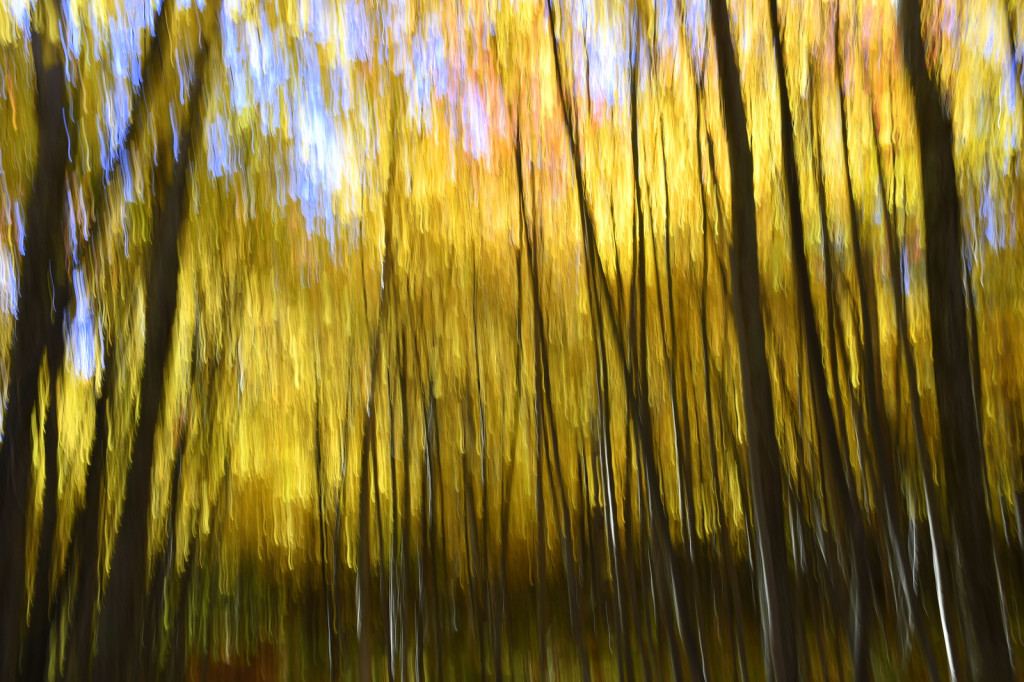
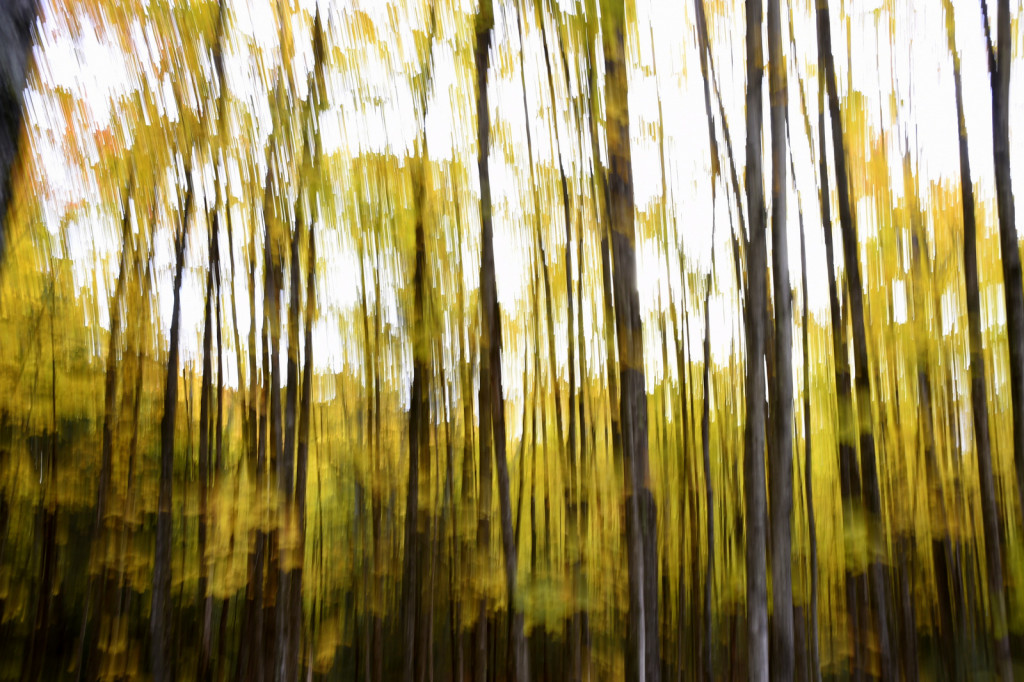
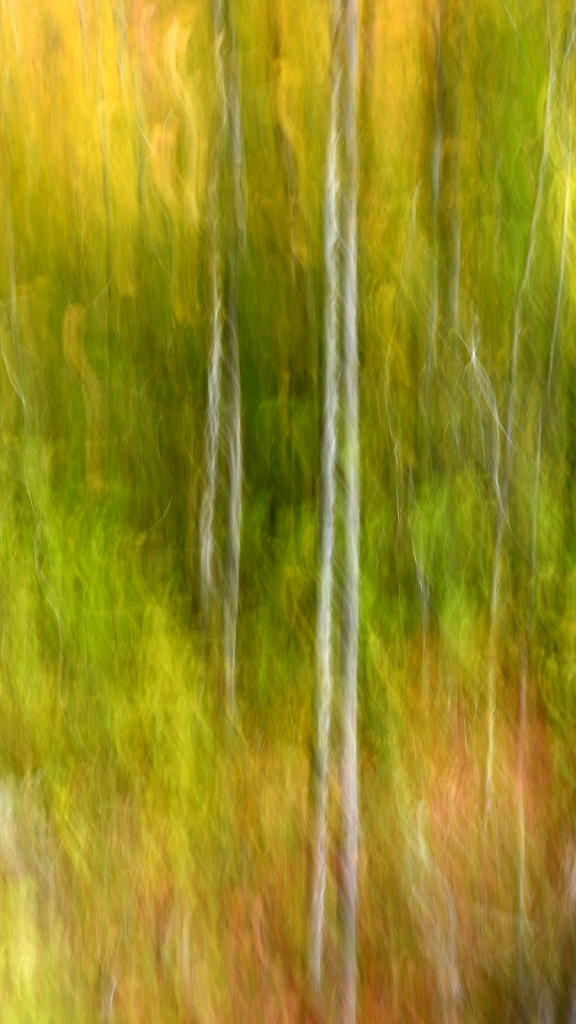
If you dig color then autumn in New England is the place to be. For a few glorious weeks, your entire world becomes a crazed canvas of exploding greens, yellows, oranges, and reds. As a photographer, I have often struggled to capture the scale and audacity of the landscapes that Mother Nature majestically painted each year. The colors in the image never seemed to quite capture the radiance and intensity that assaulted (in the most pleasant manner, mind you) my eye. The scale was always far too pedestrian — either too close, too far, or just never quite right to inspire and capture the sense of awe I felt in the field.
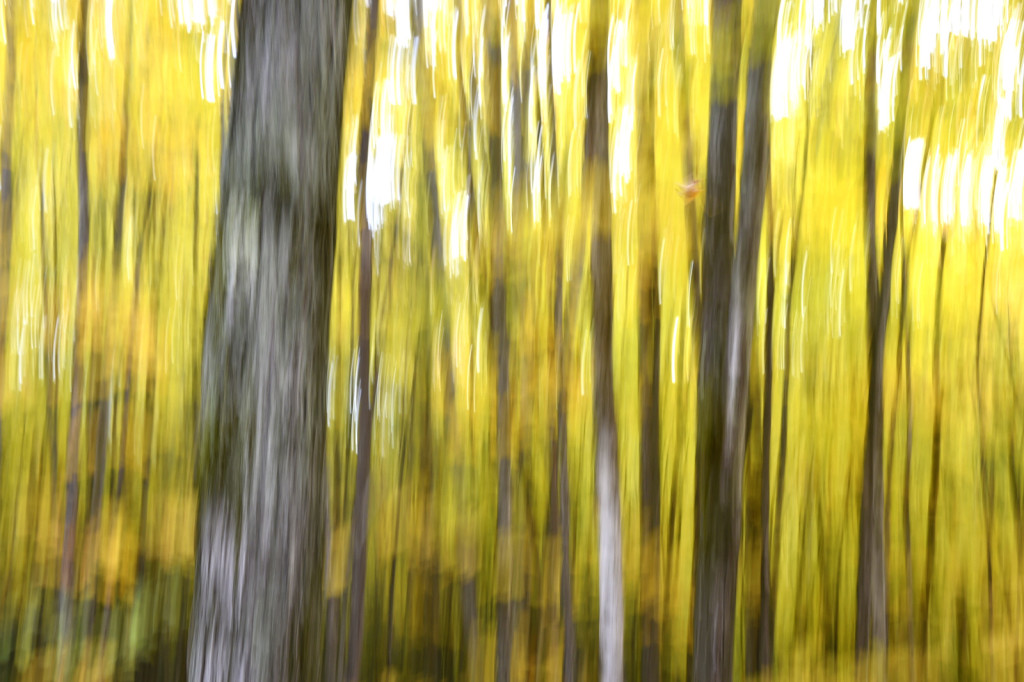
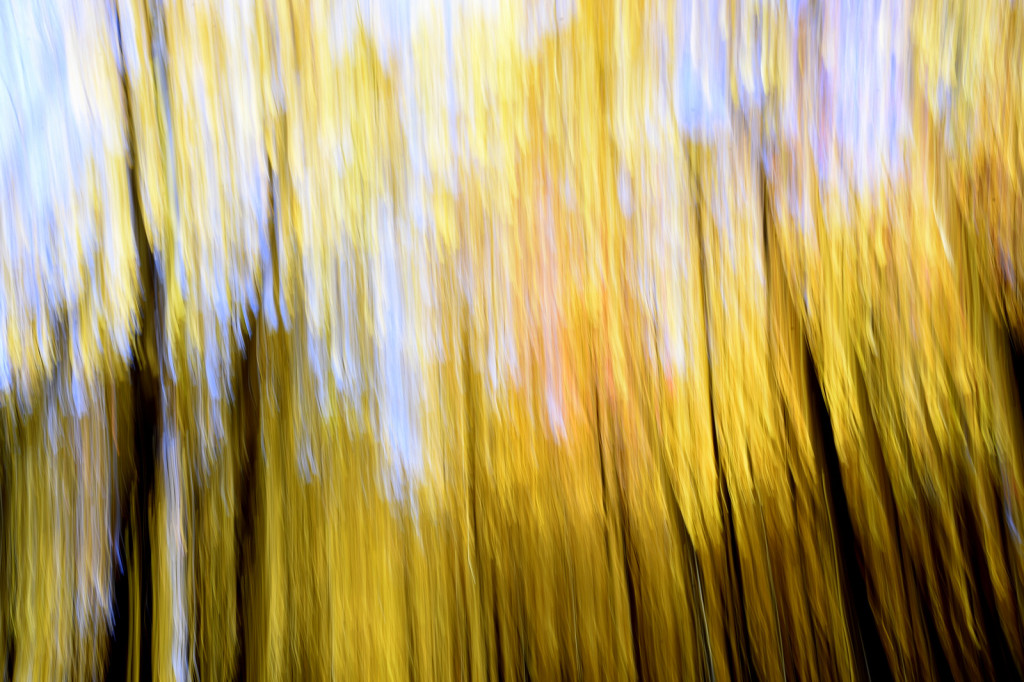
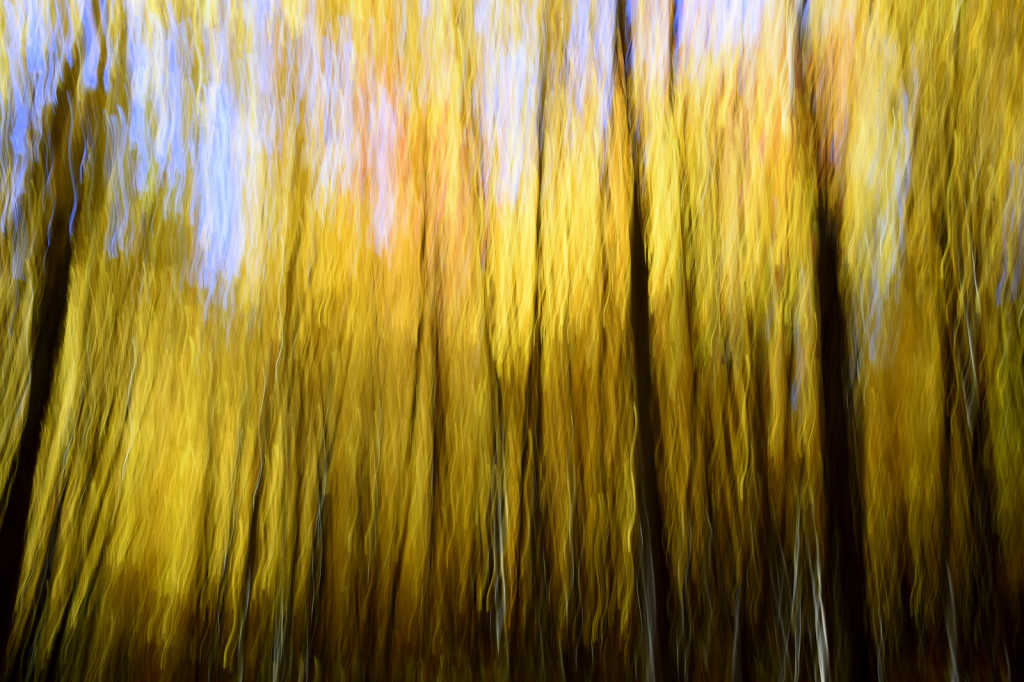
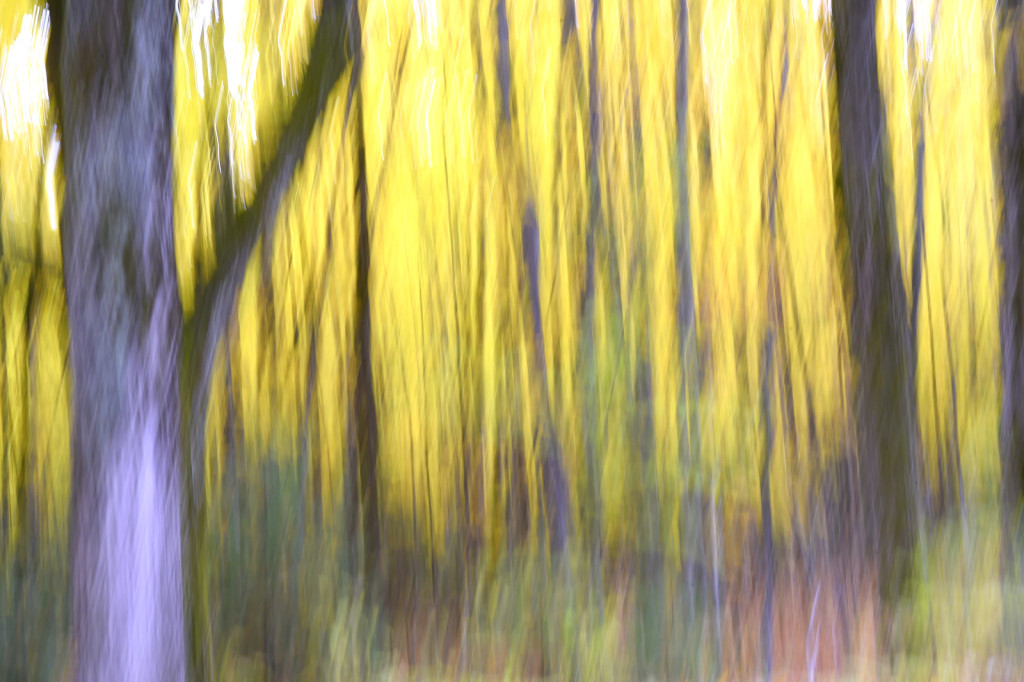
However, last fall I experimented with a motion blur technique that I read about in one of my photography magazines — the Vertical Pan. For the first time, I created images that conveyed the cacophony of color that enveloped me on my walks through the woods. Realism is nice, but these images much better reflect the imprint these experiences have left on my being.
There are three parts to this technique:
Find a Scene that Strikes Your Fancy
Get out there and walk around and look for scenes with bold colors, or great contrast in texture, or some cool shaped tree trunks, or a nice mix of colors…or…or…
Low Shutter Speed
The slower the shutter speed, the greater the blur and the more abstract the image. I experimented with shutter speeds that ranged from 1/2, 1/3, 1/4, 1/10, 1/20, and 1/30th of a second. There is no right speed. It depends on the scene before you and the look that you are going for. To lower the shutter speed you can set your ISO at its minimum and then close your aperture till you get the shutter speed that you want. On bright days, you may need to use a polarizing filter to help slow things down, or you can use a neutral density filter to reduce the light to your camera sensor to get slower shutter speeds.
Move the Camera
Point your camera at the scene of choice and lock the focus. Then, as you press the shutter release button to expose the image tilt the camera down with a smooth motion. Again, you will need to experiment to find the right mix. You can tilt slowly, quickly, or somewhere in between. Sometimes I begin the pan before I release the shutter button. You can pan down (my usual preference), up, or to the side.
There are endless possibilities. Keep playing with the shutter speeds as you vary your movement of the camera. Most will look like junk. Delete and move on.
Others will be, well, magical.
(I recommend viewing the images below on the biggest screen you can find. And once you click on one, you can move through the series easily by using your right or left arrow button.)
- See the falling leaf??!!
- Horizontal Pan
- Horizontal Pan
Until next month…..m
Nikon D4S, Nikkor 28-105mm (@ 105mm), f/29, 1/8 s, ISO 400
31
Shot of the Month – August 2016
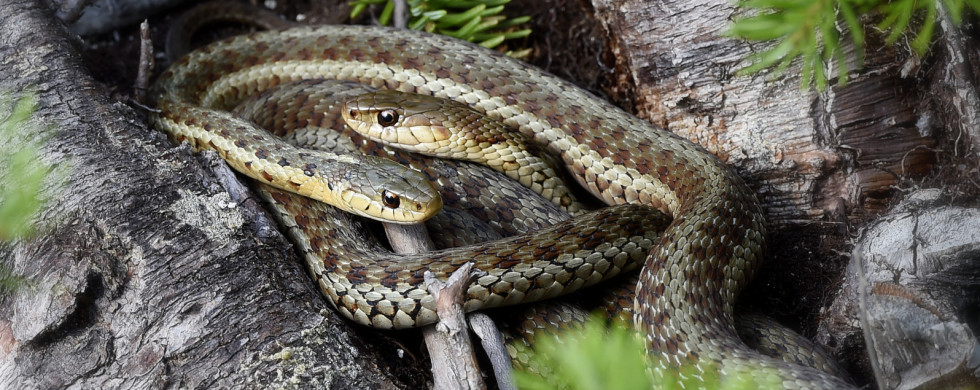
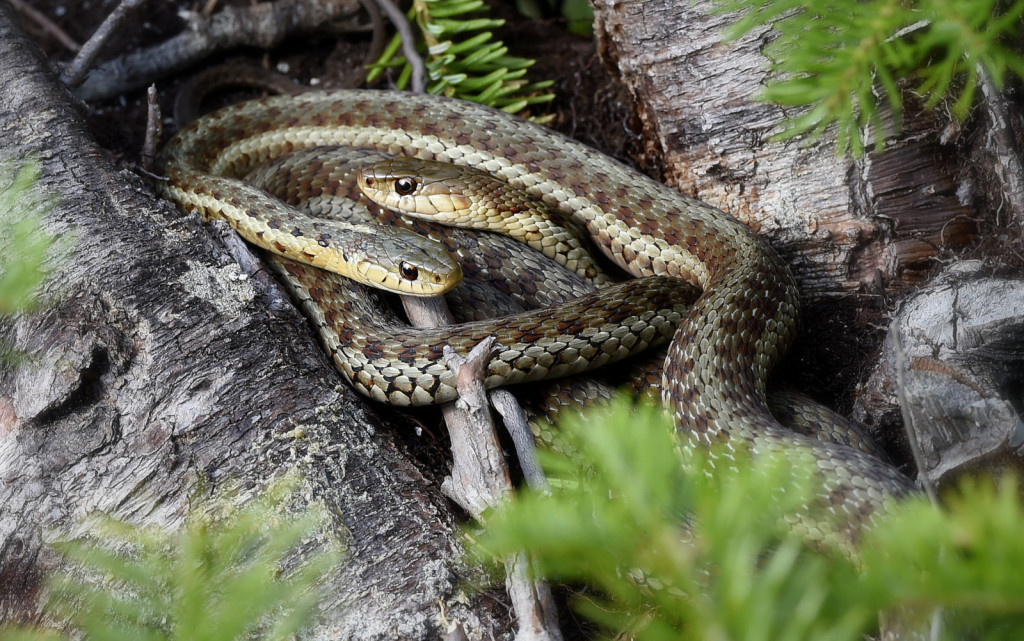
Snakes tend not to be a crowd favorite but nature’s beauty comes in many sizes and shapes. Ok, while these Common Garter Snakes (CGS), photographed in Baxter State Park in Maine are not adorable, nor cuddly, I think that they do have a certain charisma and geometric charm about them.
If you get out in the woods, even a little bit, there is a good chance that you have seen a garter snake. They are by far the most common snake in North America and can be found from Canada to Florida, from the Pacific to the Atlantic coast, and most places in between. The CGS is quite adaptable and can live in forests, fields, prairies, streams, wetlands, meadows, marshes, and ponds – it is often found near water. These snakes are quite harmless though some species of garter snake have a mild neurotoxic venom that may help to immobilize its prey, but its bite is harmless to humans.
Common garter snakes are thin and tend to be about 22 inches in length and rarely get longer than four feet in length. Given their relative small size the CGS is often preyed upon by large fish, hawks, crows, bears, turtles, birds, foxes, squirrels, raccoons, bullfrogs, and some other snakes.
I know that some people get very afraid when they see a snake. Trust me, this fellow is not a threat. His main prey is, are you ready for this? – earthworms. Yep, this snake is a viscous killer of, 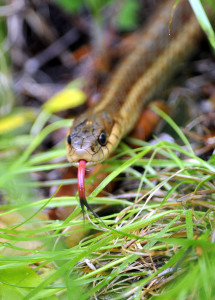 earthworms. See, now don’t you feel a bit silly? CGS are also very good swimmers and will hunt small fish, frogs, tadpoles, leeches, insects, slugs, and crayfish. They will also hunt for small mammals and birds when possible.
From the photo, you might deduce that all CGS are small, brown, striped snakes. Alas, life is not that simple. Turns out that there is tremendous variability in the appearance of the CGS and you may find them adorned in green, blue, yellow, gold, red, orange, brown (as above), and black. The CGS is just one out of thirty species of garter snakes that exist, not to mention the various sub-species, so figuring out which is which can be tricky. Check local reference guides for the state where you saw the snake for more precision on the colors typically found there.
So the next time you are in the woods and you see one of these fellas, take a deep breath, relax, and enjoy one of nature’s lesser-appreciated beauties.
Until next month…..m
Nikon D4S, Nikon 70-200mm @ 200mm, f/11, 1/60 s, ISO 400
31
Shot of the Month – July 2016
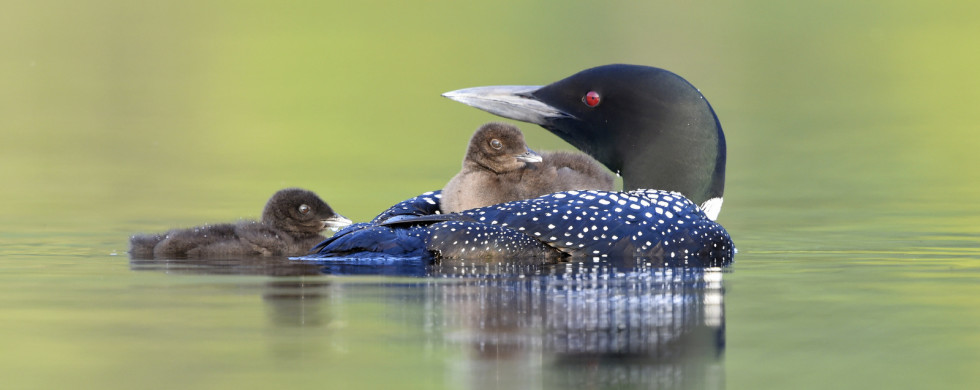
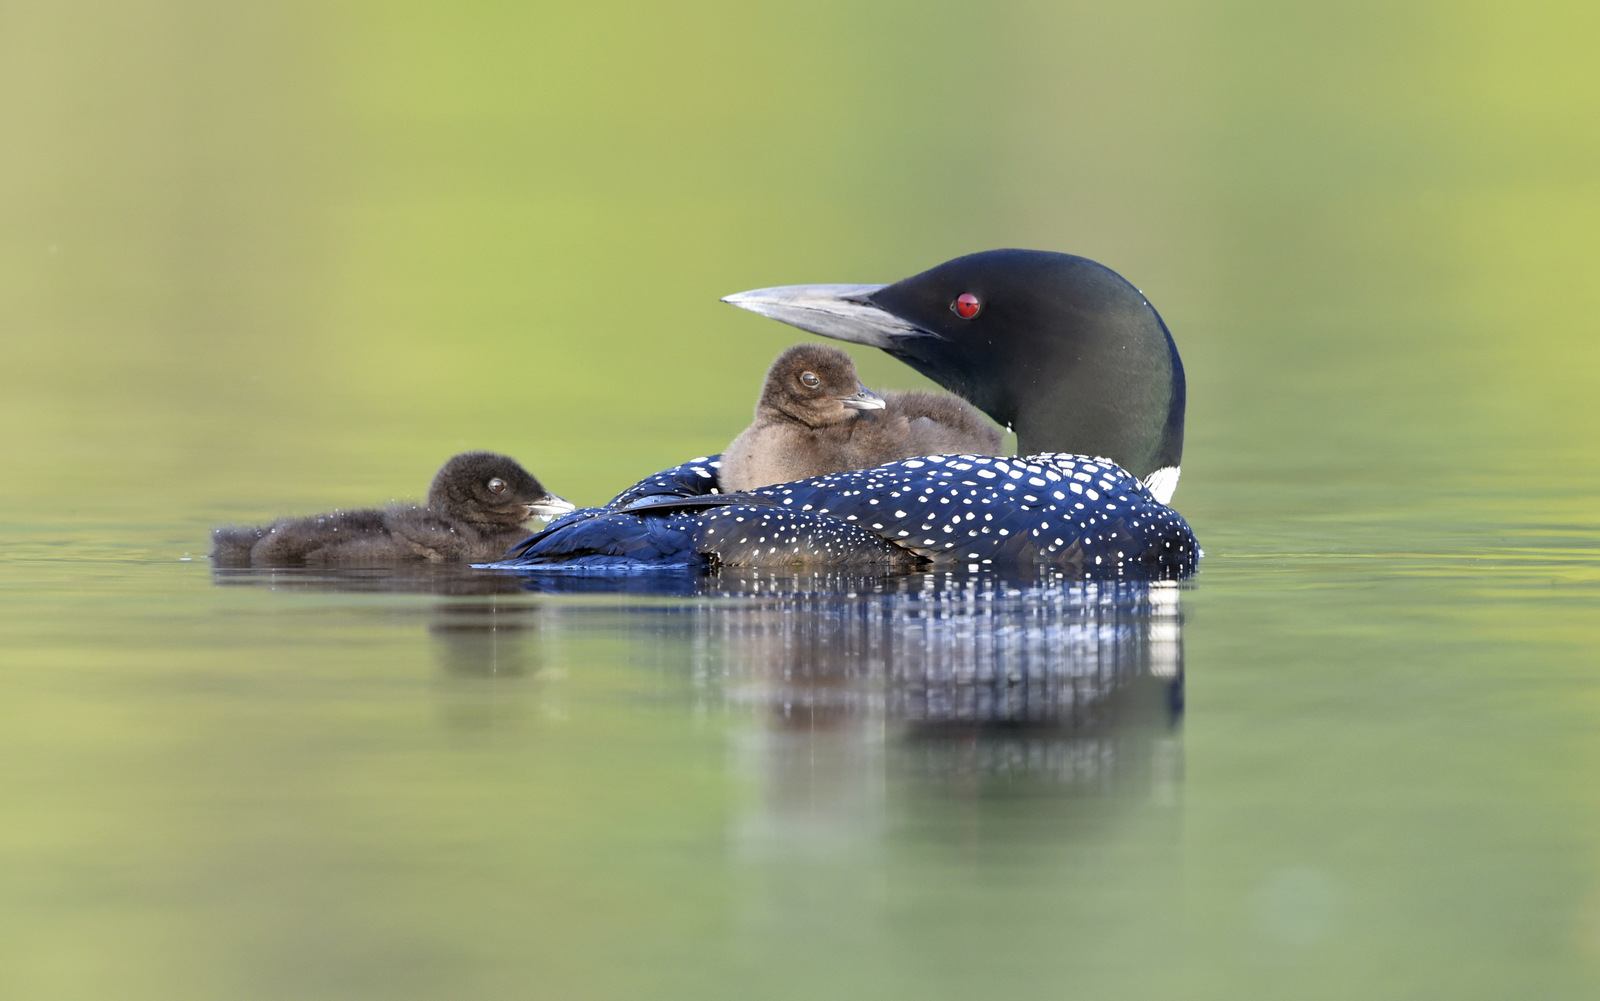
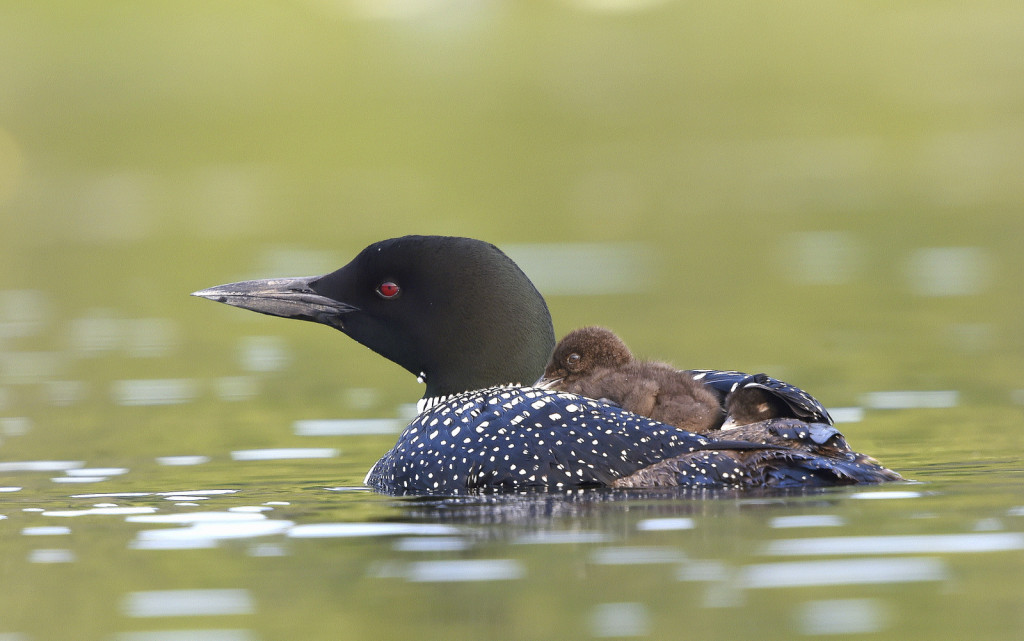
It was over in an instant. This “Awwwwwl”-inspiring shot of an Atlantic Loon chick riding on its parent’s back was taken in 1/1,000th of a second. Sounds easy and pretty painless. But not so fast Speed Racer — it also took me four years to get my kayak in the right spot to capture this scene.
Why so long you ask? Let’s break it down.
Atlantic Loons, aka Common Loons, spend the spring and summer on lakes and ponds in Canada and Northern US where they breed and raise the next generation of aquatic birds. During the first 2 weeks of life, the tiny chicks can often be found riding on the backs of the adults. Besides being incredibly cute, this behavior helps promote the survival of the wee birds. When so small the chicks are very buoyant and they have a hard time maneuvering in the water on their own. Keeping the chicks off the water also helps avoid the dangers from below, such as from large-mouth bass, and avoid danger from above in the form of Bald Eagles (Source). I have often seen a Bald Eagle circle above a loon family waiting for a chance to pick off a chick. Also during the first two weeks of life, the loon chicks are not able to effectively regulate their body heat and they lose a lot of heat through their feet when in the water. Riding on a parent’s back helps keep them warm and if necessary the chicks can seek shelter under a protective wing (Source), as seen below:
So my challenge was to be in the right place at the right time to capture a behavior that only takes place during just a part of a two-week window each year. And in good light, of course.
In year 1 I had just moved to Vermont and I didn’t know anything about loons, their behavior, where to find them, etc. By the time I discovered my first mating pair, it was too late in the summer and the chicks were too big for back riding. Perhaps next year.
In year 2 I returned to the same pond and monitored the breeding pair as they built their nest and incubated the eggs. For some reason the eggs failed and no chicks. Sad. Maybe next year.
By year 3 I was now tracking loons at two different ponds. In pond #1 the nest was flooded during a thunderstorm and the eggs were lost. At the second pond, I arrived too late (working for a living often gets in the way of photography) and I missed the behavior. Well, there is always next year…..
In year 4 I was tracking loons in three different ponds. In site #1 the nest failed. In site #2 the pair was successful and I managed to catch a couple of days of the behavior and captured a few good shots. In site #3 I found the chicks on what must have been day 2 or day 3 of their young lives. Bingo!! For the next 10 days, I returned to the pond before sunrise each morning and spent a few hours with the loon family before heading off to work.
It was a magical two weeks as I had the chance to glimpse through a fleeting window of opportunity and share in the loons’ first weeks of life. The experience was definitely a highlight of my time living in New England!
And the image was well worth the 126,144,000.001 second wait.
Until next month….m
Nikon D4S, Nikon 600 mm, 1.4 TC (effective 850mm), f/8, 1/1000 s, ISO 2500, +0.333 EV, handheld from a kayak
30
Shot of the Month – June 2016
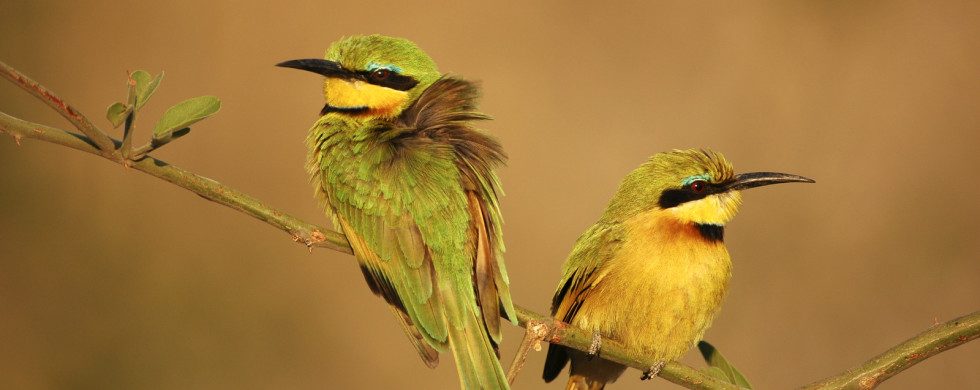
This month we get a lovely rector-verso view of the Little Bee-eater (LBE) – a dandy little bird in every sense.
Dandy: “…is a man who places particular importance upon physical appearance, refined language, and leisurely hobbies….”(from late 18th and 19th century Britain)
The LBE is definitely a stunner — both male and female (as seen in this photo) are adorned in a shimmering coat of green, yellow throat, offset with a black gorget, a luxurious rich brown upper breast that fades into a buffish ochre on the belly. And that daring dash of aqua (?) above the eyes. Bold and beautiful.
As for the leisurely hobbies – seems that LBEs spend about 10% of their time engaged in “comfort activities.” This would include sunning themselves, dust bathing, and water bathing. Dust bathing?–yeah, it helps protect against parasites like mites and flies. (source)
Dandy: “An excellent thing of its kind”
As the title says, Little Bee-eaters are dandy flyers. Little Bee-eaters catch all their prey while on the wing. If an insect lands on the ground the bird is no longer interested. As their name gives away, LBEs eat mainly bees, wasps, dragonflies, and similar insects. These birds typically hunt from a favorite perch – once a flying insect is spotted, the bird launches into the air, snatches the insect with that powerful, forceps-like beak, and dines while flying or returns to the perch. Insects with stingers (da-bees) are thrashed against a tree branch as the LBE pinches tightly on the insect to squeeze out all the venom. (source)
I photographed this couple in Botswana. I also photographed a Blue-cheeked bee-eater in Botswana and you can see some of that dining-at-the-perch behavior here. (you really should, it is a great shot if I say so myself)
The Little Bee-eater is indeed little. There are 26 species of bee-eaters in the world and the LBE is the tiniest of them all. What they lack in size they make up in numbers. It is estimated that there are 60 to 80 million Little Bee-eaters spread out across Africa. The bee community must be very bummed about that fact!
Ahhh, the lovely little bee-eater, beautiful but deadly, especially if you are a bee.
Until next month….:-)
Nikon D70, Sigma 300-800mm (@650mm), 1/400 s, f/5.6,
31
Shot of the Month – May 2016
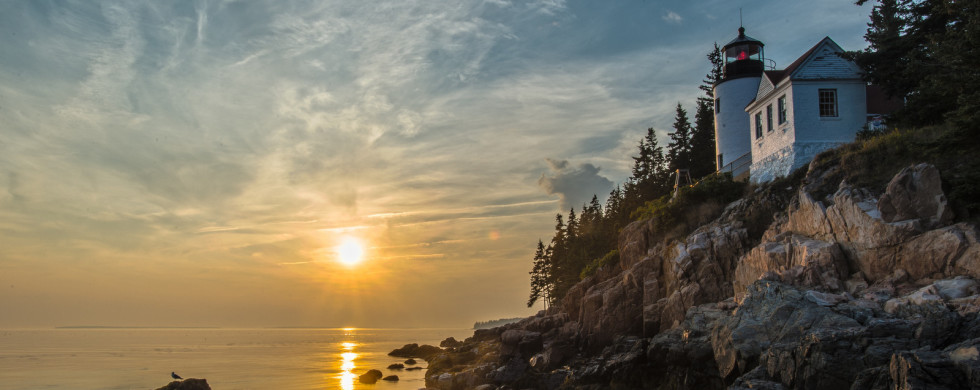
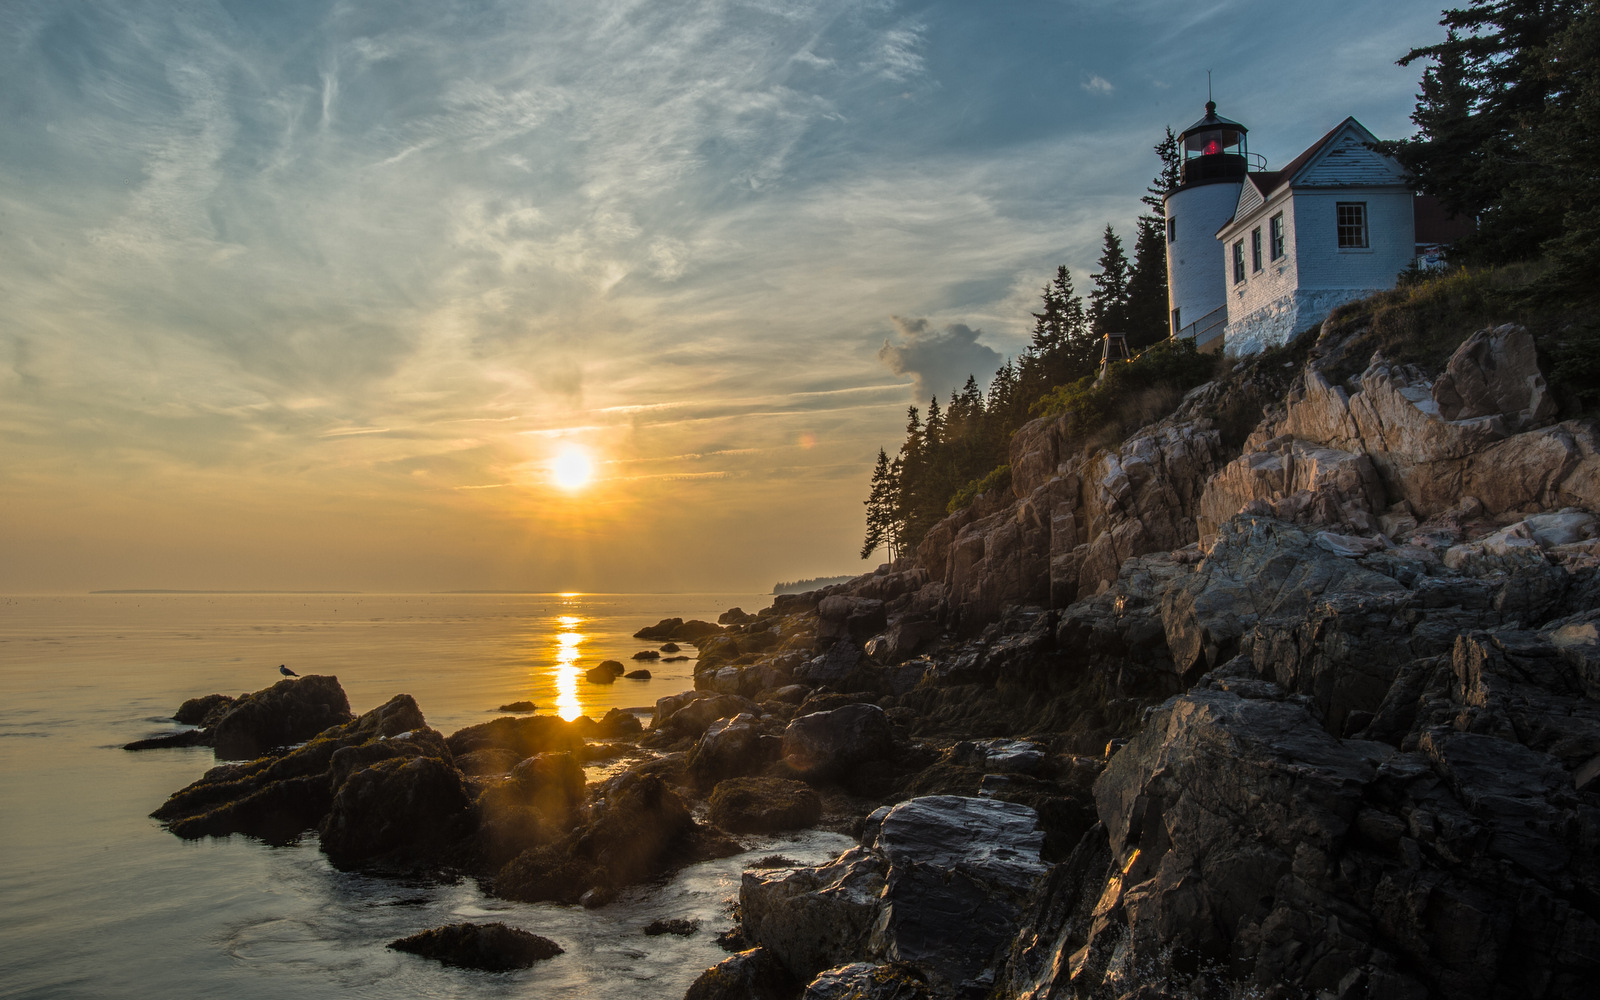
Did you know that it is impossible to take this picture, as shot, with today’s cameras?
Uh, you mean the one I am looking at right now.
Yes, that one.
The one that doesn’t exist.
Exactly.
Scratch head…
Photographic equivalent of “Who’s on First?” (If you have never heard this, stop now, and listen…Comedy Classic!)
Obviously, I did create the image so it does exist. However, this is not one picture but 7 that have been merged together to accurately represent the scene as I saw it with my eyes.
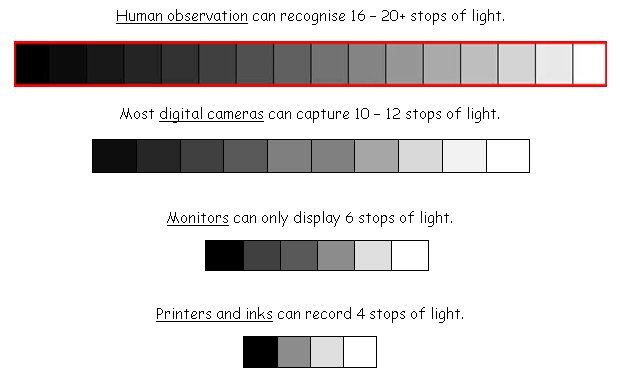
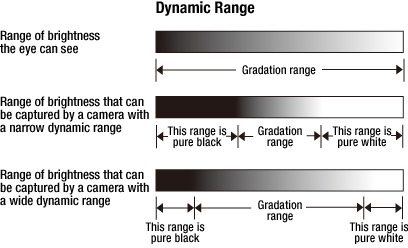
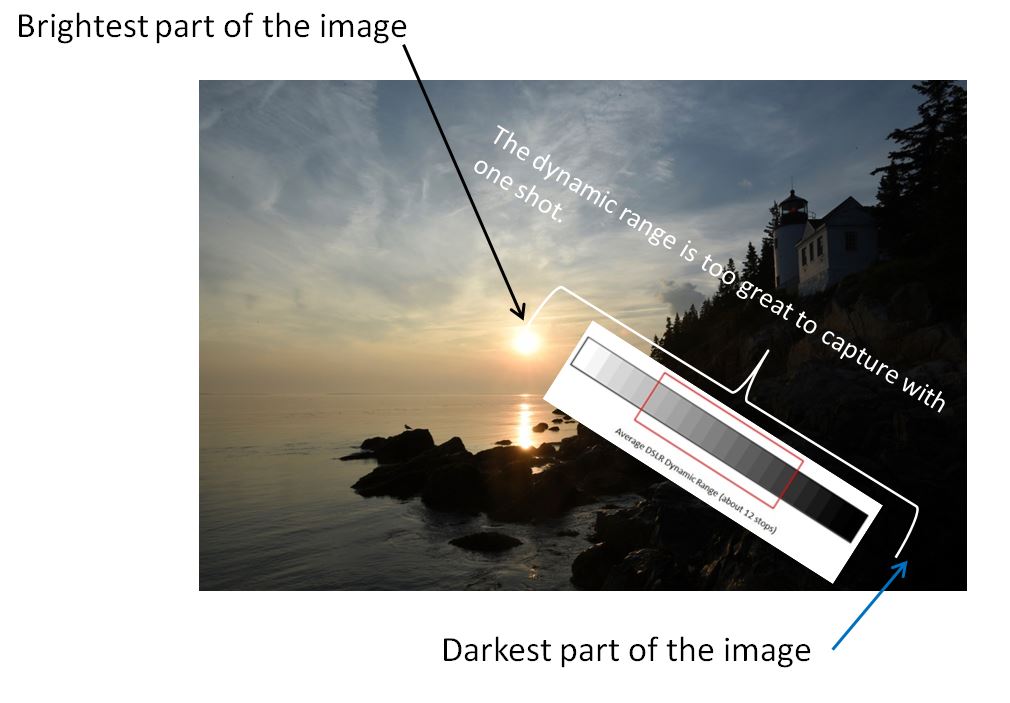
Today’s digital cameras are amazing, but they still cannot see the world as accurately as the human eye can, yet. Humans are capable of seeing about 24 different levels of brightness in a scene. In photo lingo, we would say that people can see close to 24 stops of light, or 24 Exposure Values (EVs). Today’s best cameras can see about 10-14 stops of light. Some scenes have a high dynamic range, meaning that there is a large difference in Exposure Values between the darkest shadows in the scene and the brightest highlights.
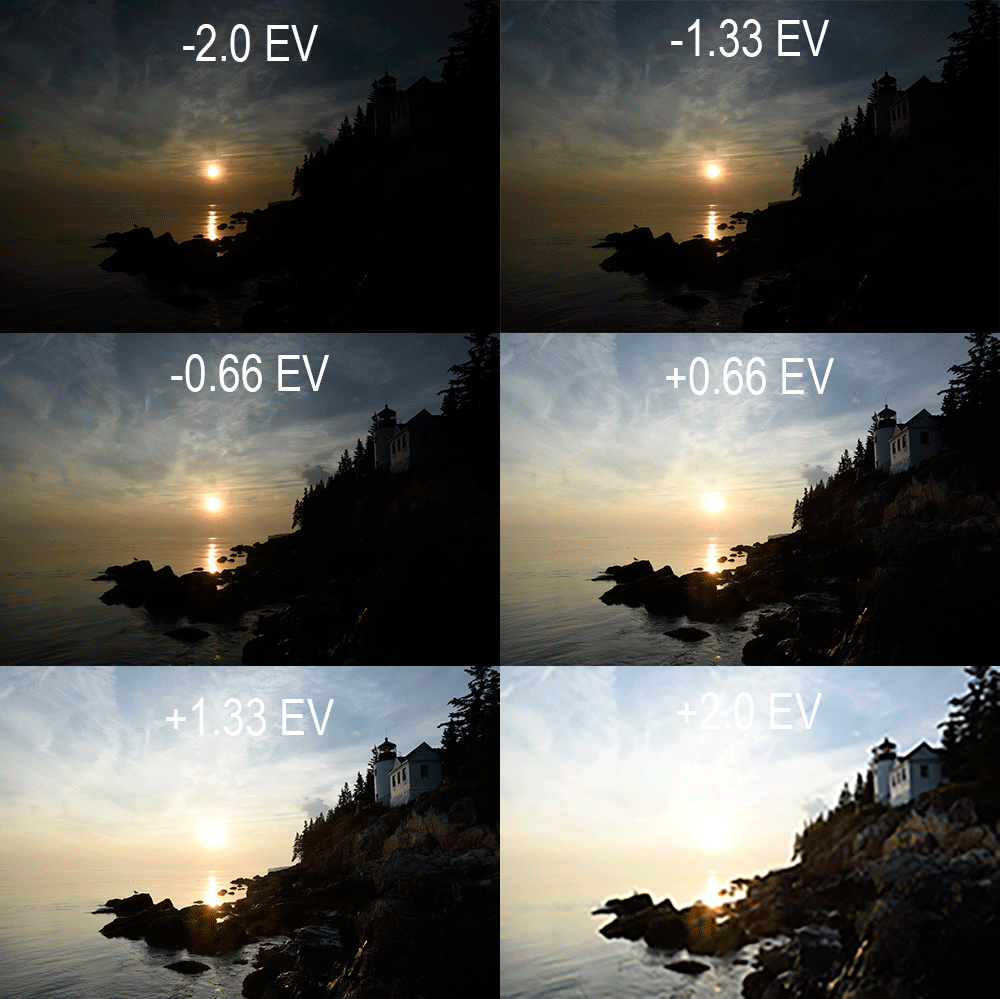
The dynamic range of this sunset scene is beyond the capability of my camera. I could expose for the sun (see the image below that was underexposed at -0.66 EV, but then the rocks in the lower right would be completely black – you would lose all the detail in that part of the picture. Or, I could set my camera to expose properly for the rocks, but then the sun would be drastically overexposed and just be a white mess (as you can see in the image below that was shot +2 EV ).
Pack up and go home? Nope. One solution is to use “High Dynamic Range (HDR) photography techniques. In HDR photography one takes multiple shots where each image is exposed differently to capture the full range of brightness levels in the scene. For this image, I took 3 shots that were increasingly “underexposed”, one shot that was “properly” exposed (the camera’s best guess under the circumstances), and then 3 shots that were increasingly “overexposed.” Here you can see each shot in a row, with the most underexposed image to the far left, and the most overexposed to the far right.
Through the wonders of software, I was able to merge these shots so that each area was properly exposed in the final image.
Typical scenes that will challenge the dynamic range of your camera include backlit scenes (strong sun behind your subject), bright skies, interiors (if there is a window present you will probably have a problem), and scenes that include a strong light source.
Most cameras have an “Auto-HDR” mode. Yes, iPhones and similar smartphones (Samsung Galaxy) have them. When faced with such a scene turn on the HDR function and see if it helps.
As you can see, although the technology keeps getting better and better (just a few years ago most cameras could only capture about 5 stops of light), we still have a ways to go before matching human eyesight. In the meantime, with proper use of HDR, you don’t have to let too many stops, stop you from getting that great shot.
Until next month….michael
P.S.
Here is an article that also explains dynamic range, amazingly, using the same scene as an example!
Also, did you notice the lone seagull on the rocks?
Bass Harbor Head Light Station, Acadia National Park, Maine
Nikon D4S, Nikon 17-24 mm (@ 24mm), f/22, ISO 200, variable shutter speed for 7 shots at -2 EV, -1.33 EV, -0.667 EV, 0 EV, +0.667, +1.33 EV, +2 EV
30
Shot of the Month – April 2016
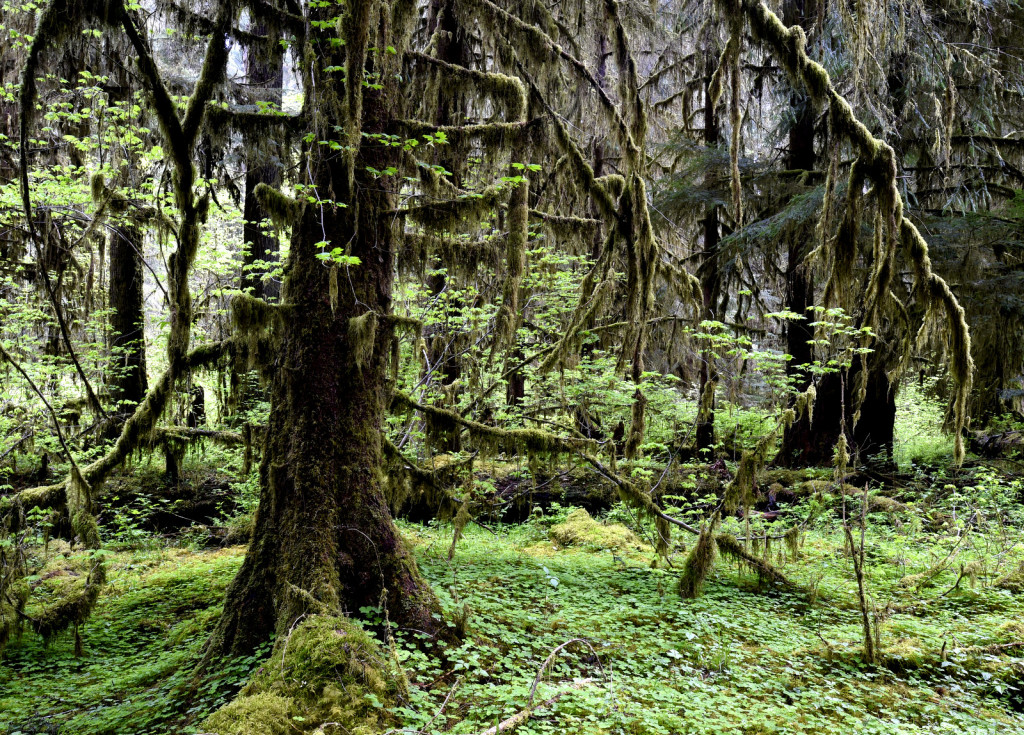
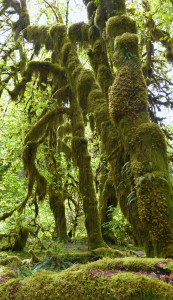
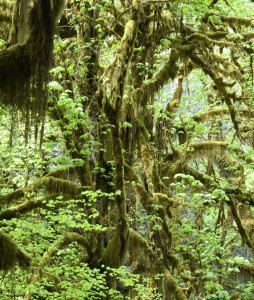
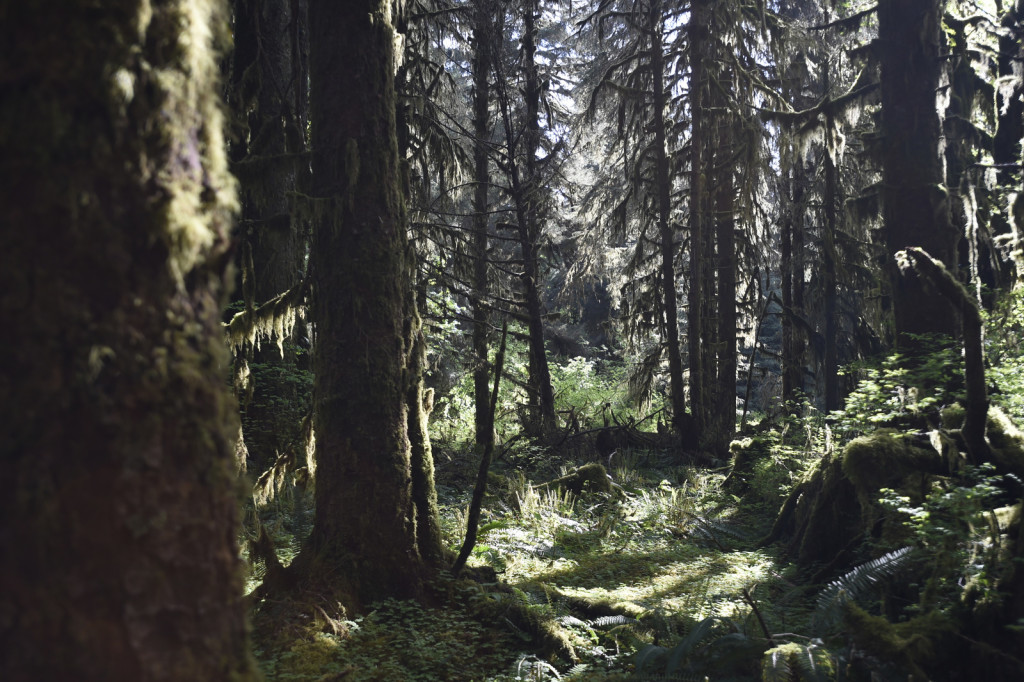
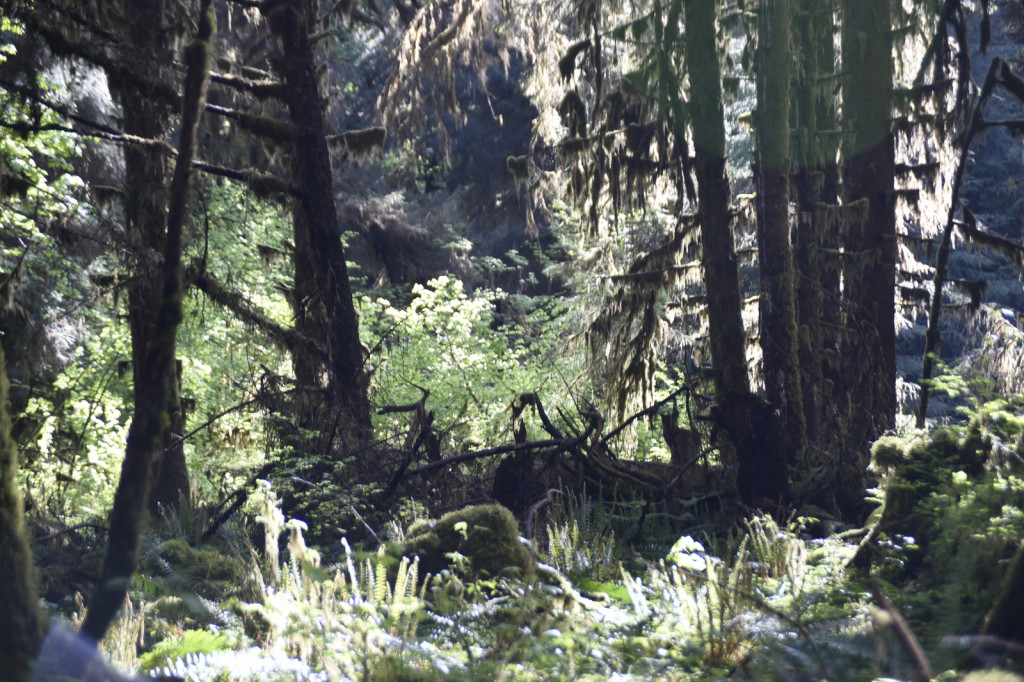
I had a couple of free days near the end of the month so I fled to the Hoh rainforest (HRF) on the Olympic Peninsula, near Seattle, WA. We had recently moved to the area and there were so many new places to explore. I had made an initial visit to HRF earlier in the month and figured I would try my luck again. The HRF is one of the few temperate rainforests that can be found in the northern hemisphere and is a protected UNESCO site.
Normally, landscape photography is the name of the game at this leafy locale as one tries to capture the essence of this surreal environment where one can get 150+ inches (> 12 feet!) of rain per year and everything is covered in moss and lichen and endless shades of green vegetation. I don’t do much landscape photography so this was me trying to expand my horizons, albeit in a rather dense forest. Go figure…
So there I was wandering around the forest with my 17-35 mm wide angle zoom lens. Very unfamiliar territory for me as I usually carry a 600 mm lens as I scrutinize for the smallest movement that may indicate a hidden creature. This time I was scanning the environment for much broader scenes and patterns. It is a completely different way to “look” at the world then I typically do when carrying a camera. I stopped and glanced around, somewhat hopelessly trying to find an interesting composition,
really feeling out of my element.
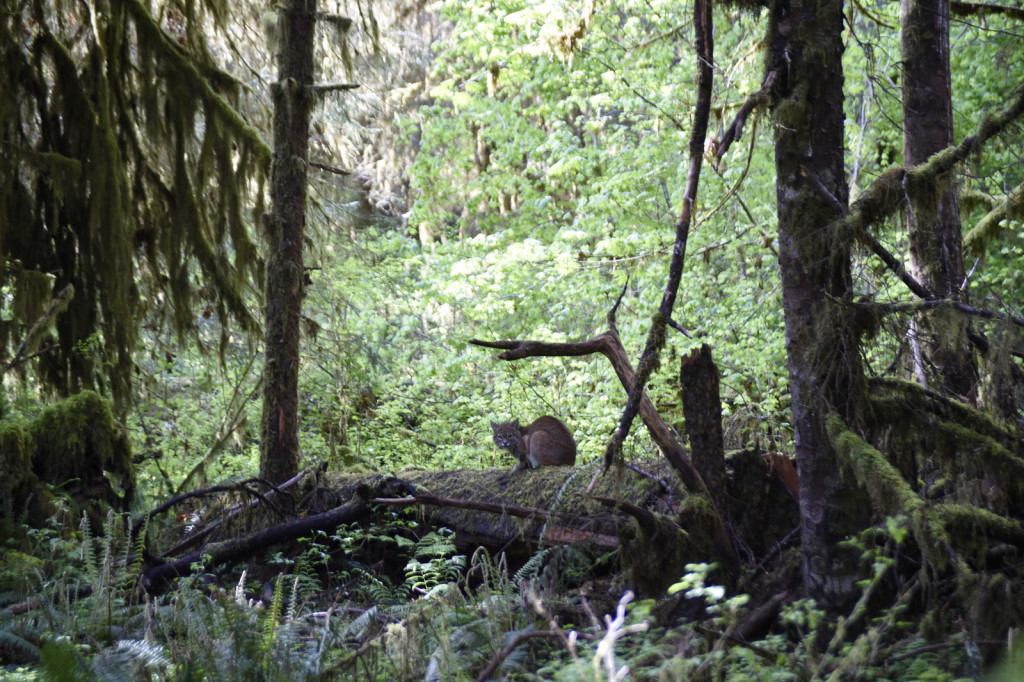
I was alone on the trail, minding my own business when something caught my attention. My “normal” eye kicked in and I was pretty sure I saw something AMAZING off in the distance. I took a picture with my 35 mm lens and zoomed in on my camera display to see if I could make it out.
Wow, really not helpful. But, I could still see a silhouette that made my heart race. Do you see it? Click on the photo to zoom in.
I stood there frozen for a few moments staring at the fallen log in the distance. Straining to detect movement while hoping for bionic vision to befall me. I finally, very slowly took my backpack off and lowered to one knee to switch to my “longer” lens. This one zoomed out to 110 mm and might give me a better view. The image at this focal length is below.
While still not conclusive, my excitement continued to grow. During our first visit to the park a few weeks ago a ranger told us that it was possible to see bobcats in the forest but I was very skeptical. I assumed that said feline might be seen a few times a year, probably by staff who spend hundreds of hours in the park. But that silhouette looked like a bobcat to me. We had bobcats in Vermont but it is exceptionally rare to actually see one as they are extremely reclusive — I had never seen one in the wild.
I continued along the trail to see if I could get a closer view.
Bingo. My first bobcat! I stood and watched for a while but this was as close as the trail came to the log and my current lens couldn’t zoom any closer. And this is where I faced the classic wildlife photographer’s dilemma. Should I stay, or should I go? (and a damn catchy song) In this case, the issue was that I had my 600 mm lens back in the car. Do I dare try and run the whole way to the vehicle, switch lens, and run the whole way back? Rarely does wildlife stick around for so long. The odds seemed, well, rather poor to put it politely. I pondered for a while.
Finally I decided to go for it.
I figured that the trees weren’t going anywhere and I could always resume my landscape efforts after my bobcat attempt. Hoofing it with 20 pounds of gear is not to be taken, uh, lightly, but I rationalized that it would be good exercise. So off I went, power walking my way back to the car. At the edge of the forest I passed a family as they were just entering and I nodded at them. No time for chit chat. At the car I changed out my gear and started the power walk back to the original location.
When I arrived I could not believe my eyes. The bobcat had moved from that rather poor location, photographically speaking, on the fallen log and now was sitting up on an upright, sheered off tree trunk. She was facing directly at me, sitting on this wonderful, lush green throne.
I normally carry the camera and lens cradled over one shoulder as the whole contraption is heavy and unwieldy. I have learned the hard way that throwing this large metal beast off my shoulder too quickly can scare off wildlife. I very, very, very slowly lifted the camera and lens, attached to a monopod, off my shoulder and placed it delicately on the ground.
“Please don’t leave.” “Please don’t leave.” “Please don’t leave.” “Please don’t…..
This mantra was echoing through my head as I p-a-i-n-s-t-a-k-i-n-g-l-y swiveled the camera around and pointed it at the bobcat. I turned the camera on, pressed the focus button and fired off a couple of quick shots.
The bobcat didn’t move so now I started to work to improve the capture. Initially my shutter speed was waaay too low for such a large lens which meant there was a good chance that the initial shots would be blurry. I worked my way through a range of settings to maximize the best exposure. This gracious bobcat sat there patiently as I fired off dozens of shots. I was happily in my element now. I know pretty well what I am doing when photographing a critter….
The family I had passed earlier came up to the scene, curious as to what I was shooting. I pointed to the throne and they were muy excited. The father shrugged with a smile at the iphone in his hand indicating that he had no chance to get a photo with that device. I empathetically explained that I had seen the bobcat earlier and faced the same challenge only having my wide angle lens. I was running back to my car to get my big lens when I passed them. The father now nodded, “Ahh, yes, that was YOU, we saw.” He continued, “And what amazing luck that the bobcat stayed around for so long…”
Indeed.
Trust me, such luck is oh, so, so rare. But then, such scarcity makes moments like this so magical. I really did try and expand my horizons, but when a bobcat calls, whatcha gonna do?
Until next month…..m
Nikon D4S, Nikon 600mm, f/4 1/200 s, +0.5 EV, ISO 1600

